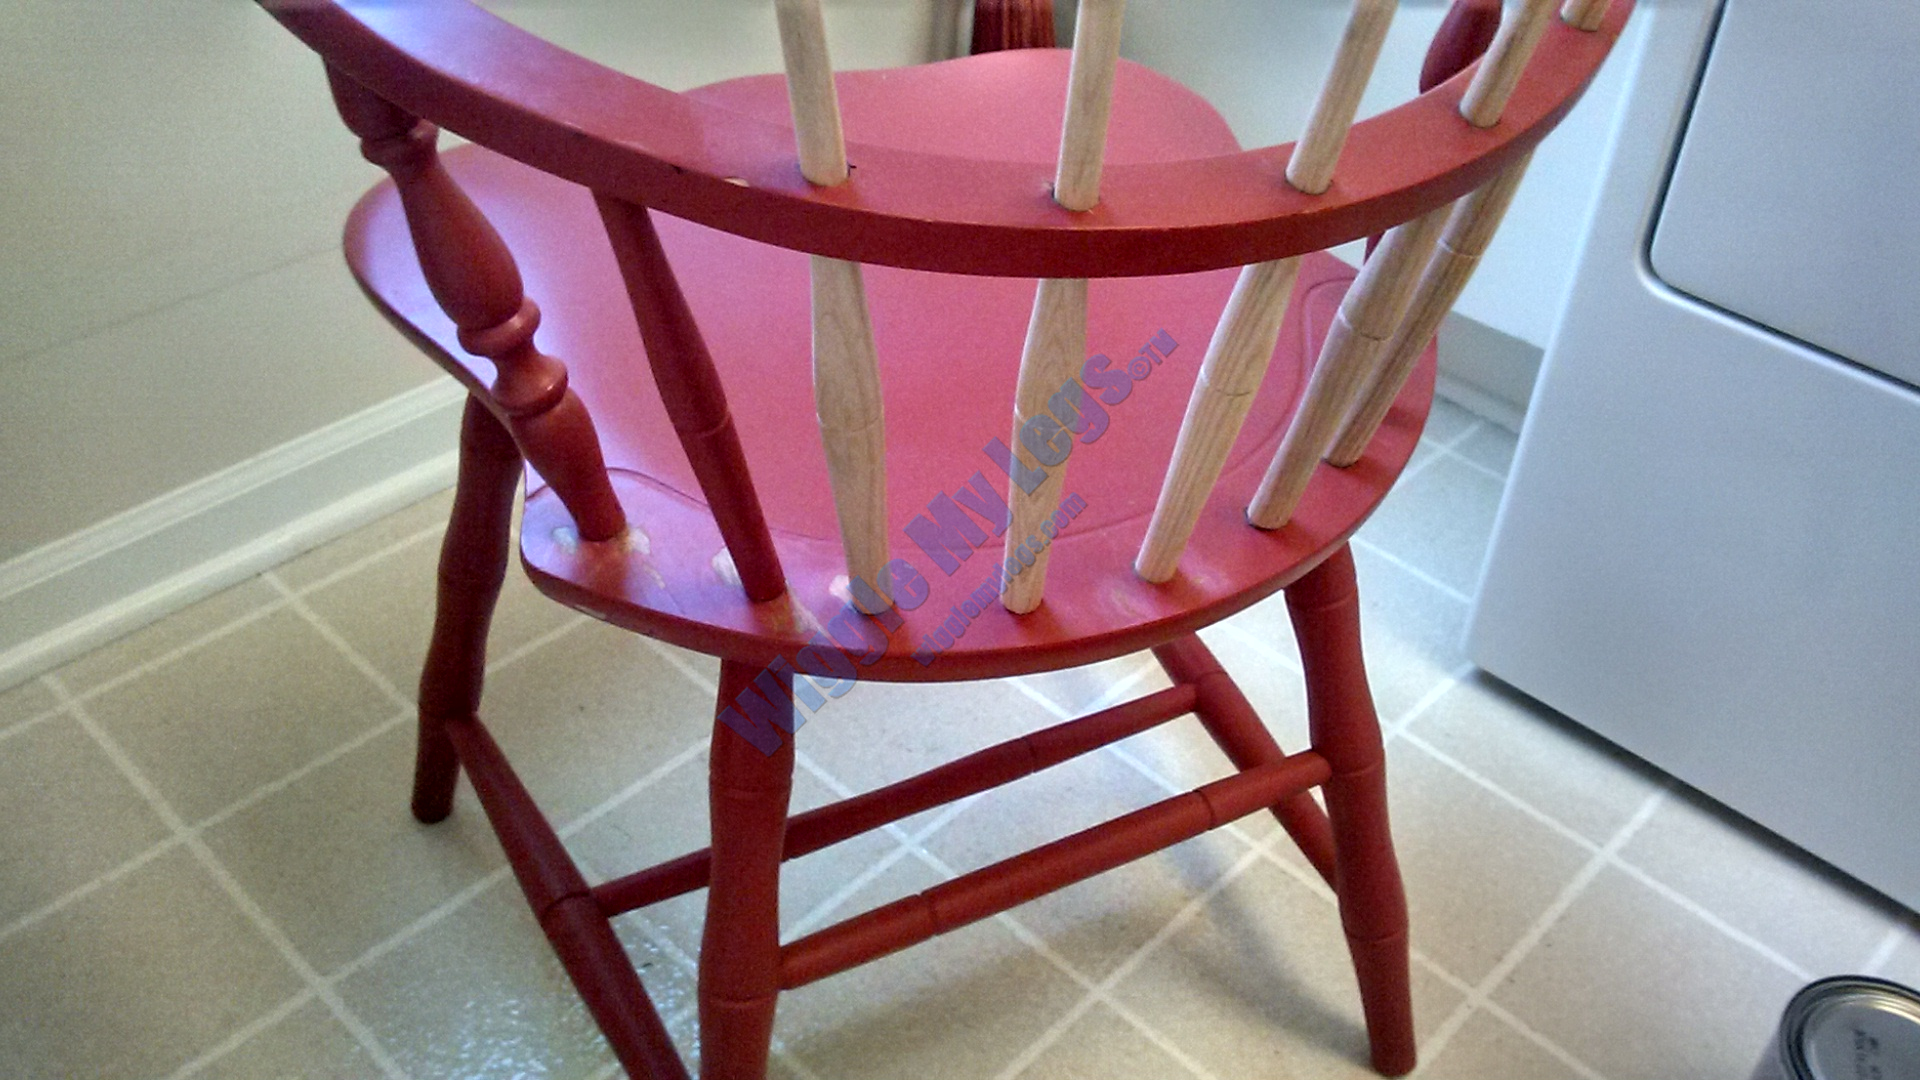
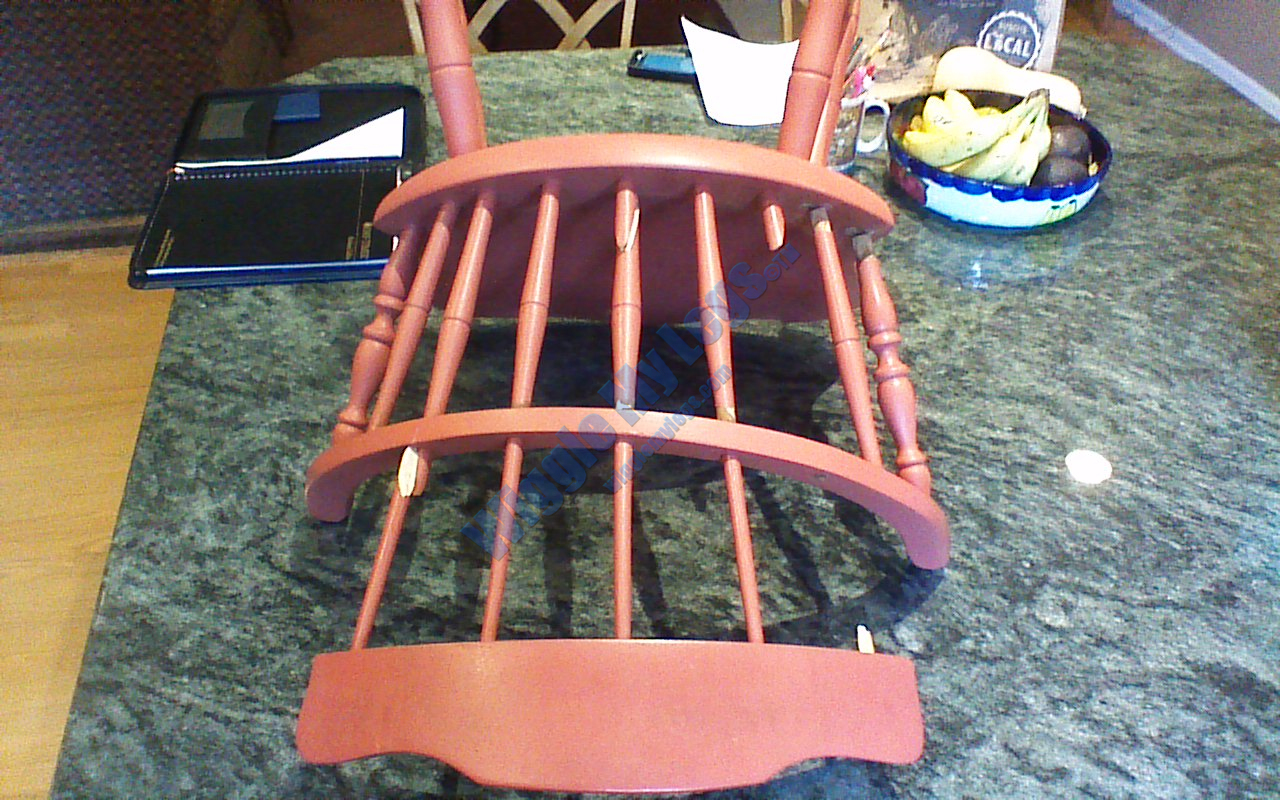
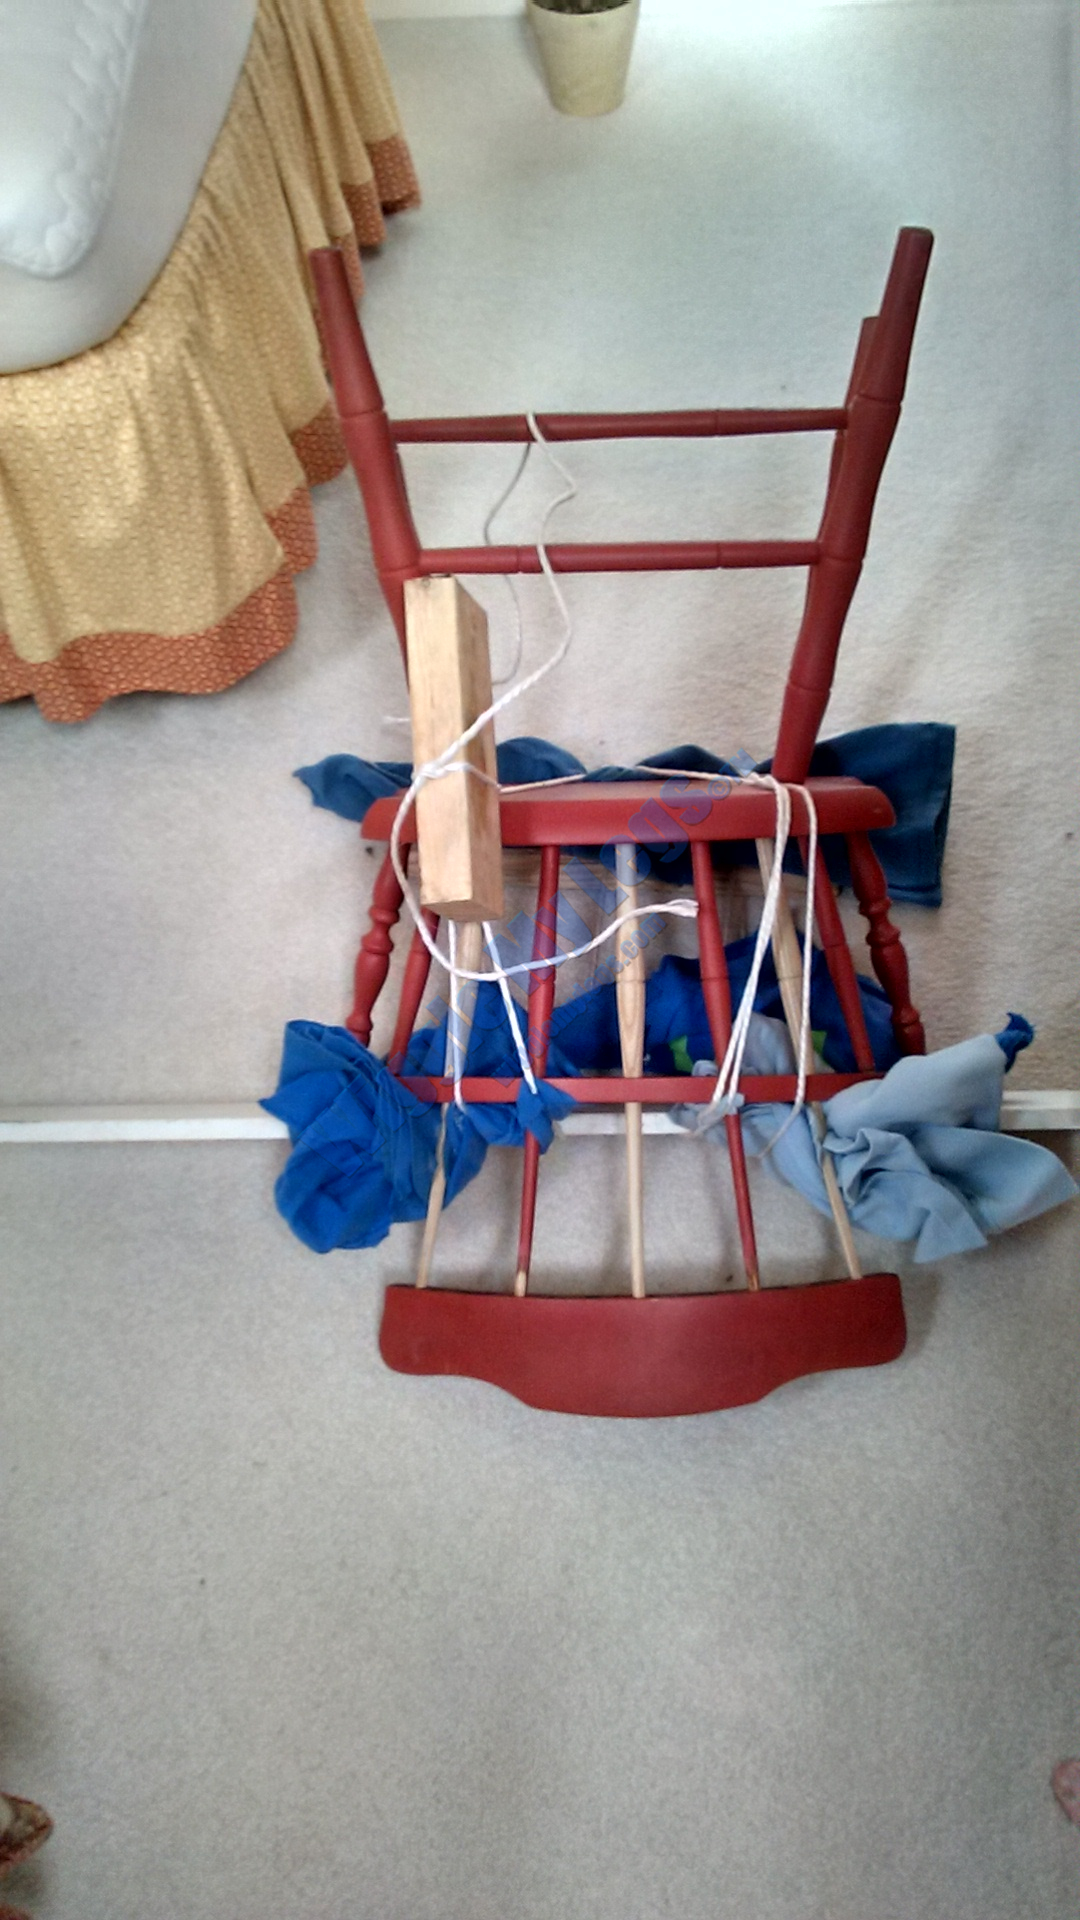
Here below is the Captain's Chair as it was given to me. It appears as though someone hit someone over the head with it. Or maybe, someone was leaning back on the rear legs while having their feet on the table and the chair slipped and fell backwards causing the person to crash onto the spindles and break them.

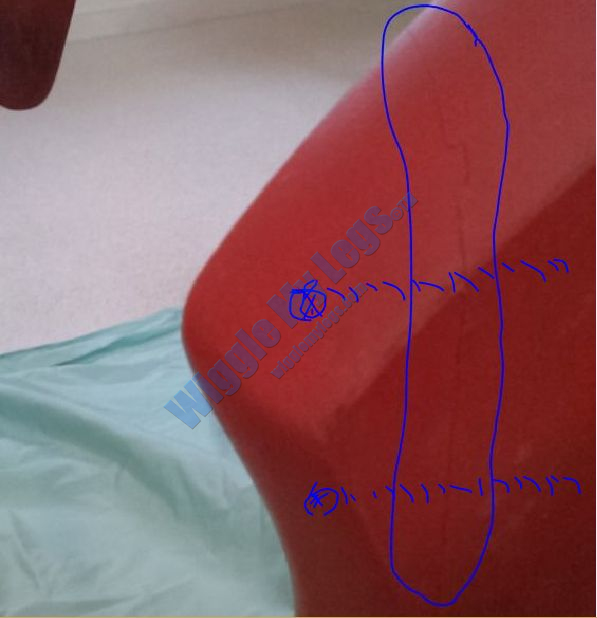
This picture shows the chair face down on the kitchen island to show the spindle breaks from the rear. Notice the breaks are along the grain of the spindle, and the grain break is not parallel with the spindle. It is about 30 degrees from parallel to the spindle axis. This error makes it easier to crack, split, and sever the spindles. It is easier and faster to make spindles turned on a lathe and they will suffice for some folks. Especially if you're gentle with the furniture and no one using it weighs too much.
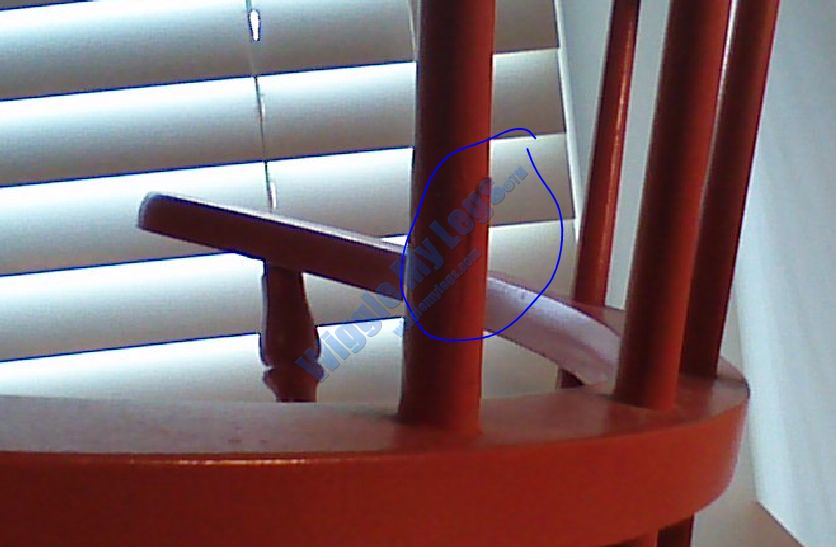
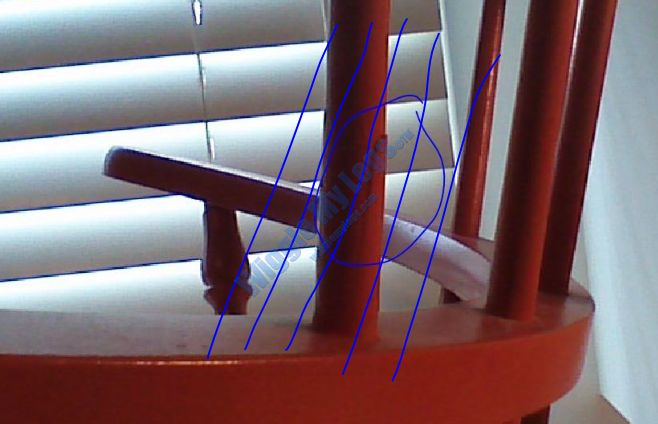
These pictures show a view of one chair in the set with a cracked spindle that I used for a model to match height. The blue circle is a crack that hasn't gone through yet. The blue parallel lines in the next shot are an approximation of the angle of the grain. By ensuring the grain runs intact for the entire length of the spindle, the spindle may end up slightly curved but much stronger. If you have such a curved spindle, it can be bent toward it's mounting hole during assembly without breakage.
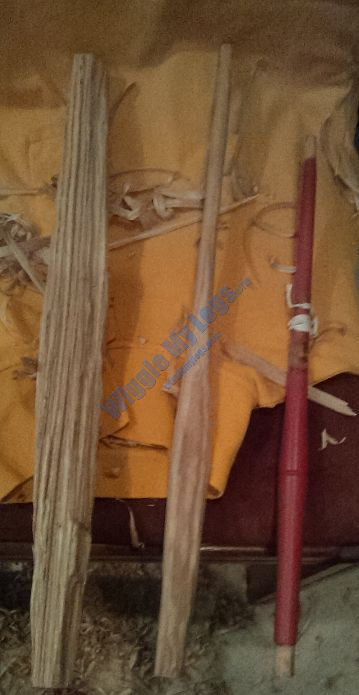
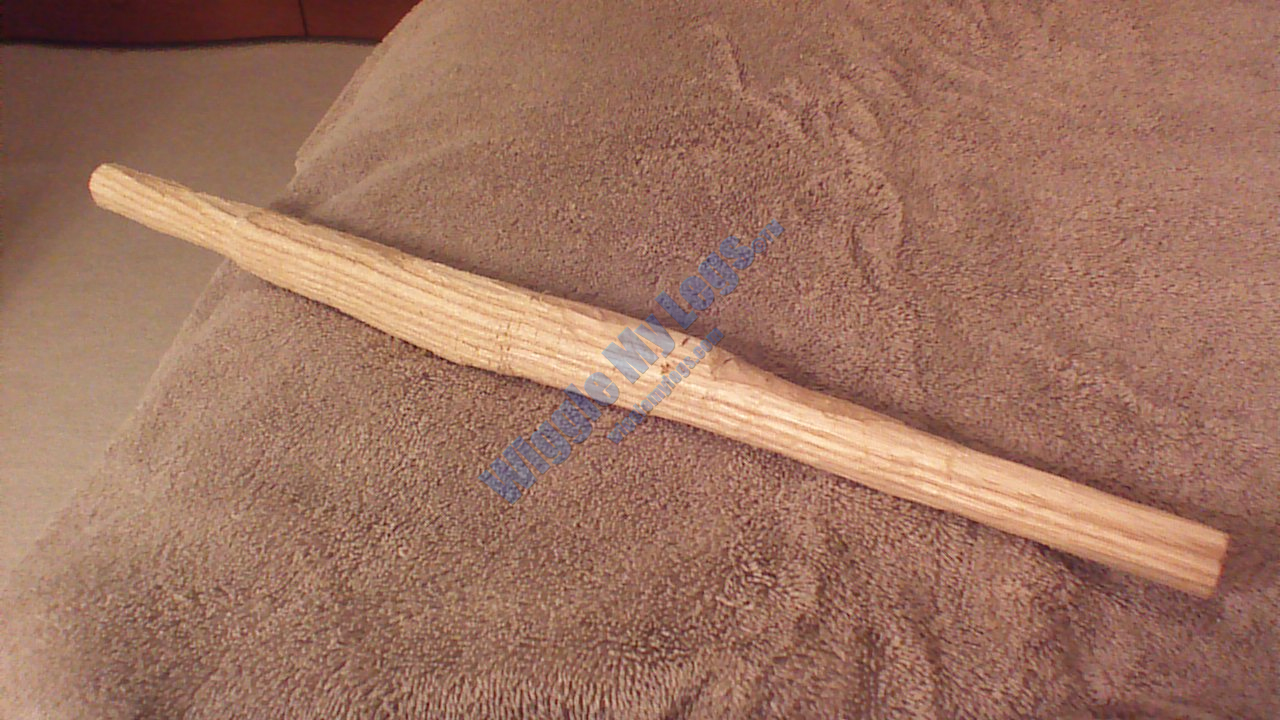
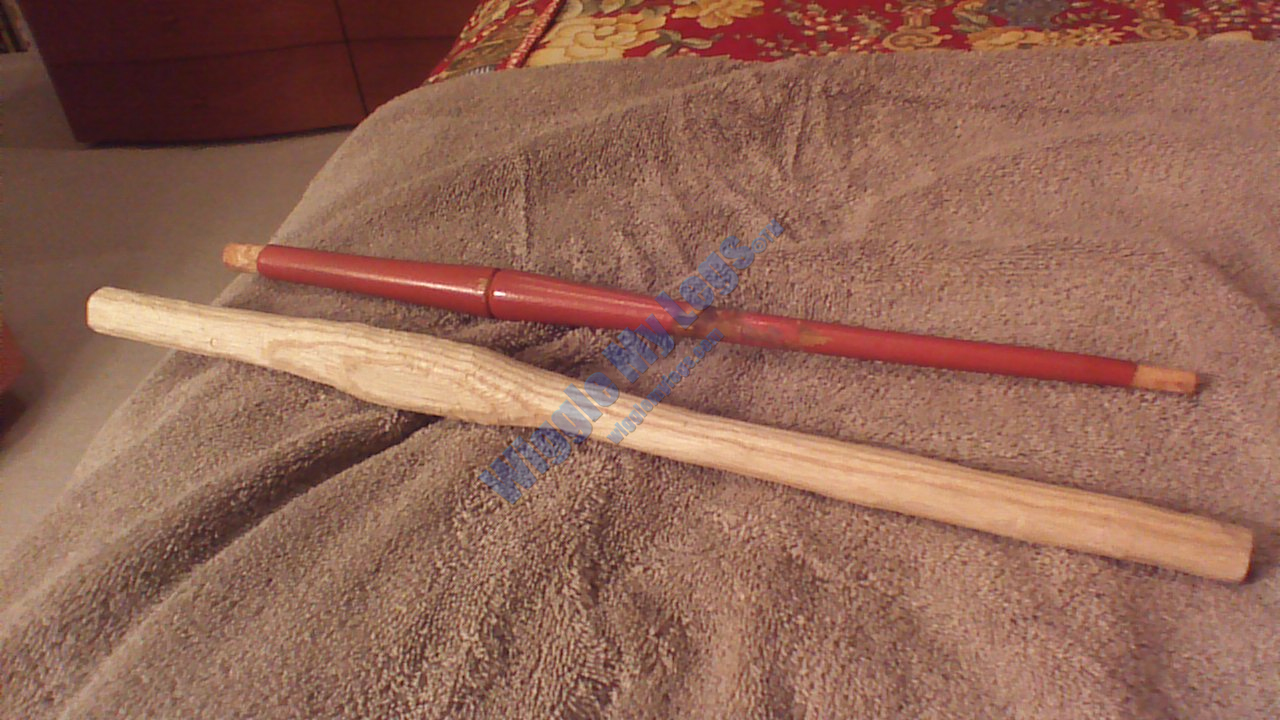
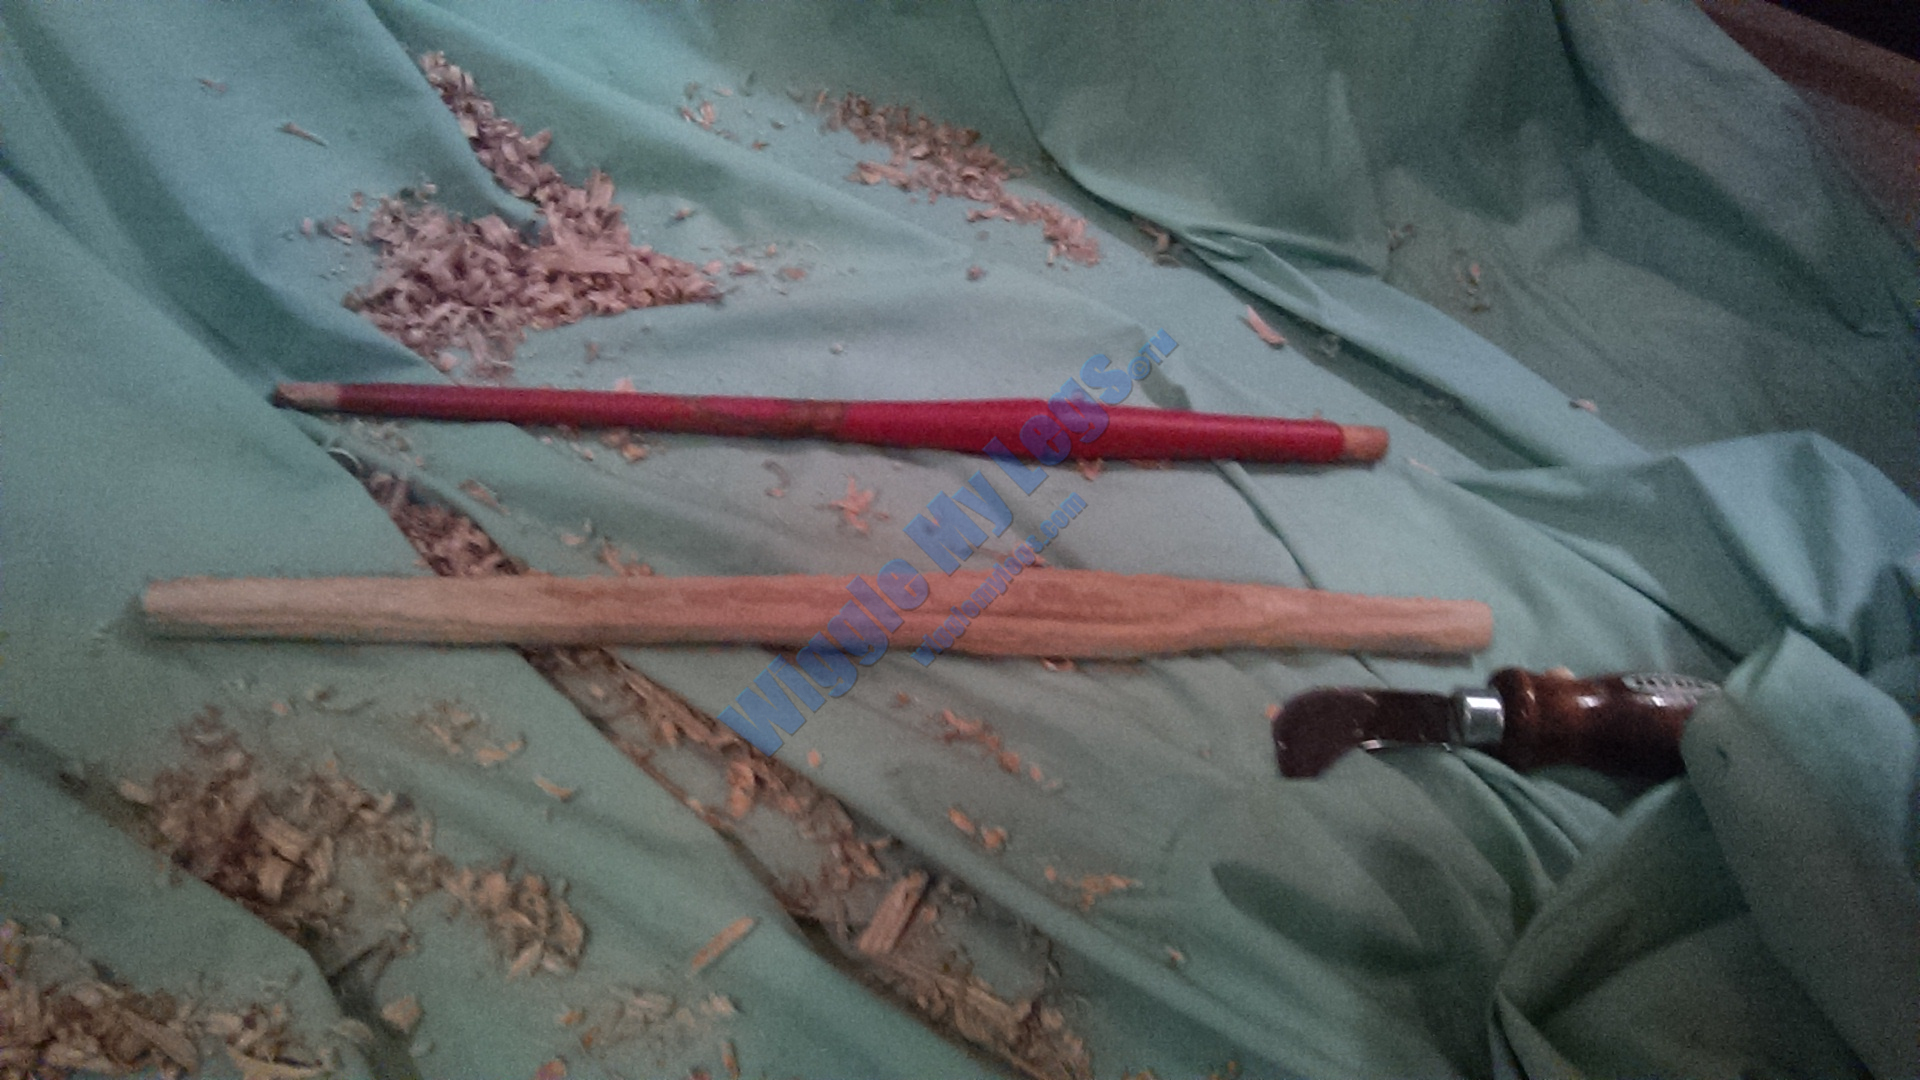
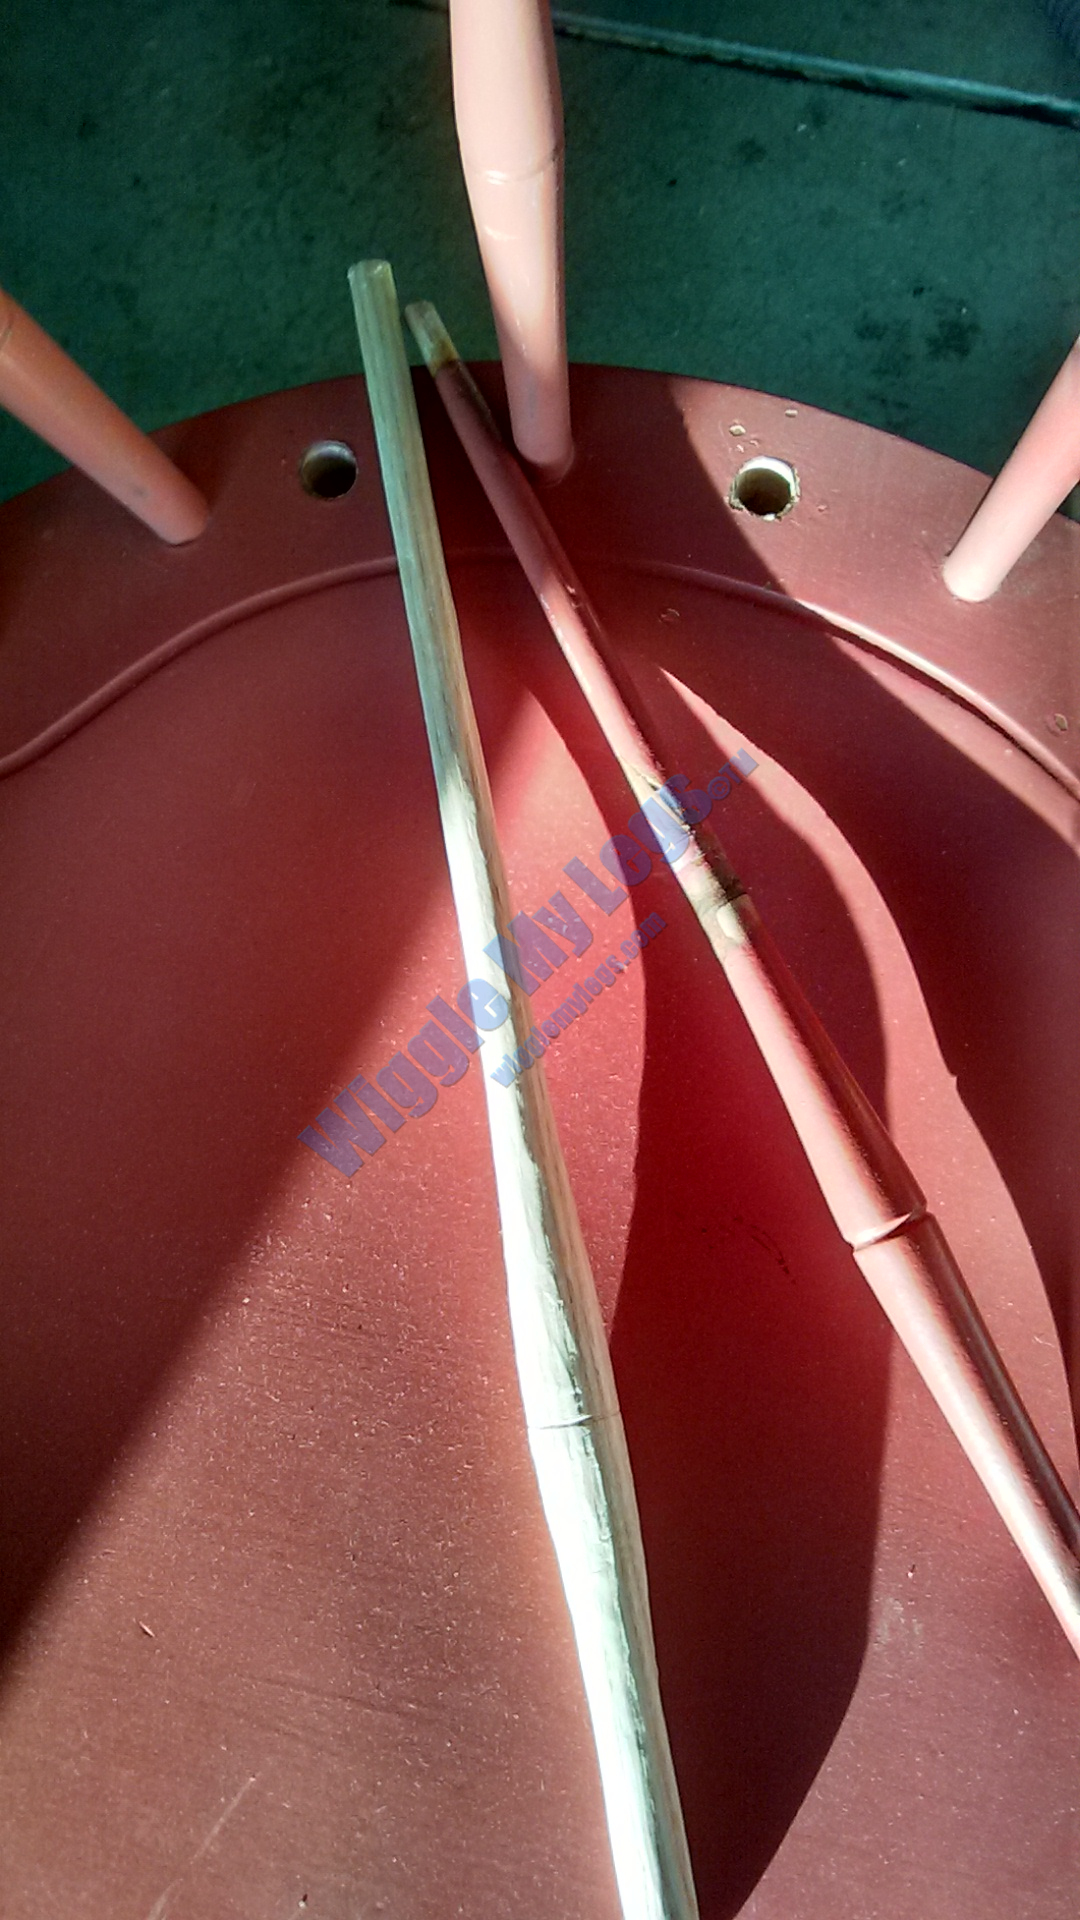
Looking at these breaks reminded of being told as a younger man about keeping chair spindles grain intact. After calling local woodworkers I found they all were making spindles by turning. On the Net, I found Harry Rogers making the stronger spindle. He has a lot of tools, equipment, and know how, and luckily his YouTube channel had a clip on making chair spindles. The idea is you start with a straight-grained wood and split it along the grain, down to a workable size. Then shape and finish. The final finished spindle will probably, like a tree branch, not be perfectly straight, but will have it's grain intact down the entire length of the spindle. This makes it very difficult to break. It shouldn't go into the chair easily and will have to be slightly pulled or pushed to fit. I don't have specialty tools so I made my own way using what I have. Prior to the closing of Fingerle Lumber yard in March of 2019, they let me sort through a couple dozen Ash planks to pick one with the straighest grain. It was a beauty. Then I sawed off a slightly longer than spindle-length piece from the end of the plank, and used a log-splitter with a small sledge to split the sawed off piece of plank, down the grain, from one end to the other. Out of one spindle-length piece of plank, once it was split I ended up with about 3 potential spindles. In these spindle photos, the first one shows the plank I split on the left, the slightly whittled and shaped version in the middle, and one of the factory spindles from the broken chair on the right. Because the one in the middle isn't done or round yet, it still shows a slightly flat area in the swell indicating it was from a plank. Obviously, my plank thickness has to measure the same or larger than the thickest spindle swell diameter. This red factory spindle on the right was broken in half so I glued it together to use as a model. I had to consider slight differences in spindle length depending on where in the back of the chair the spindle was meant to be.
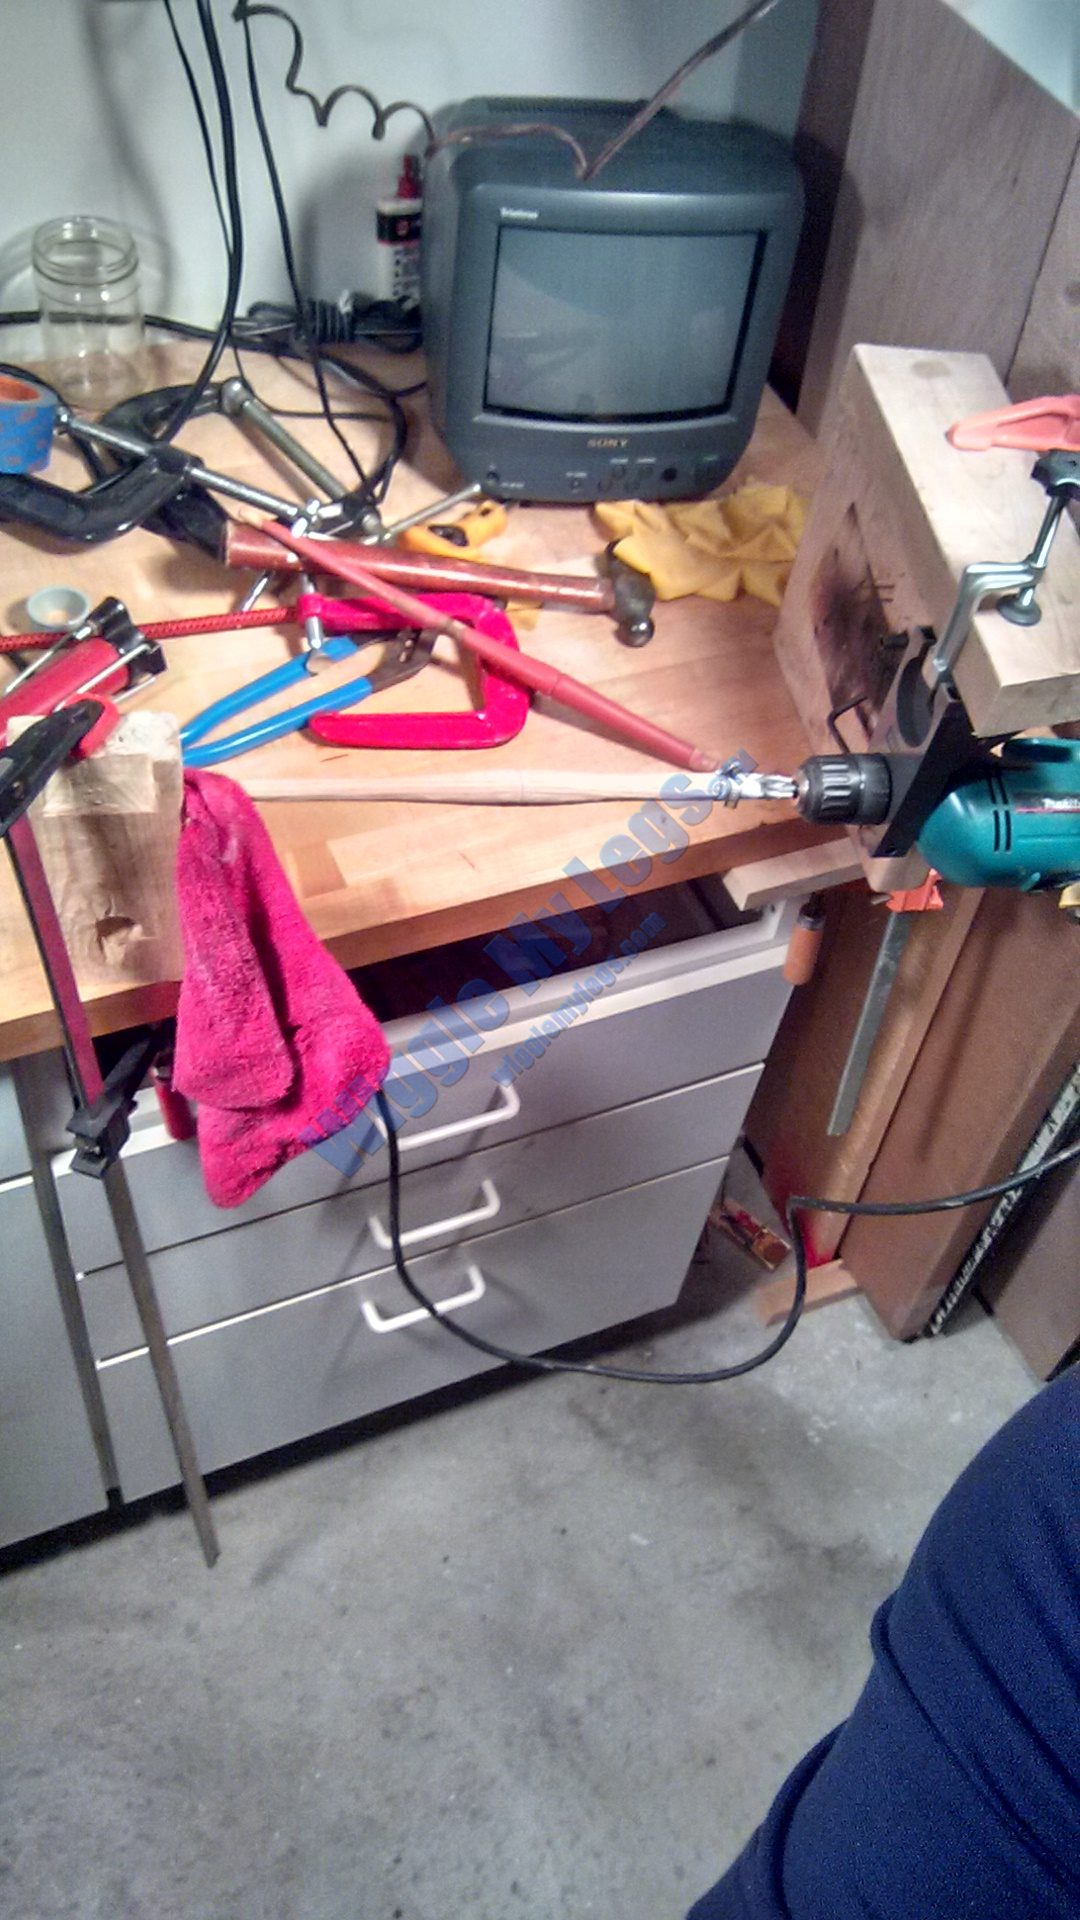
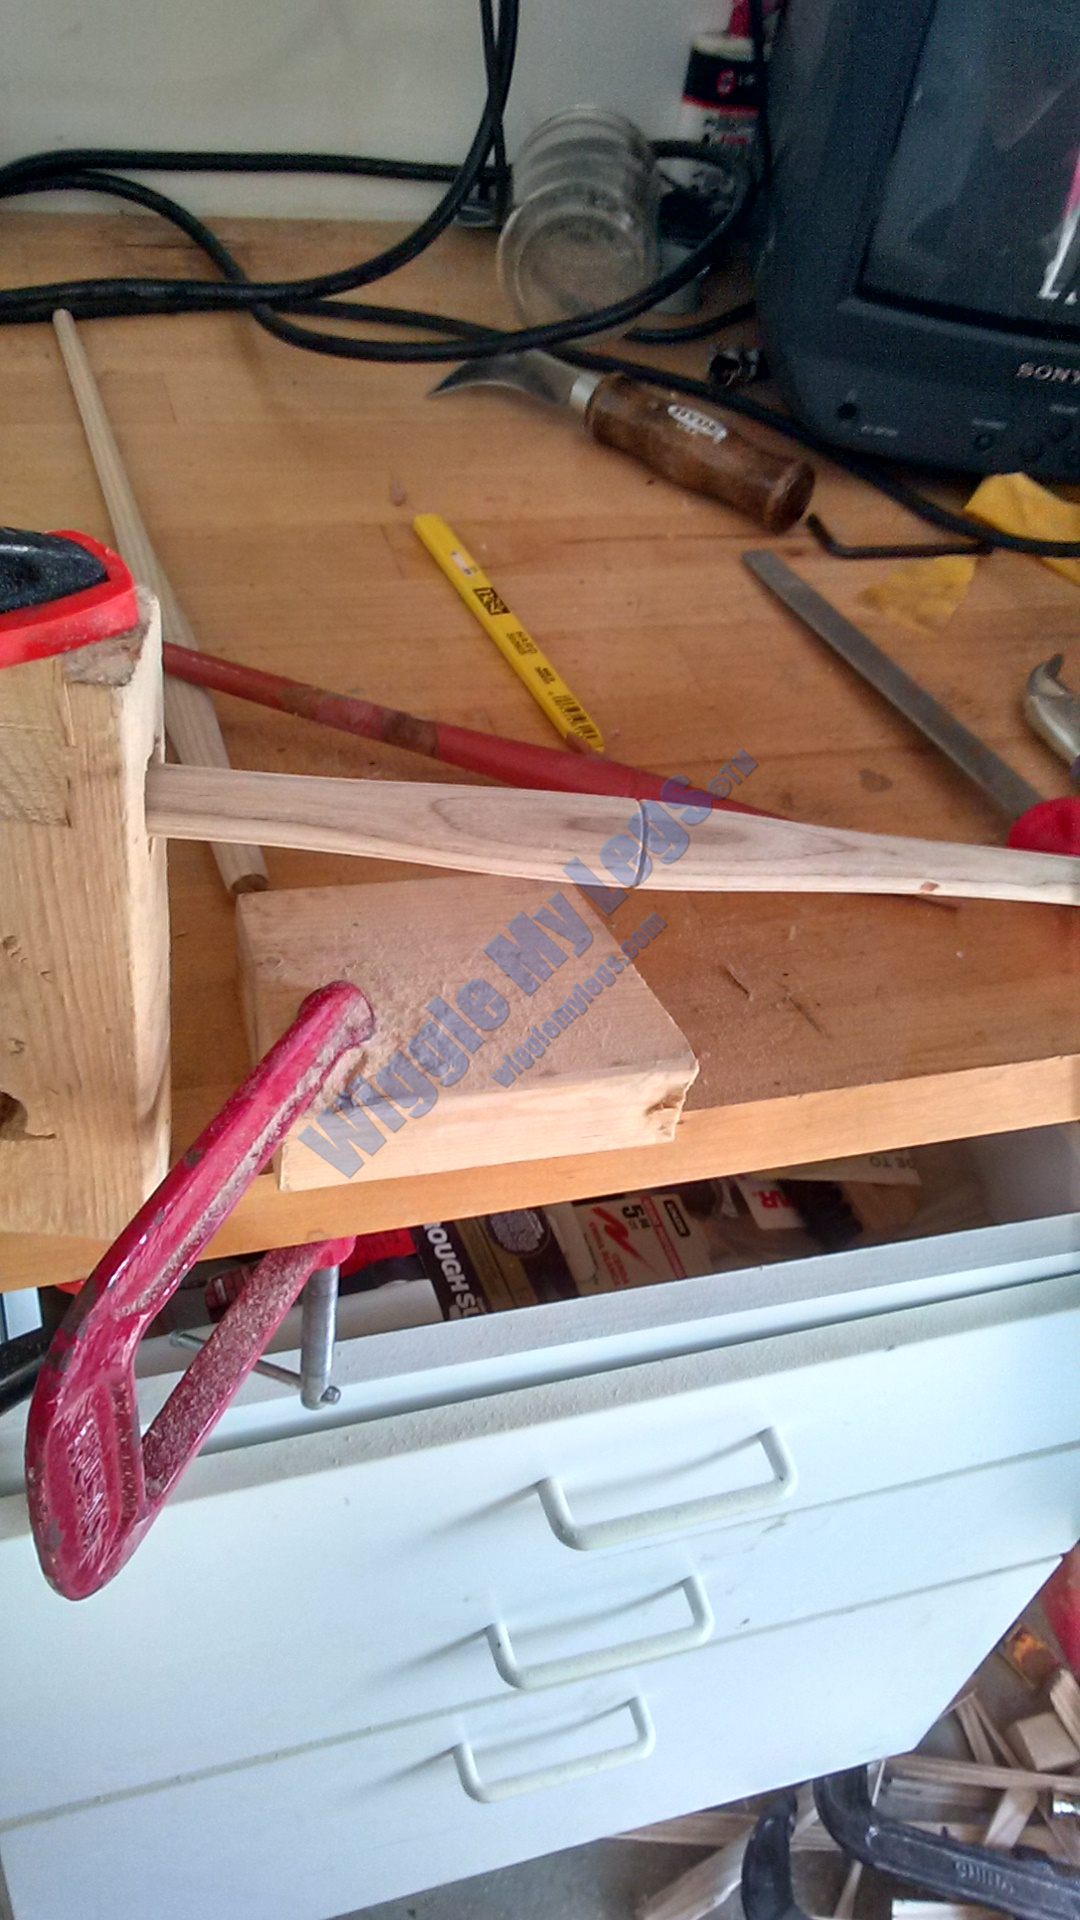
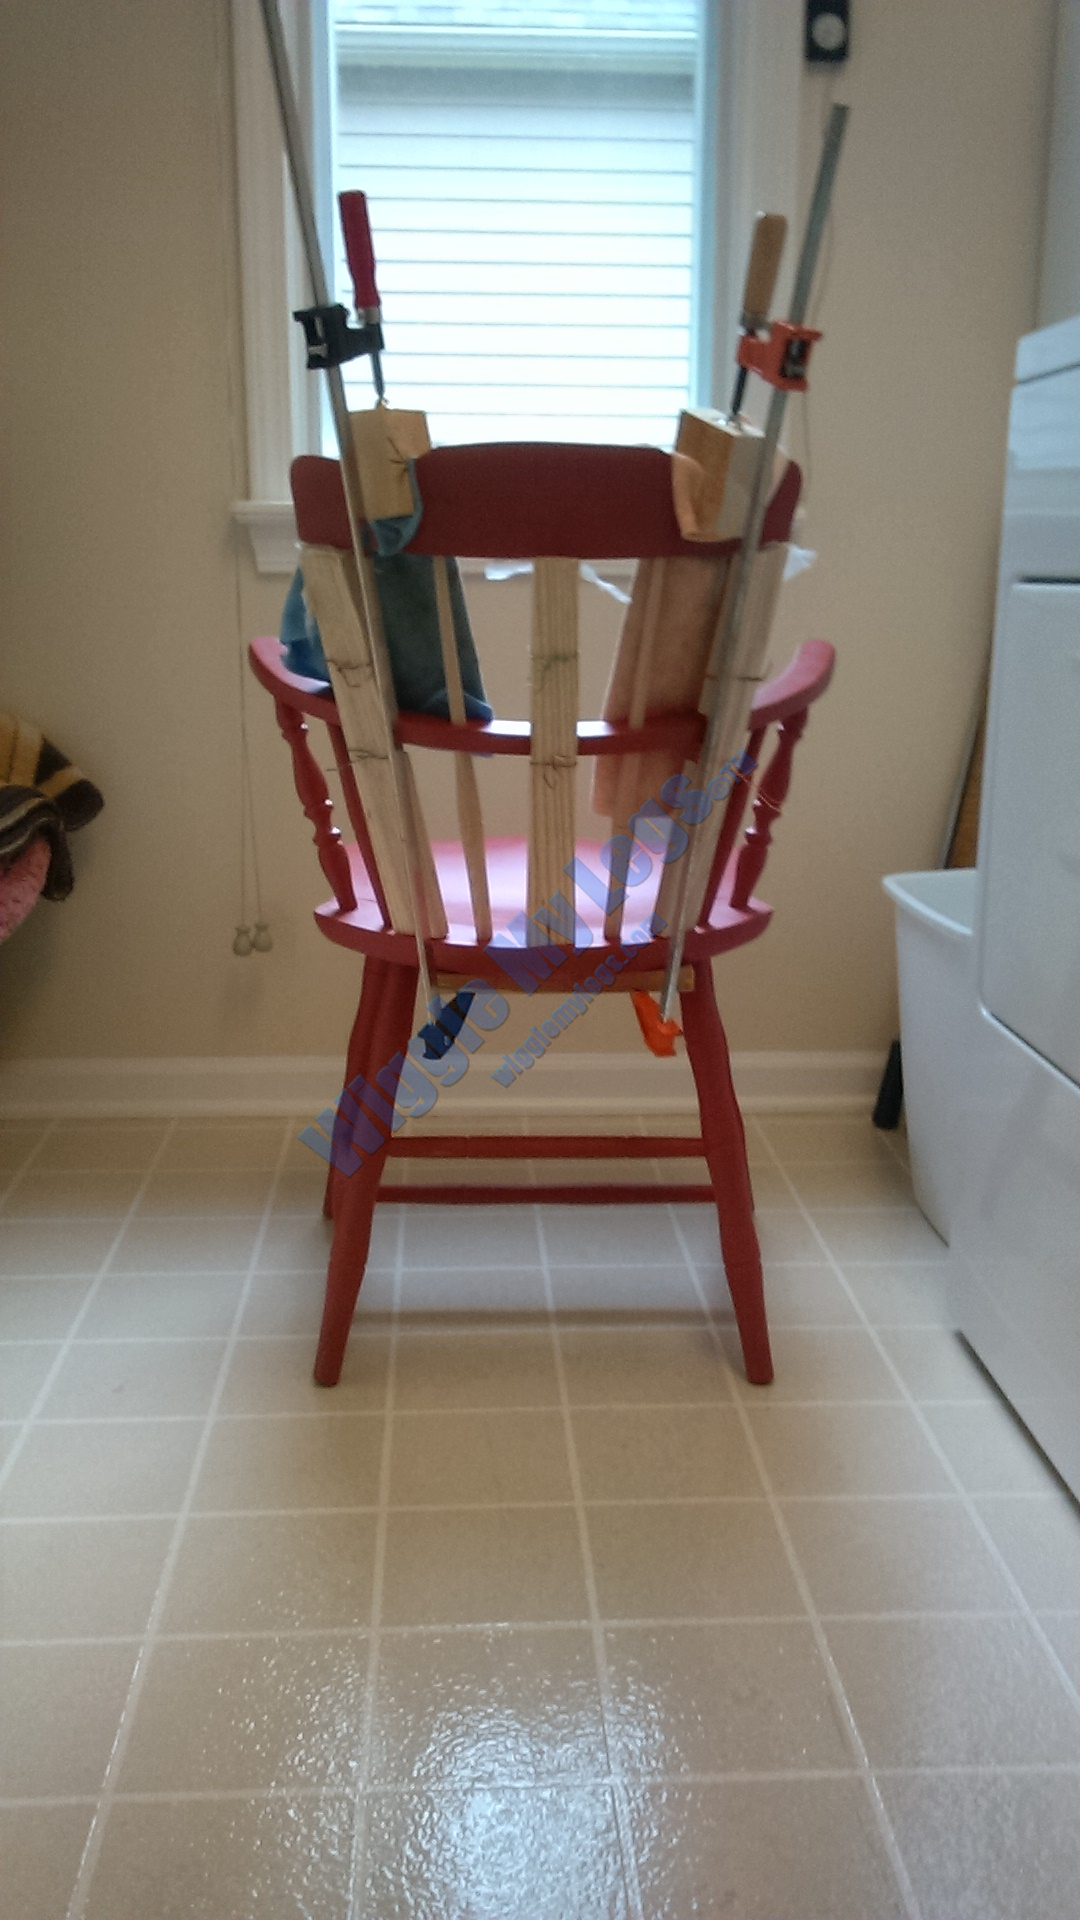
Here below you see my set up for finishing spindles. Fortunately, I had cut the spindles a little longer than target length in case the Makita drill chuck damaged the end. Fortunately, the narrow end of the spindle was smaller than my 3/8" drill chuck. Fortunately, I had a Dico drill mount. Fortunately, I had a piece of latex rubber with lots of friction when tied with a somewhat loose over-and-under knot for hands-free speed control of my variable speed Makita drill. Fortunately, my grain was pretty straight so it minimized the wobble in the wood block hole opposite the drill.

In this picture I've very loosely stuffed a little of a red cotton rag into the hole because this spindle was less straight. It has to be loose enough not to spin with the spindle. As the spindle wobbles in the cloth padding, there is less noise and vibration making it easier to work on the details of the spindle with files and 3M sandpaper. I also had to put the large end of the spindle in the drill so made an adapter from a piece of metal tube and a hose clamp. On one end of the metal tube I symetrically made three pinches, creating three lobes and three valleys in the pipe end. The pinched valleys matched the three fingers of my drill chuck, while the open end of the metal tube was split in half by using a hack saw for 3/4 of an inch. This split allowed the tube to close on the spindle when the hose clamp was tightened.
Here is a spindle after whittling is done, and it is turned in drill mount using a file to mark the notch. After turning with 3M sandpaper is complete, it will get the final touches on the notch.
Here is a closer view. As I worked the spindles I tried to make sure the grain was always intact. Here you see the symetrical stacking of the grains in the swell of the spindle. To finish each spindle, I sanded the spindles by hand with the grain direction after they came out of the drill mount, to remove any circular sanding blemishes from sanding while turning.
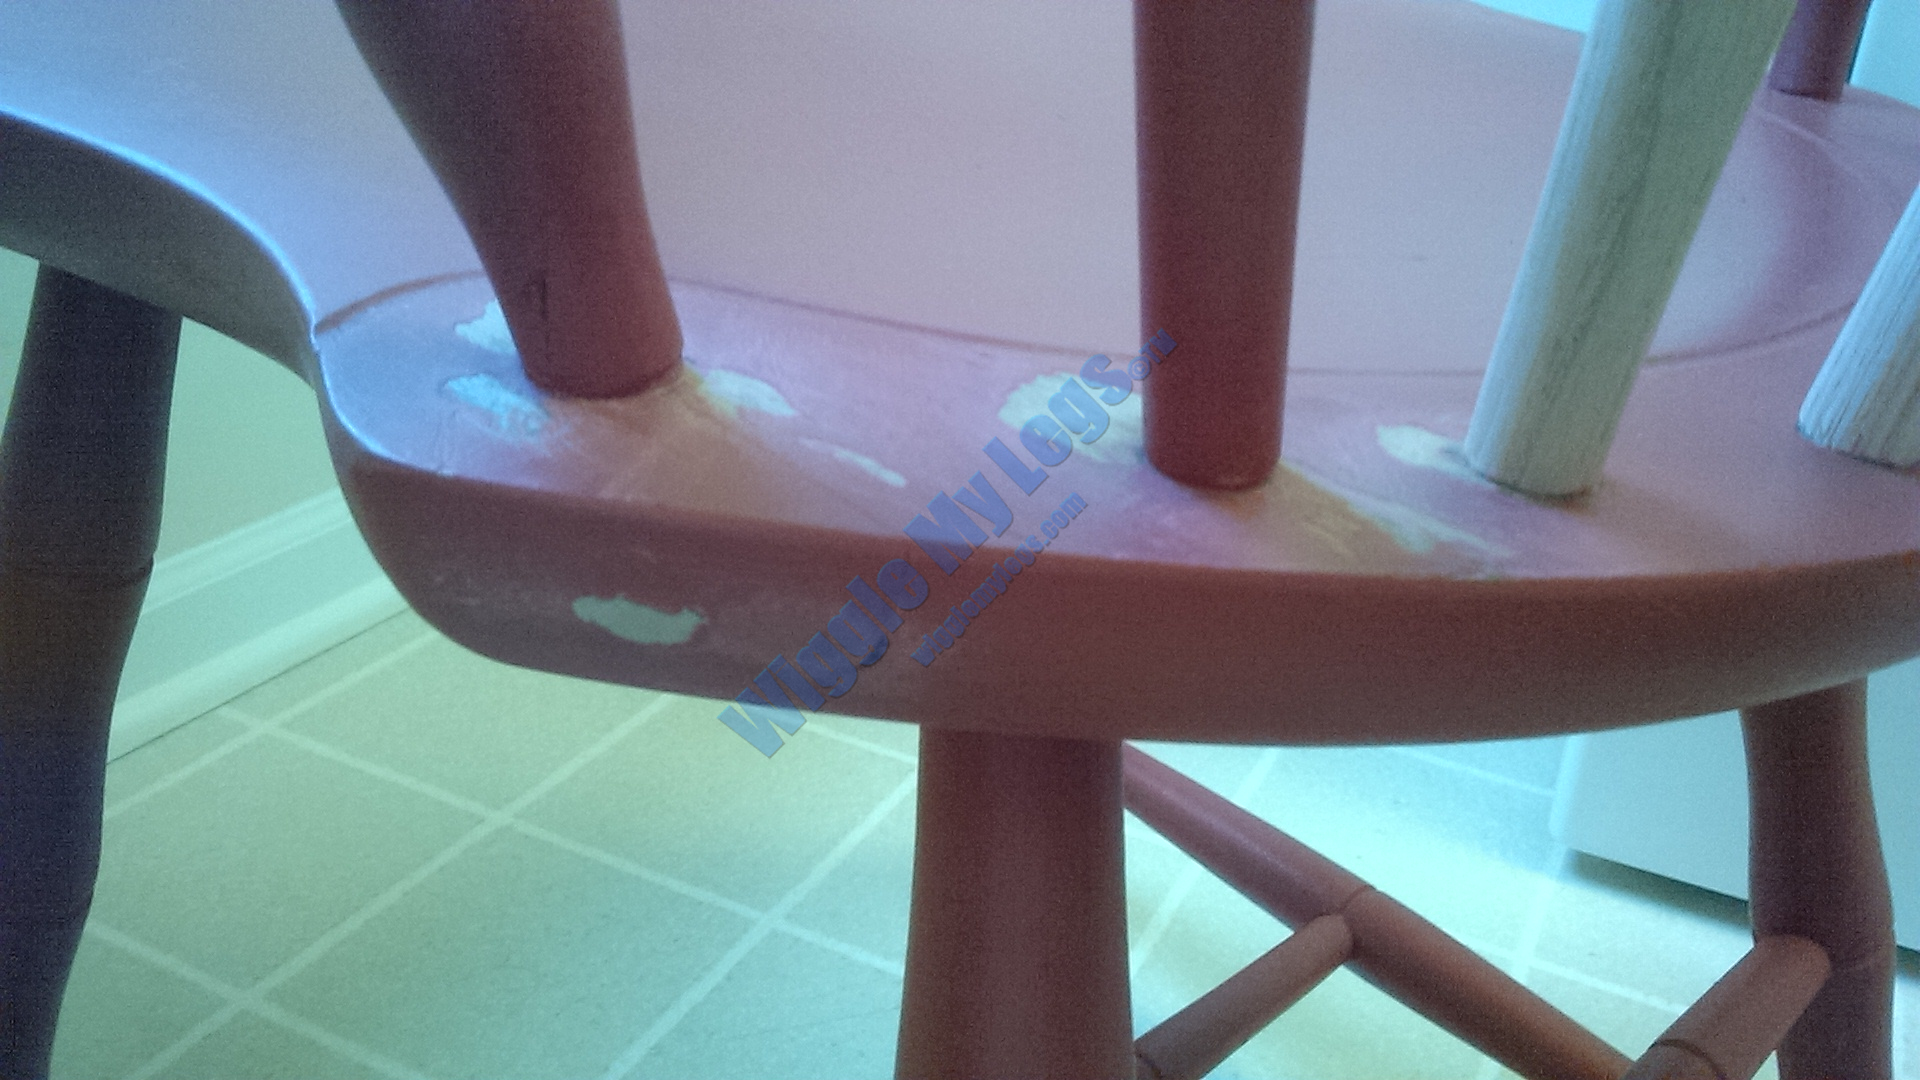
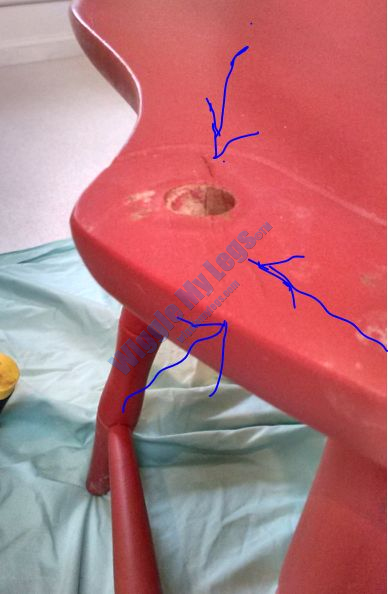
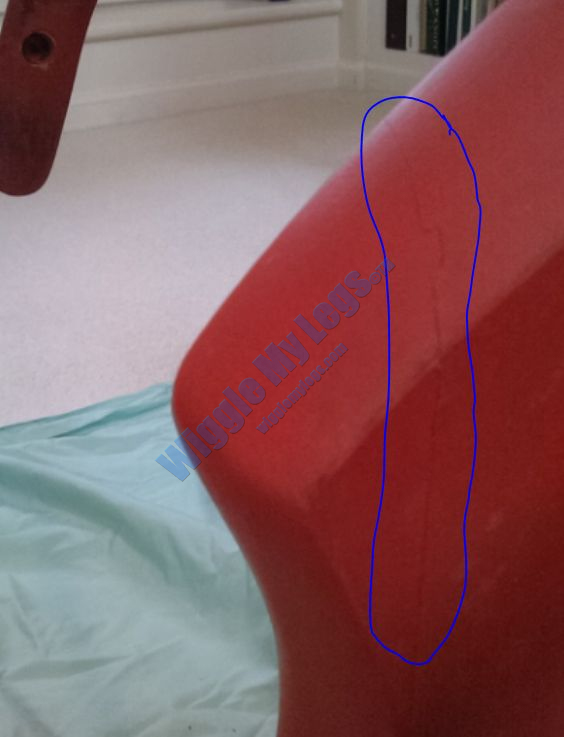
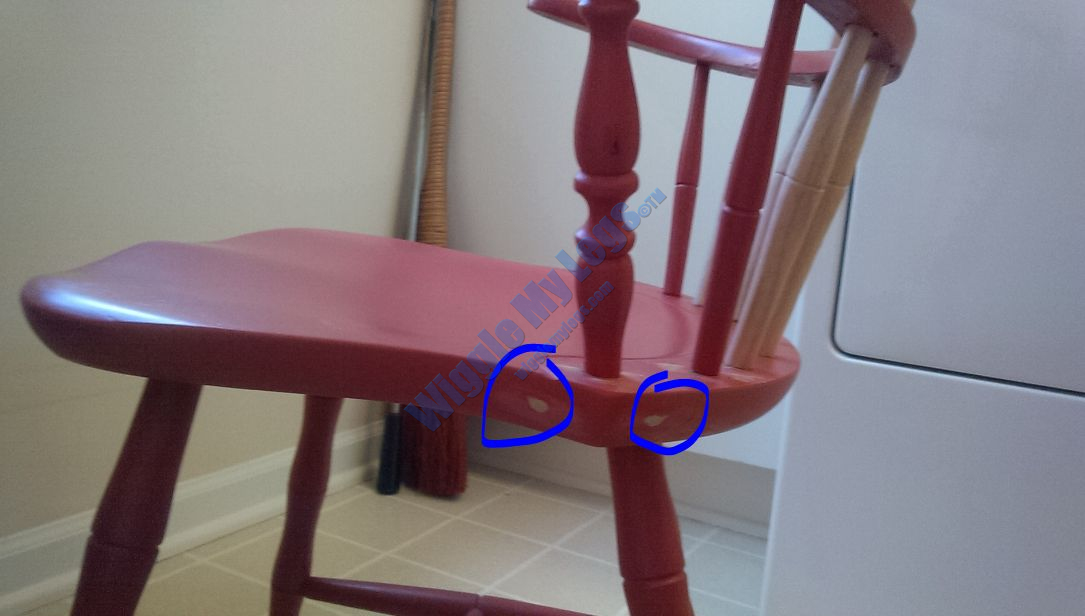
A brief aside here. As you see in the next three photos below, whatever happened to damage the chair almost caused the left side of the saddle to crack off in a triangular shape. For the repair, I drilled pilot holes, put Elmer's Glue All into the cracks and also into the pilot holes hoping to reach deeper into the crack centers, and installed two small diameter cabinet trim screws due to the small surface area for the square drive heads. I installed them in the approximate locations show in the third photo here, recessed them, then used Elmer's wood fill, sanded them, and painted when I painted the spindles.
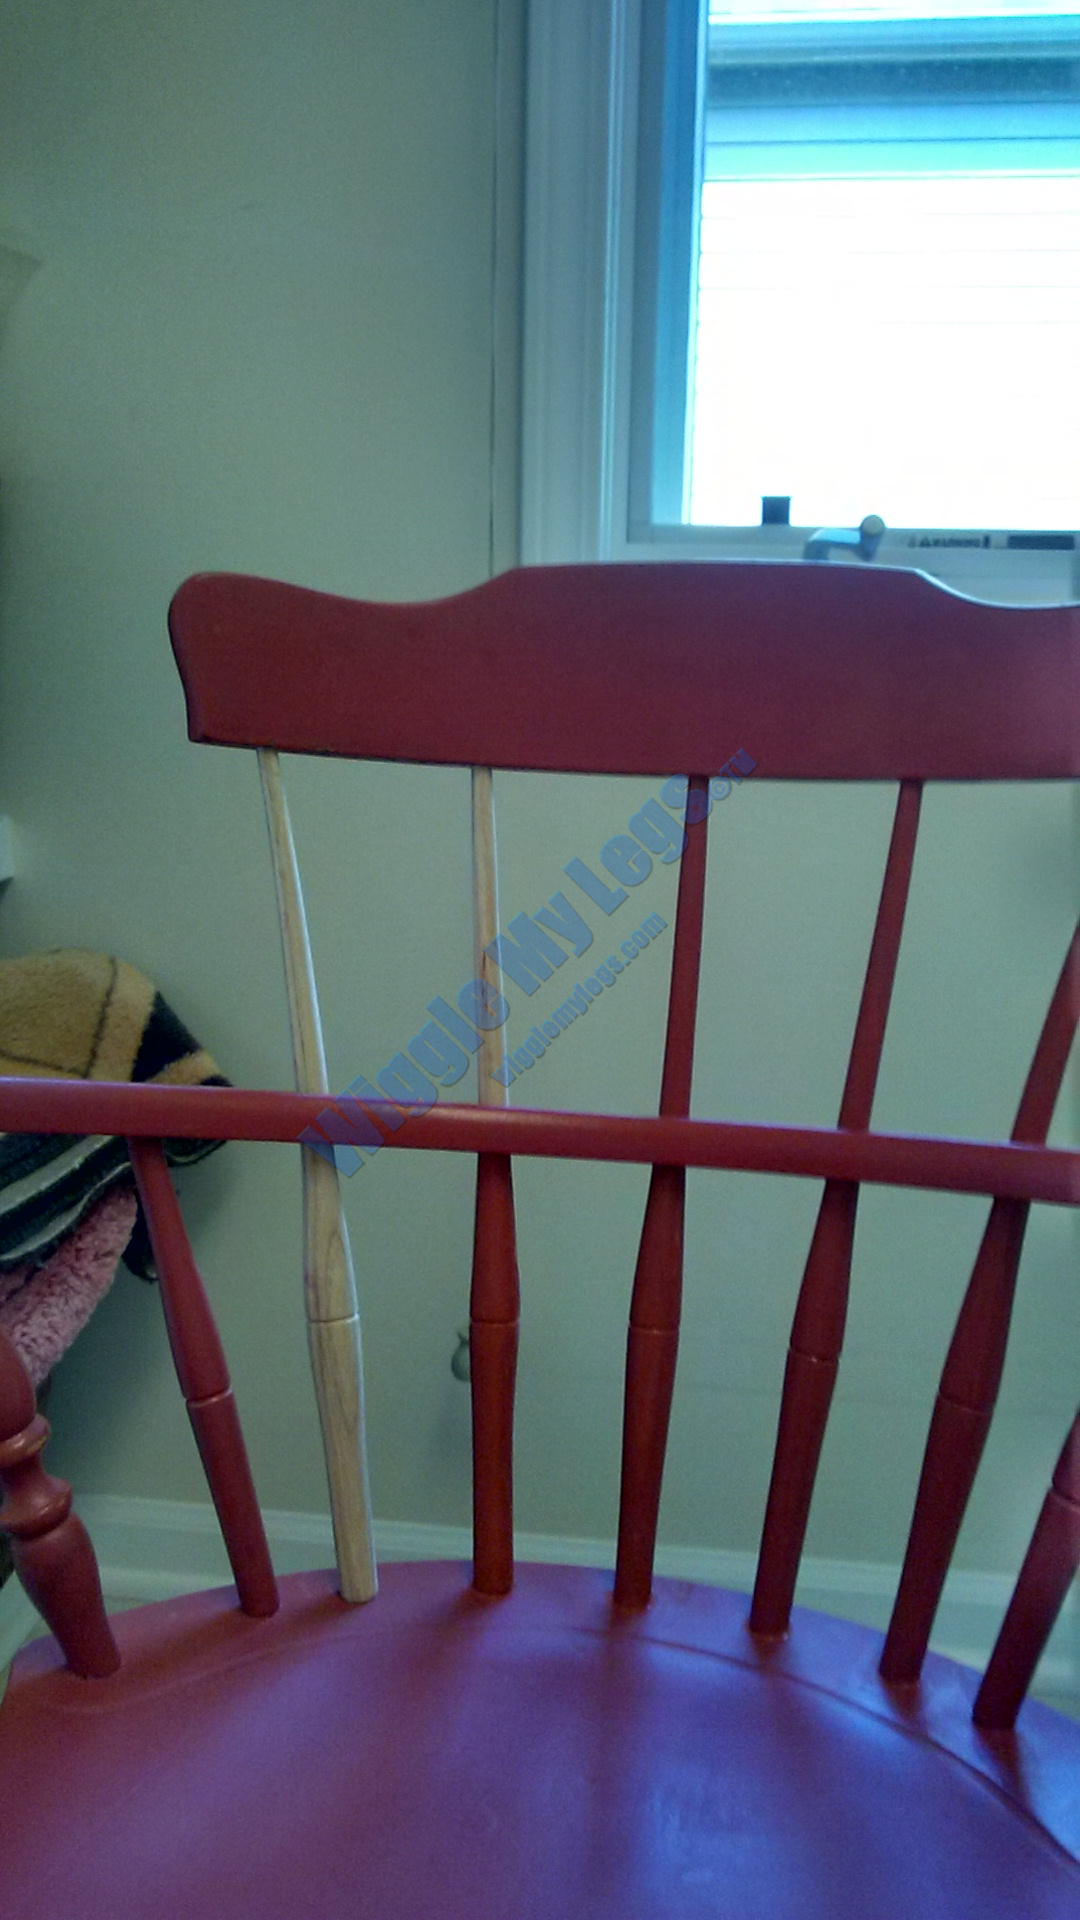
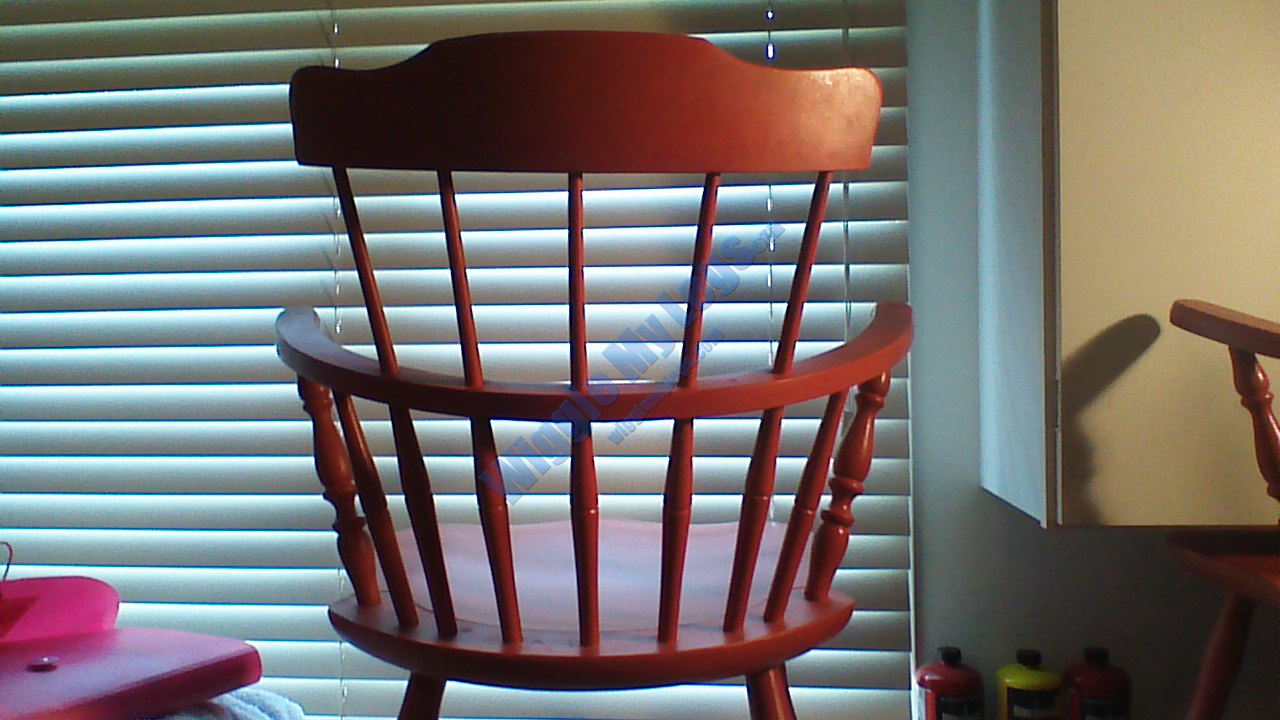
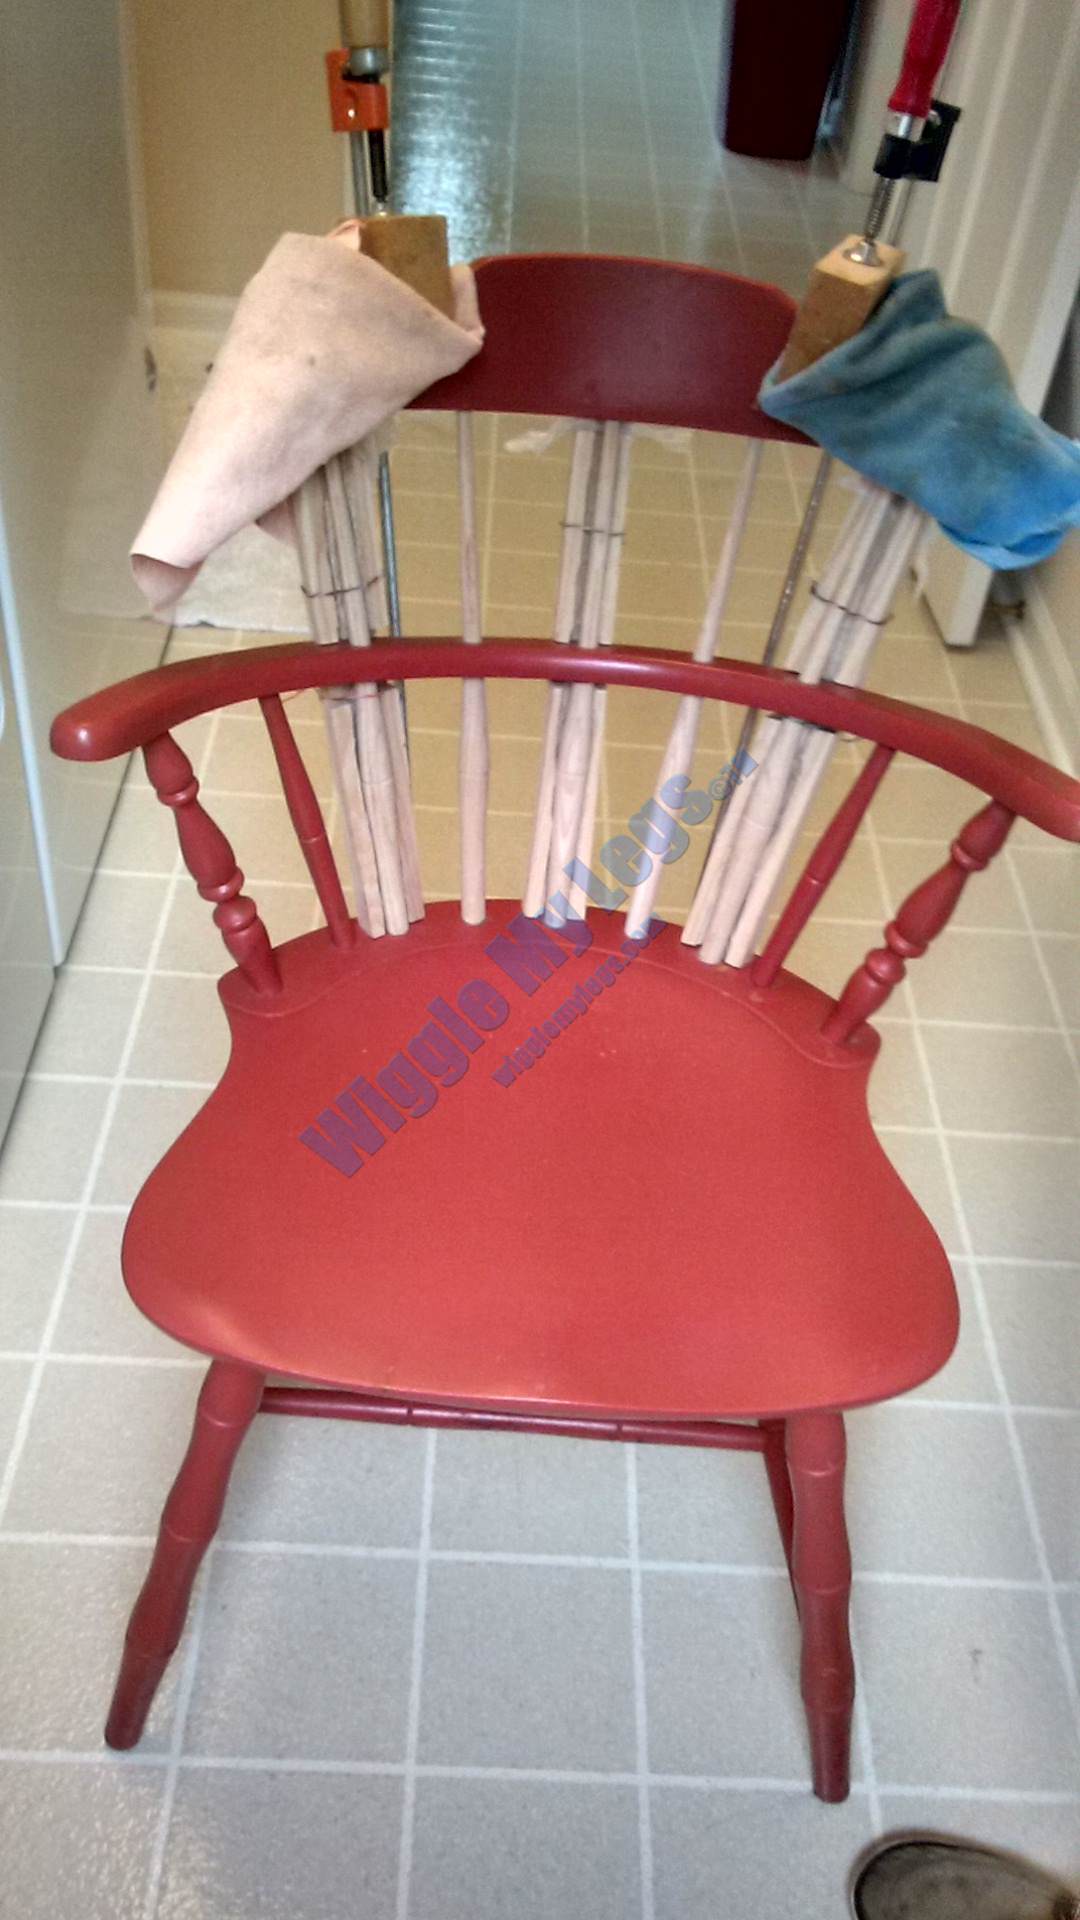
Here below is the first attempt at the three replacement spindles, being shown next to a factory chair for hieght. The smallest amount of Elmer's glue was used on the ends of the spindles which mounted very tightly in the mounting holes. They were so tight I think I could have skipped glue. But I didn't.
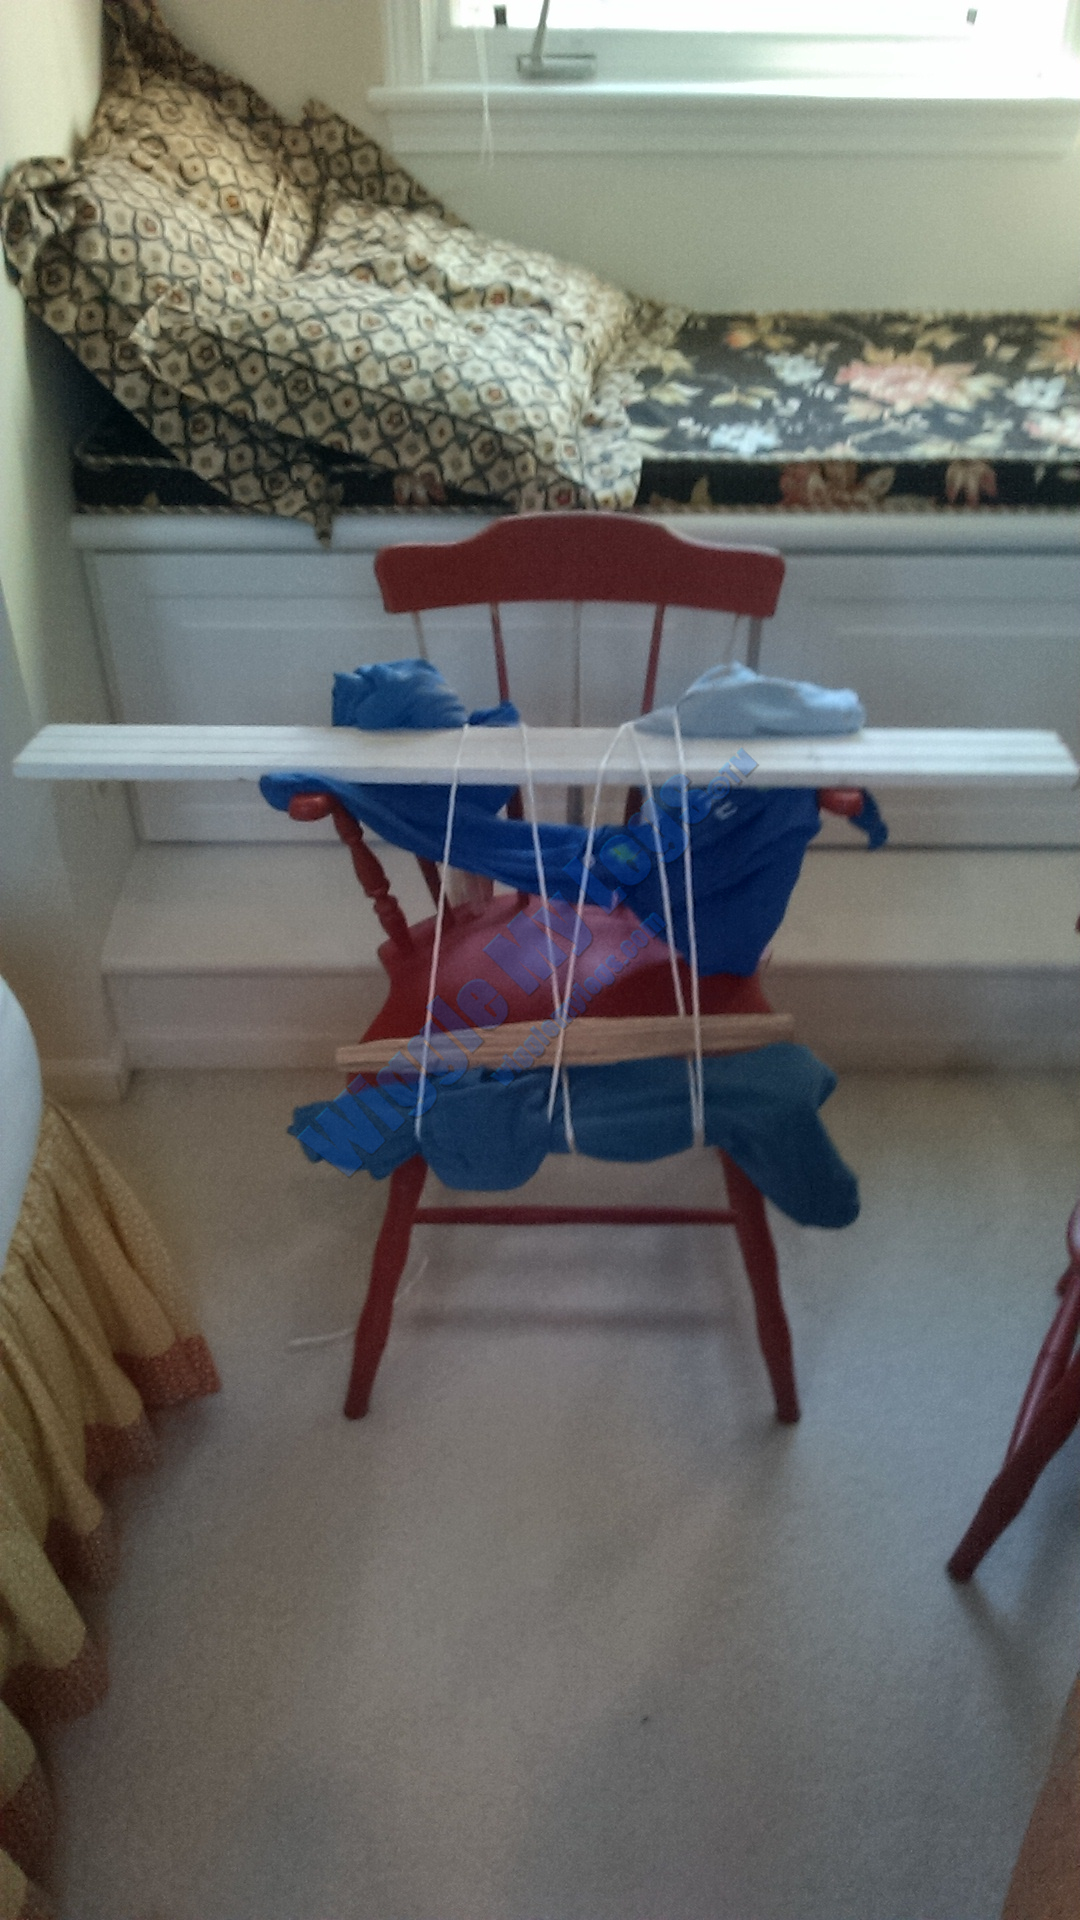
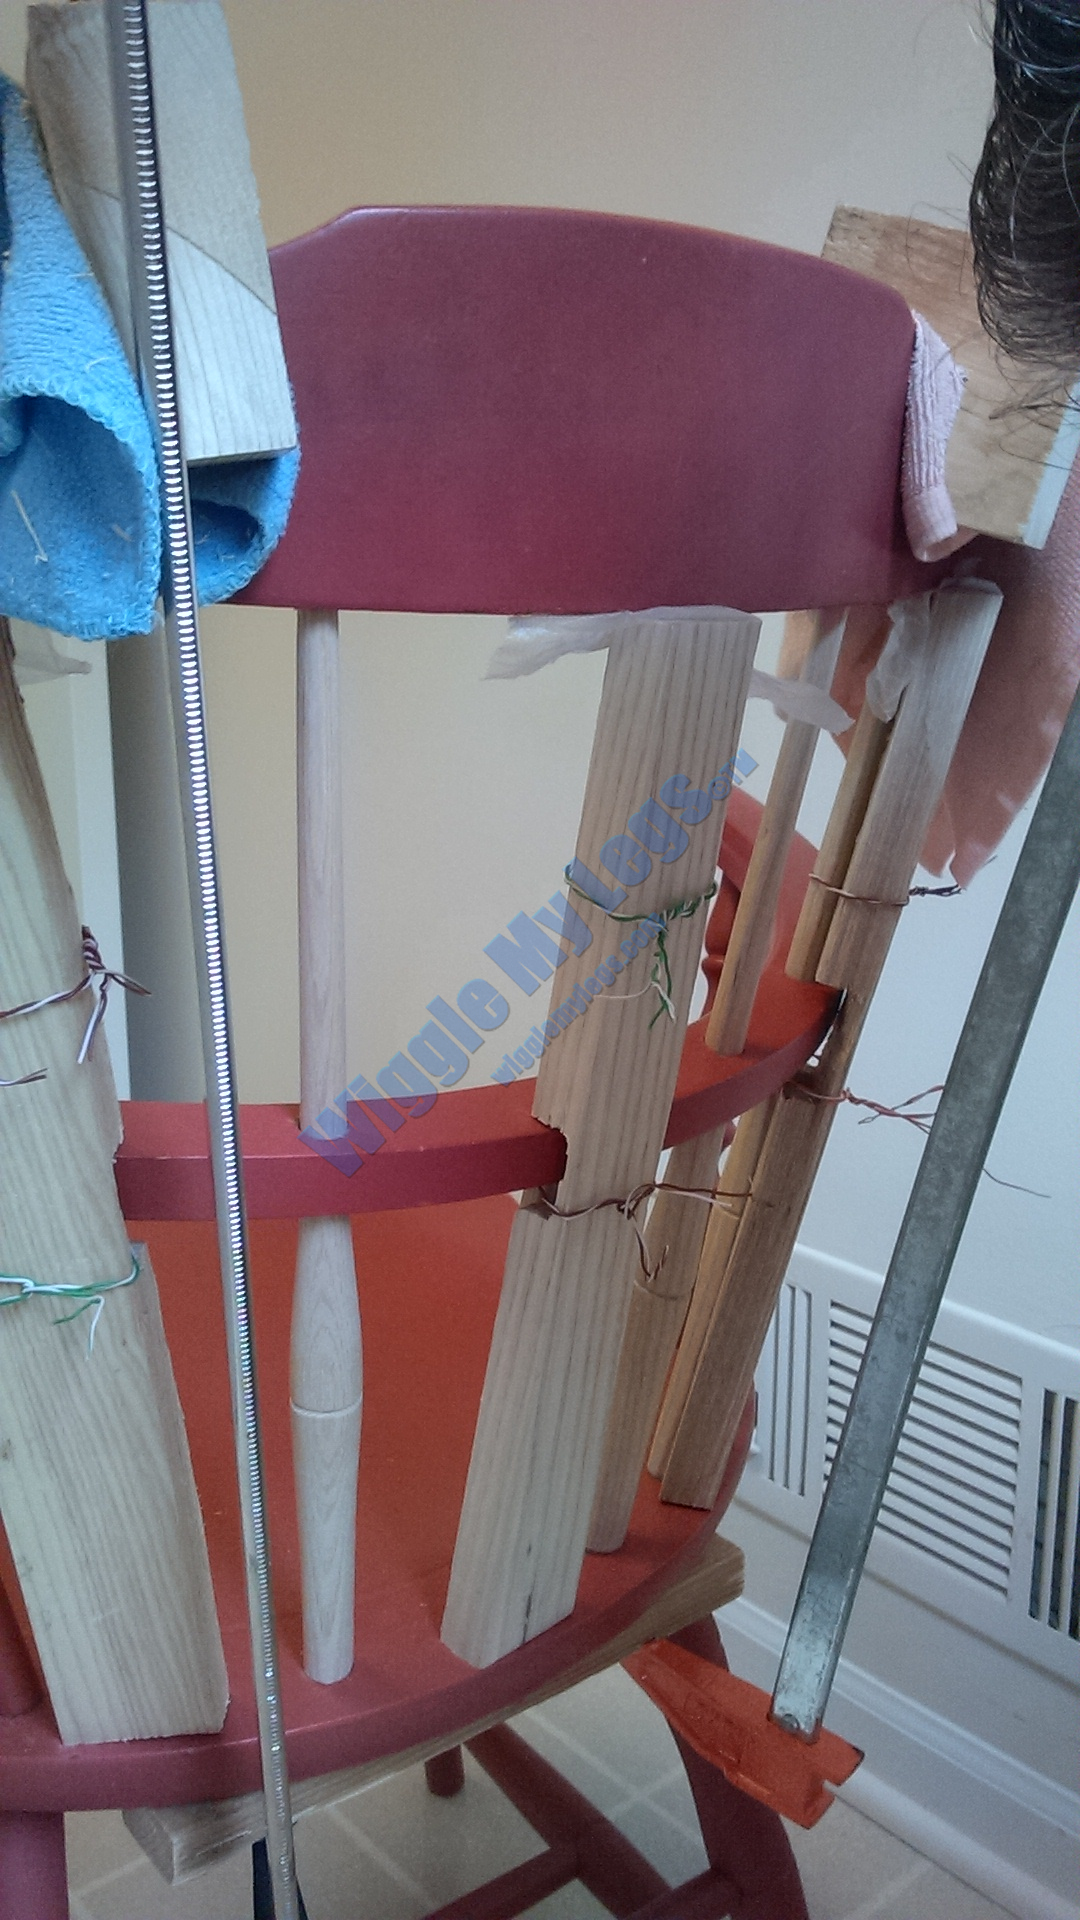
For glue clamping, I used rope with padding on chair parts to prevent the rope from denting the chair wood. I tightened the rope with a piece of 2x4 like a tourniquet. It was perfect when I went to sleep. It wasn't perfect when I woke up. How this could be I have no idea. I checked the heights multiple times as the glue dried before bed, yet the height was about 1/8-1/4 inch too high on one side. The painful decision was to redo them. The spindles had to be broken as the tight fit with glue would not yield. That error caused five new spindles to be made.
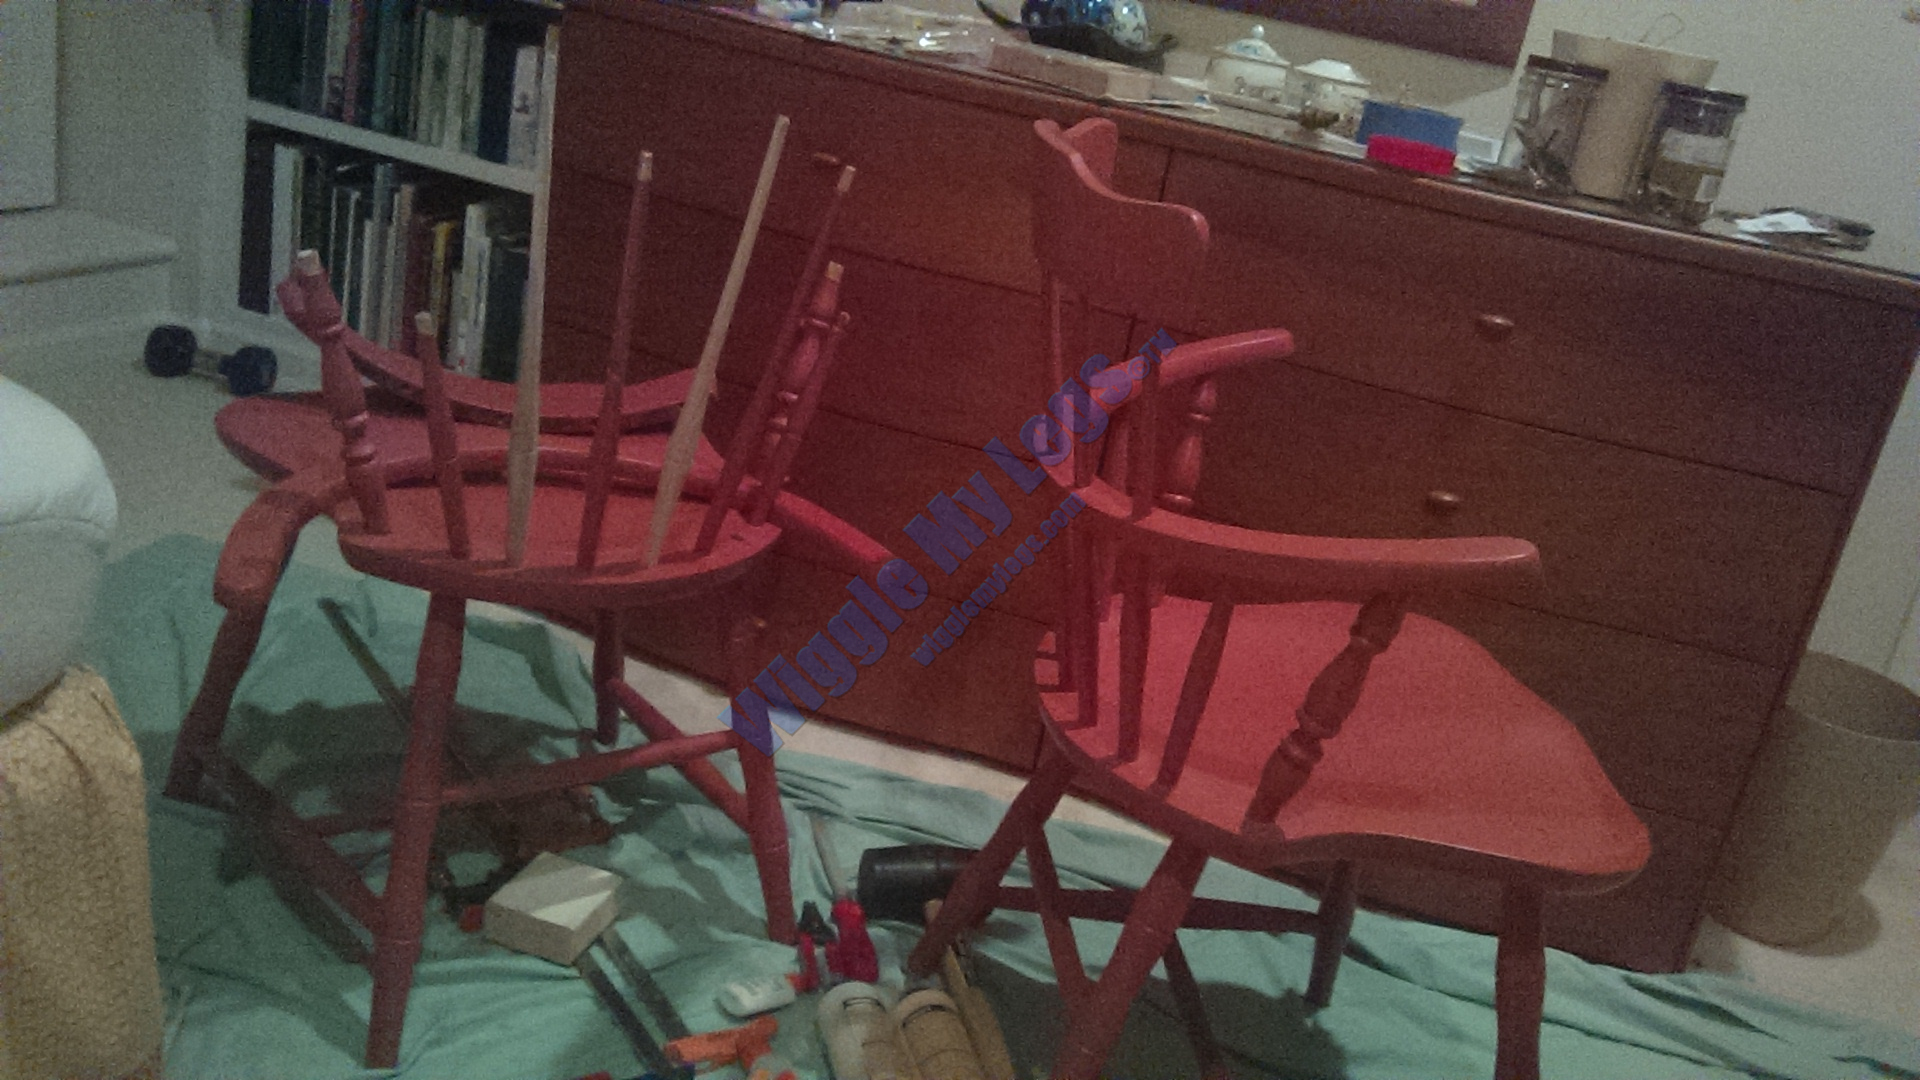
Here is one of the factory chairs at eye level on the workbench, which allowed me to continually check measurements from the hard and flat surface of the workbench to various test points on the repair chair. This was a much better method. In this first photo you see the factory chair used as a model, and can notice the tip of the left arm of the chair I was repairing with 5 new spindles this time, way over on the right edge of the picture.
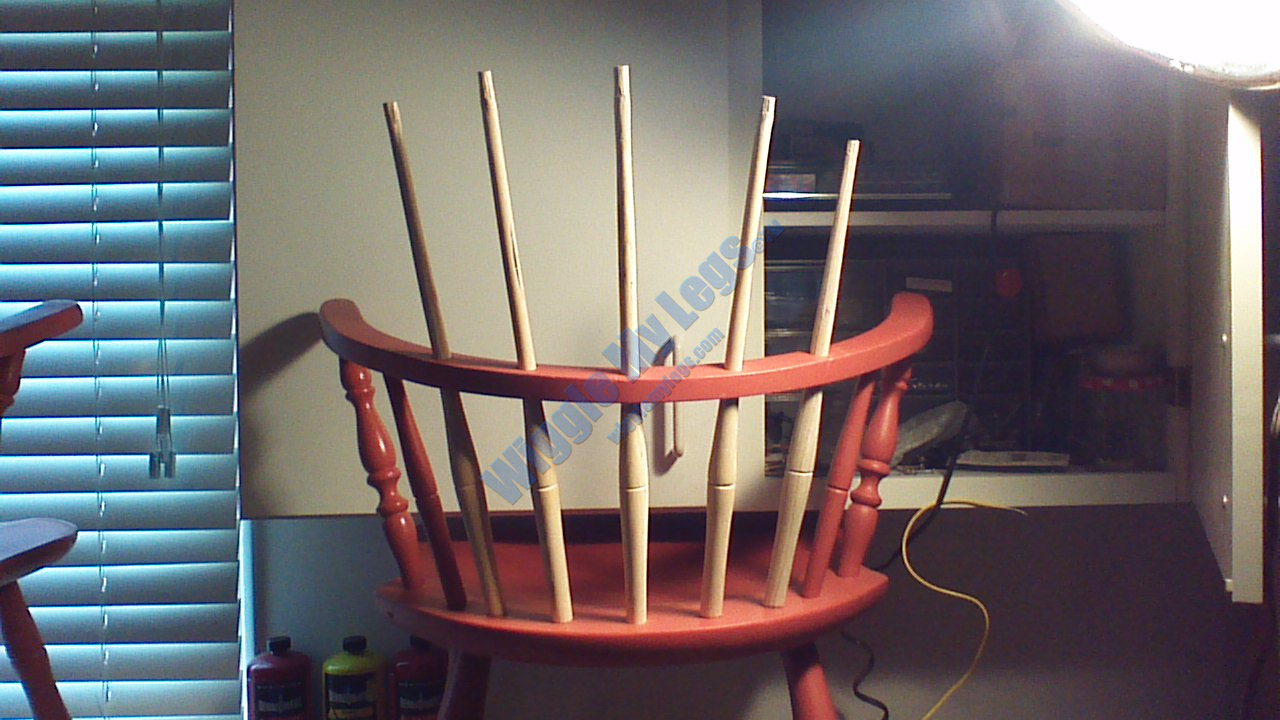
In this next photo, you see my 5 new spindles in the chair. After multiple assembly and disassembly sessions and measurements, and even more sanding to compensate for everything including height and slope of the arm, I made three carved out jigs you see in the 3rd, 4th, and 5th pictures to hold things straight while clamping with Elmer's Glue All.
Then in these final pictures came final sanding and some great paint matching from Sherwin-Williams, and a chair in better shape than it's three other siblings in the set.