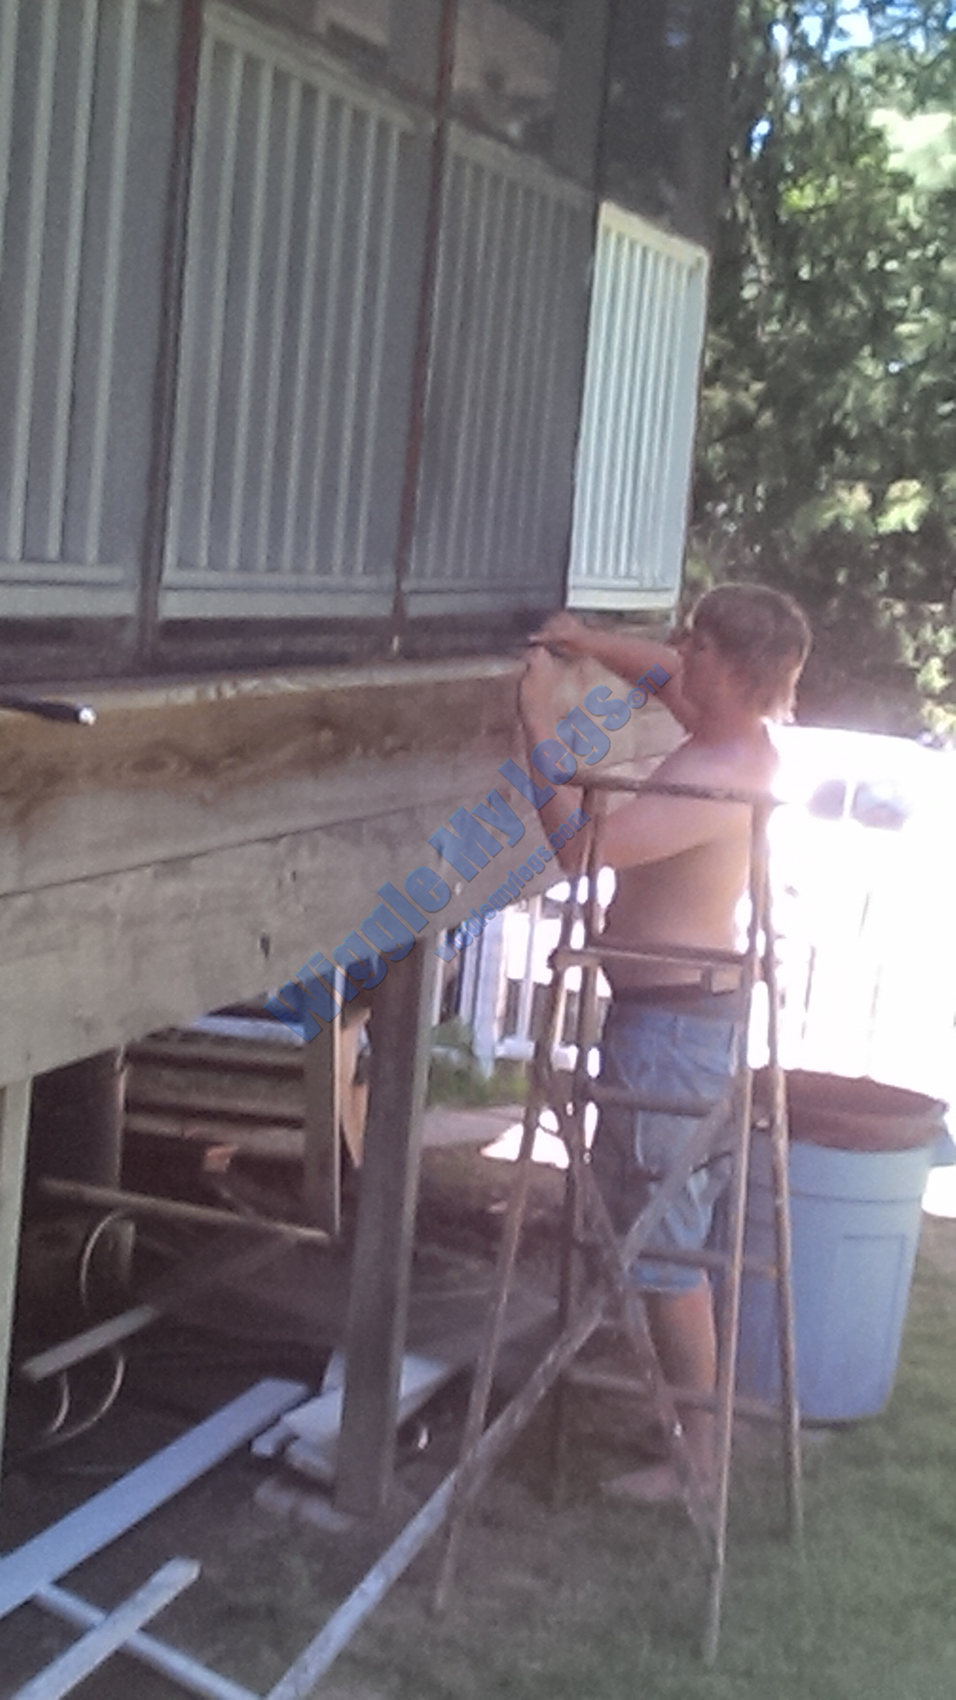
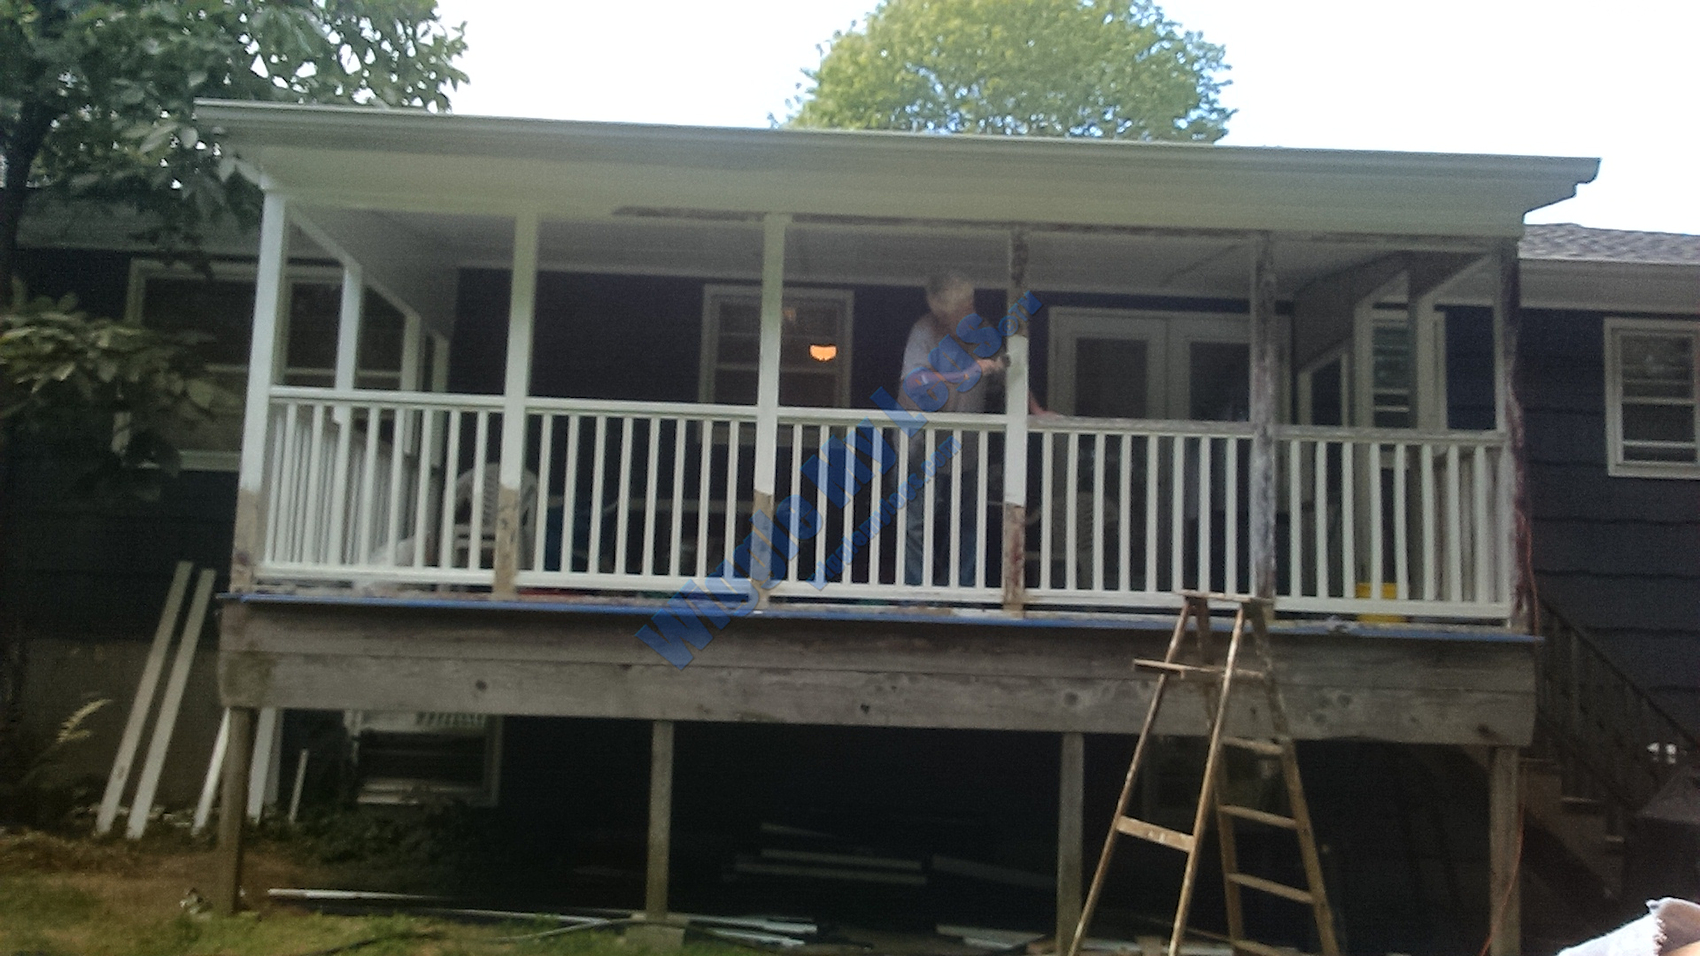
It was decided the old steel screens with holes and rips needed replacing. Too bad my main camera was out and I had to awkwardly use my selfie camera for this project. Hundreds of staples on old screens being removed left of corner post to release old screens.

More staples being removed along bottoms of screens.
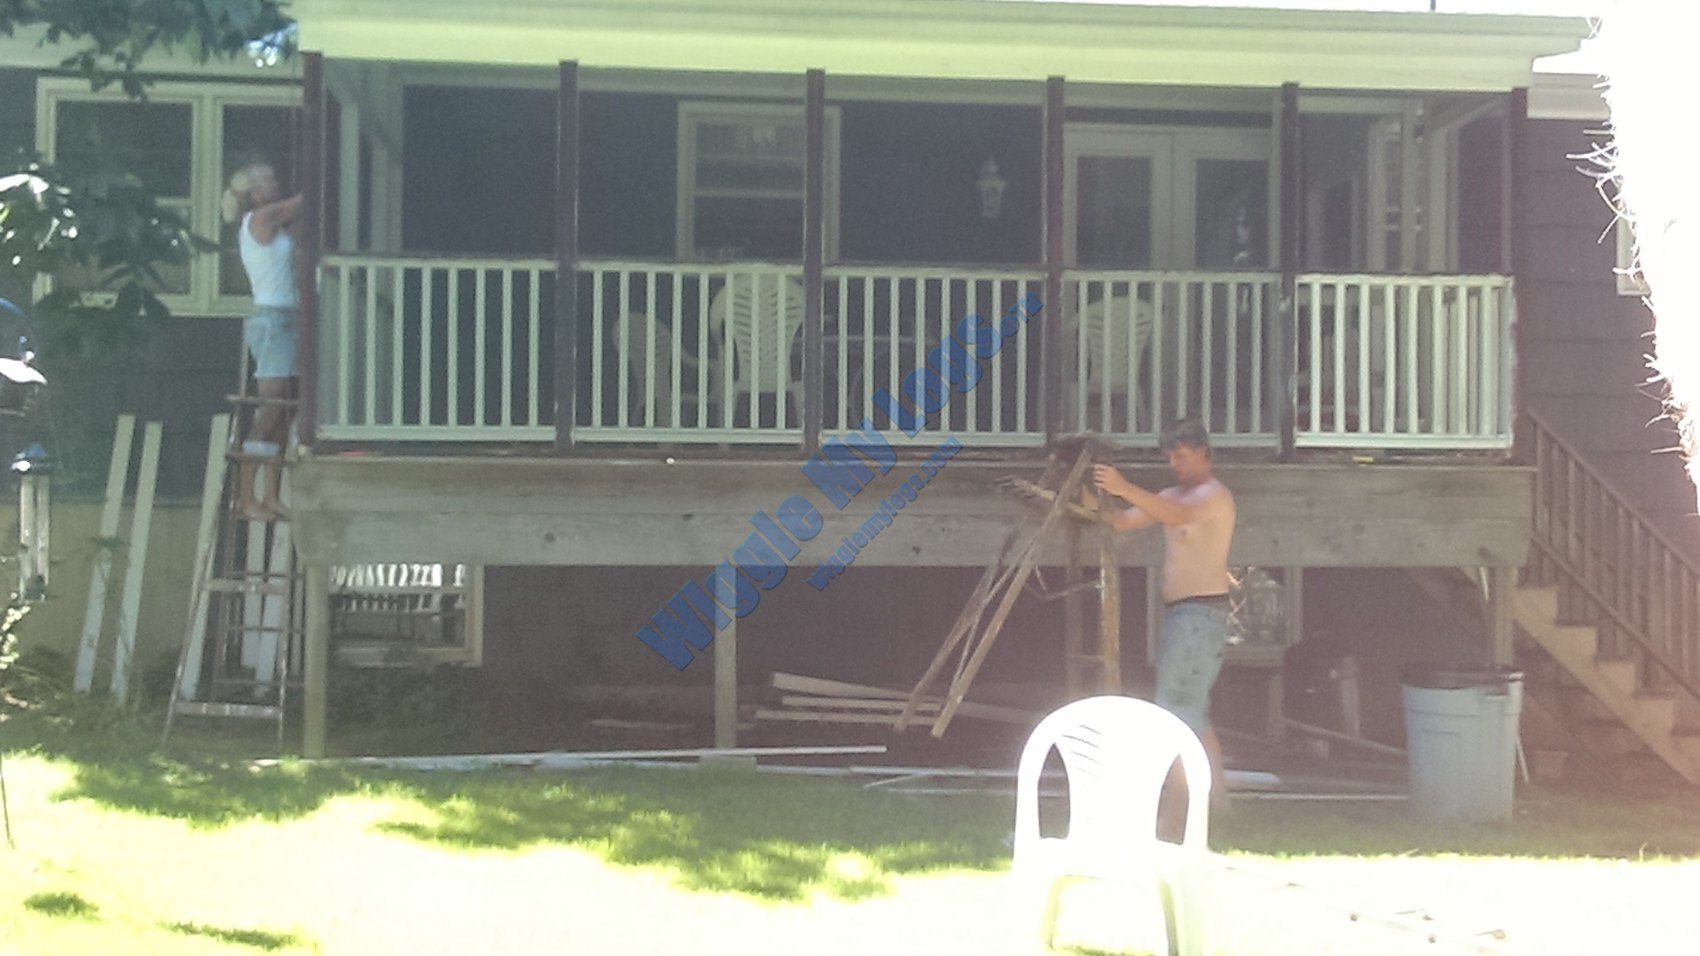
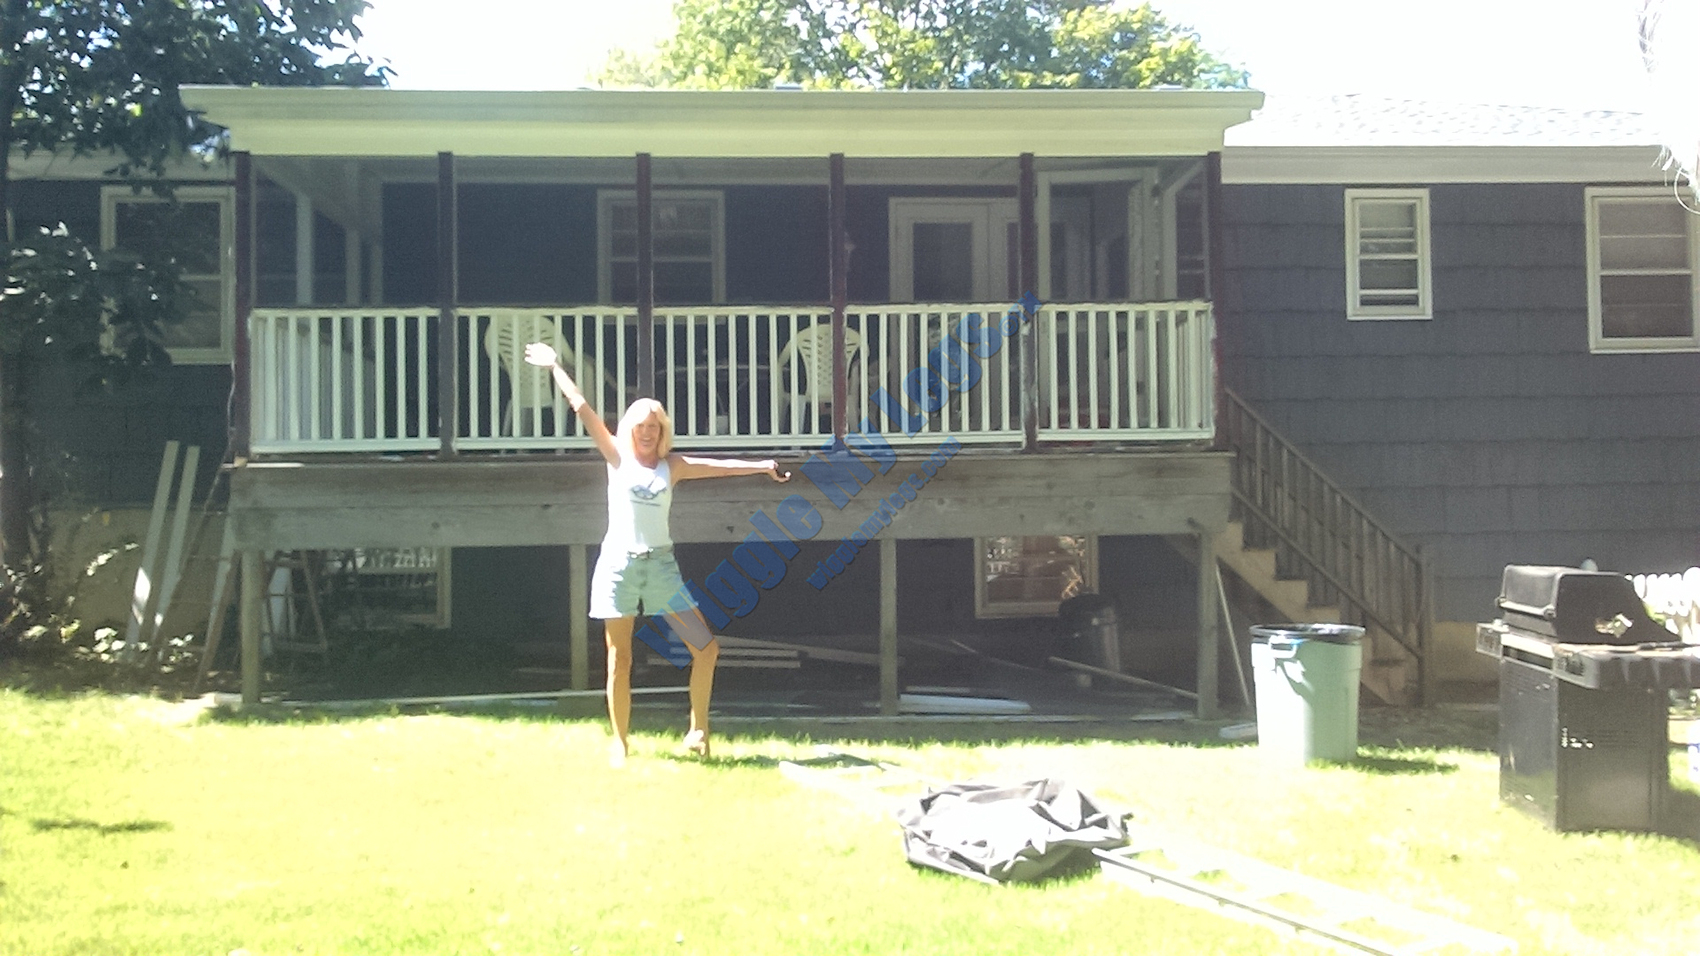
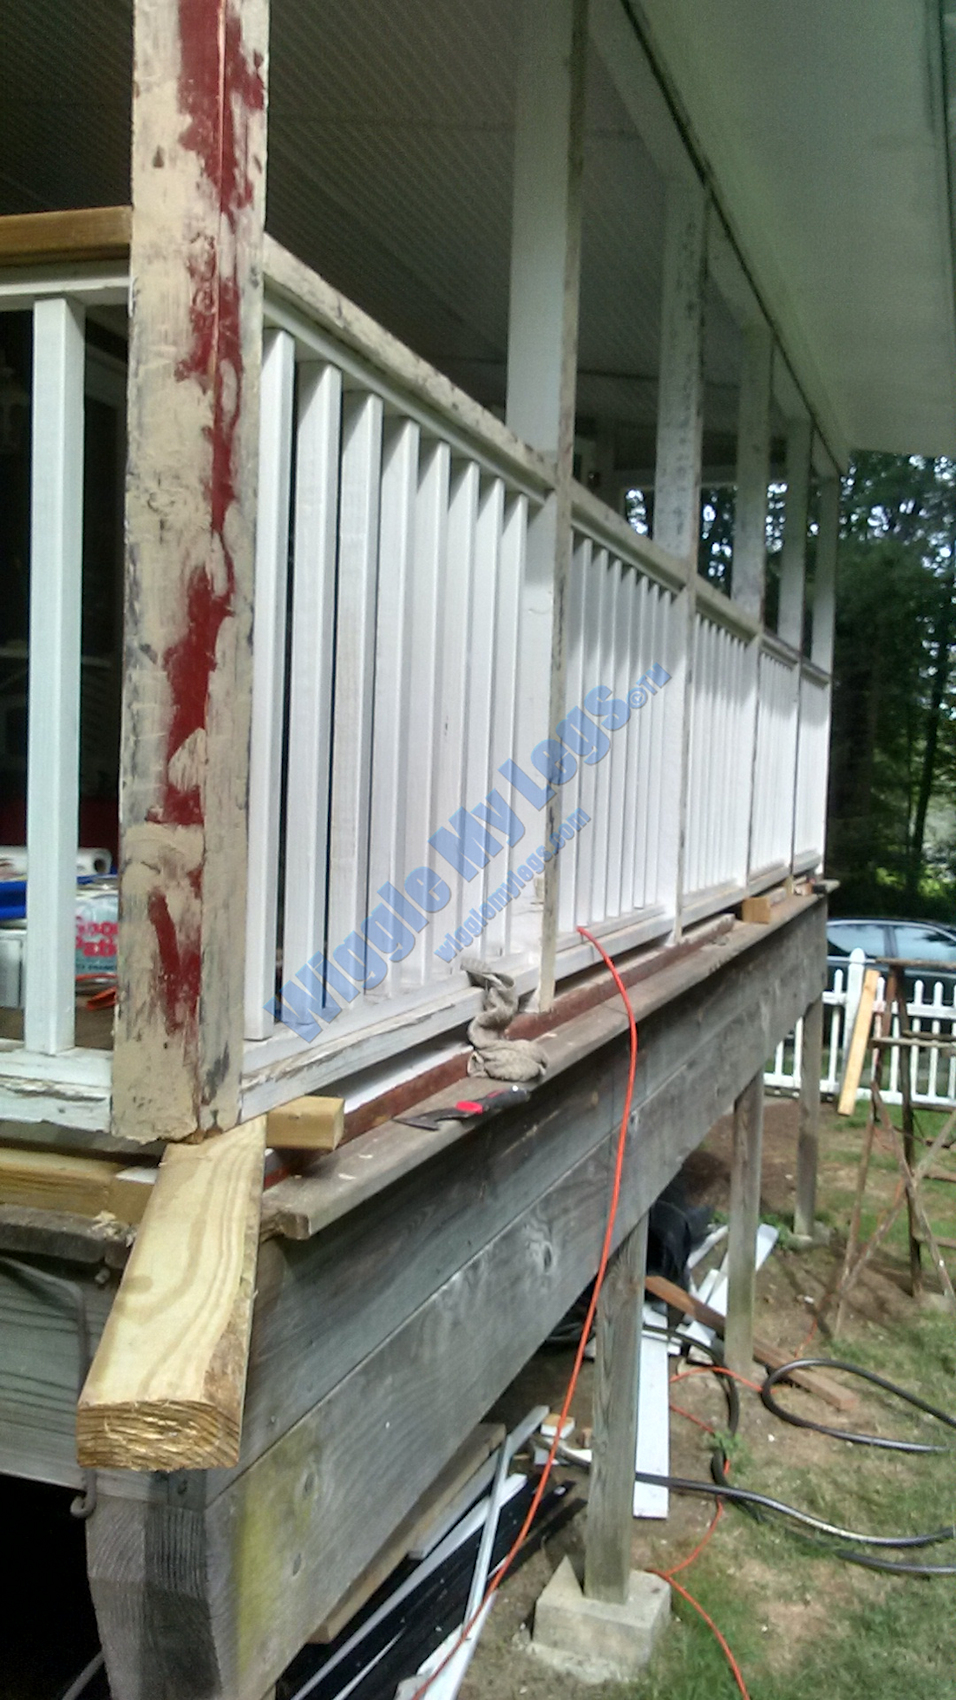
From the yard, one can see entire deck and staples being removed.
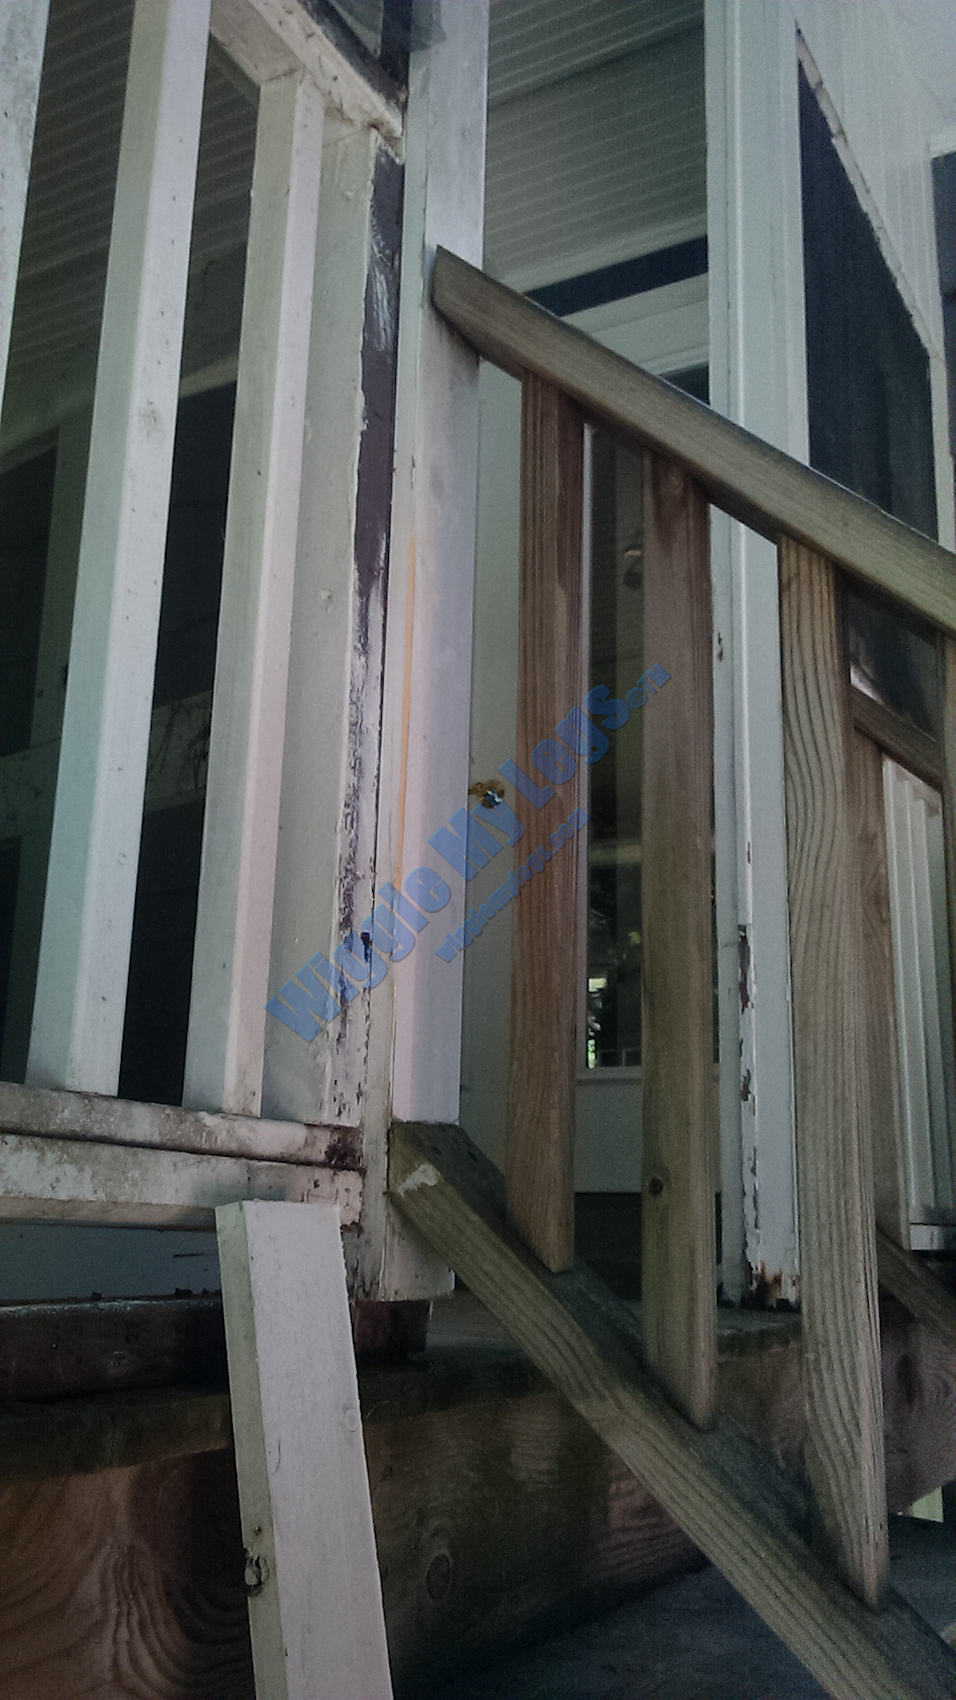
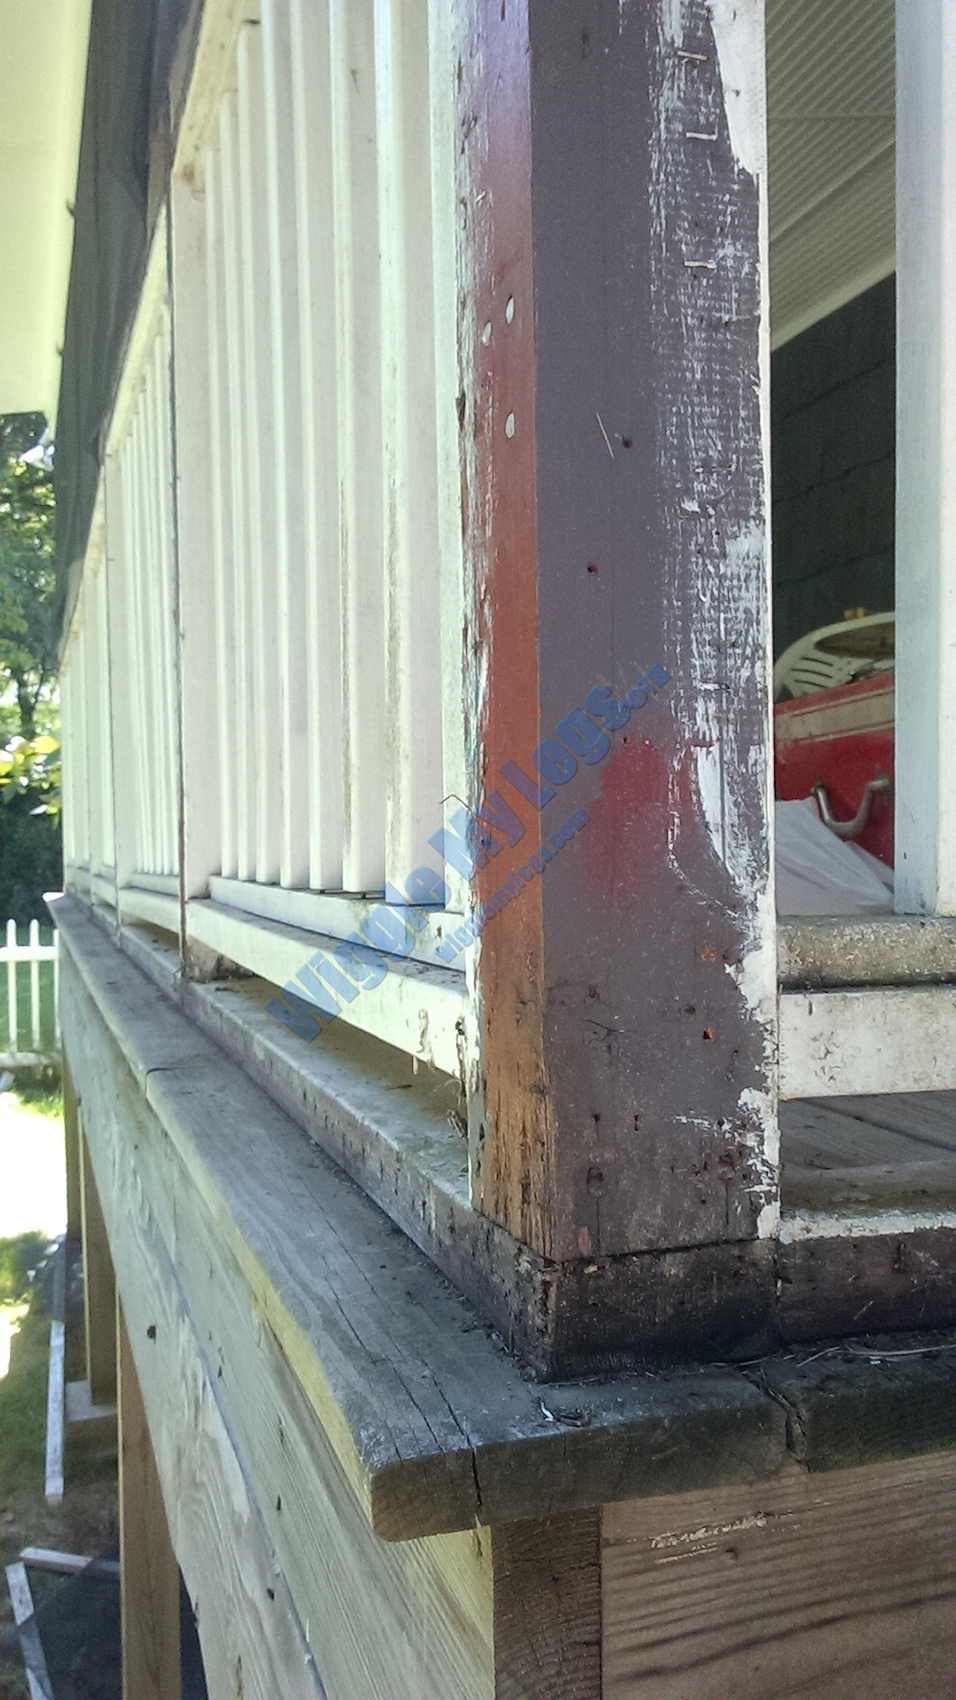
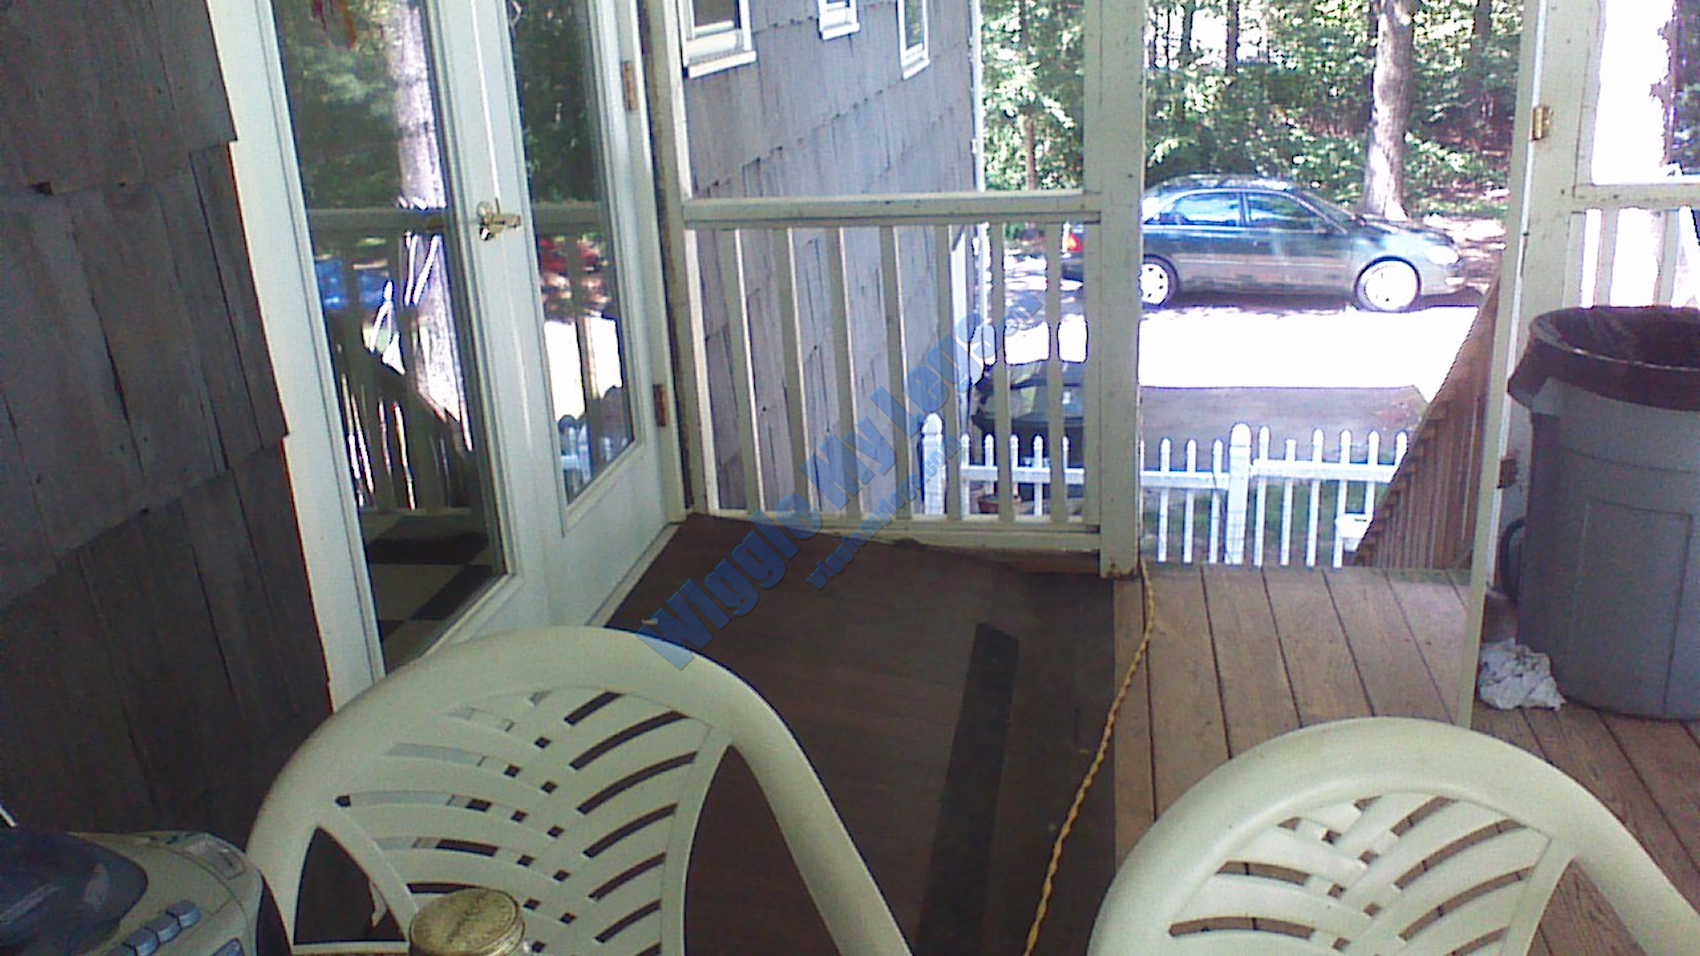
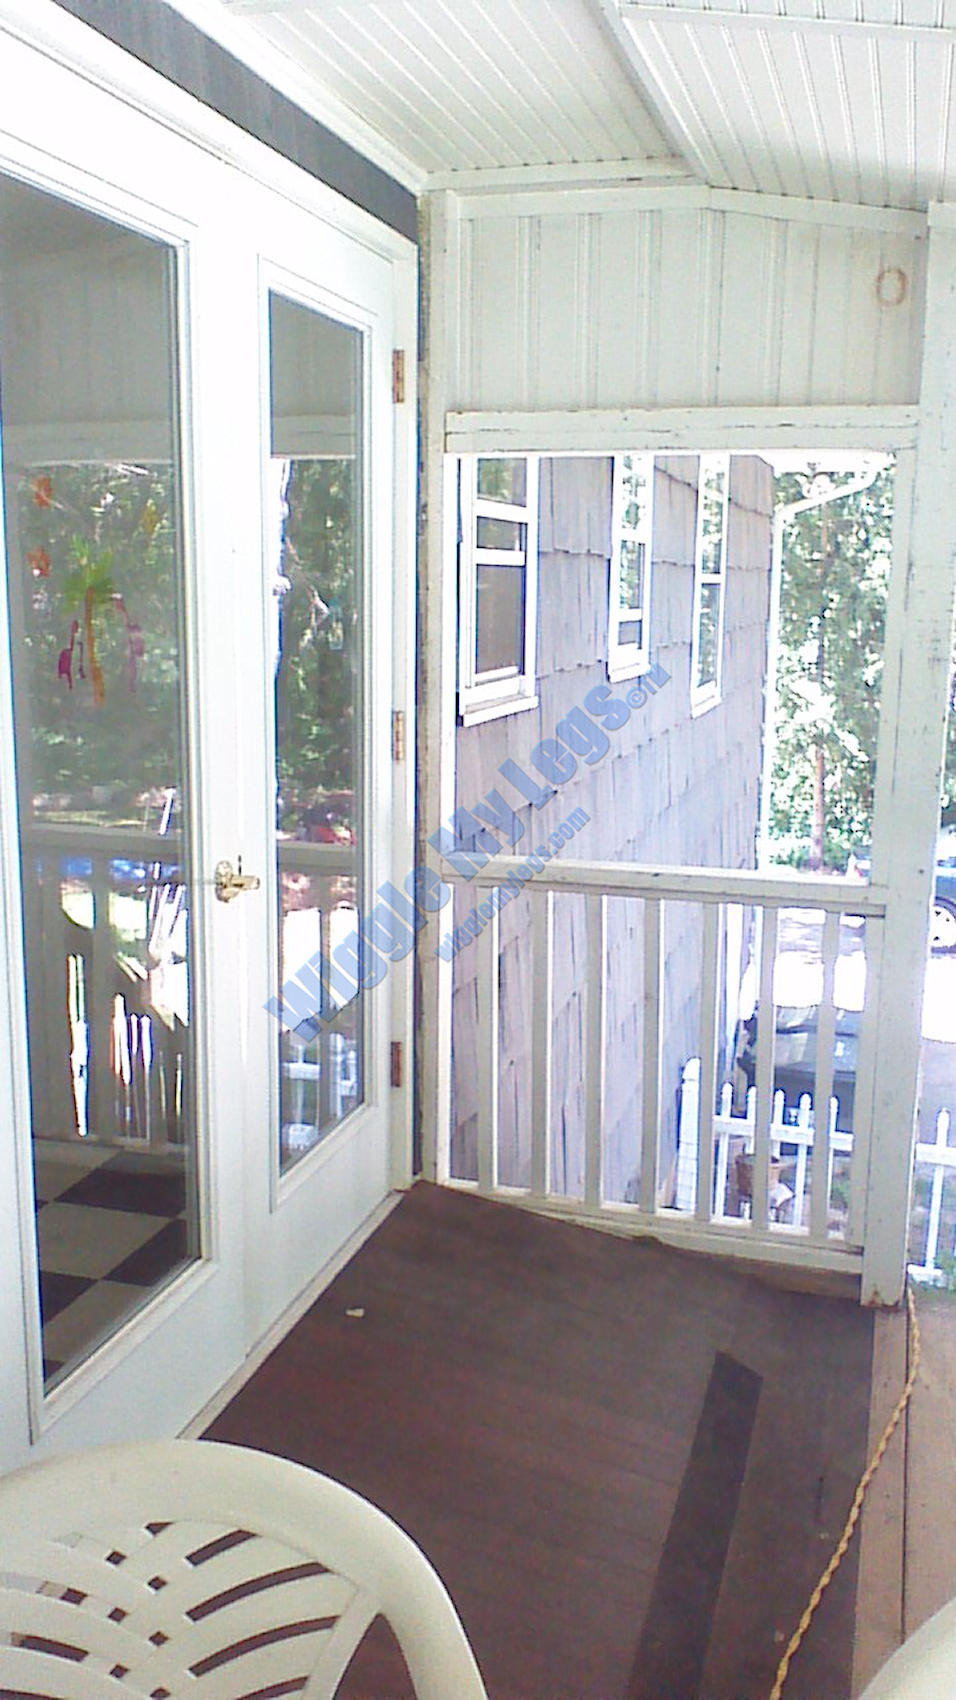
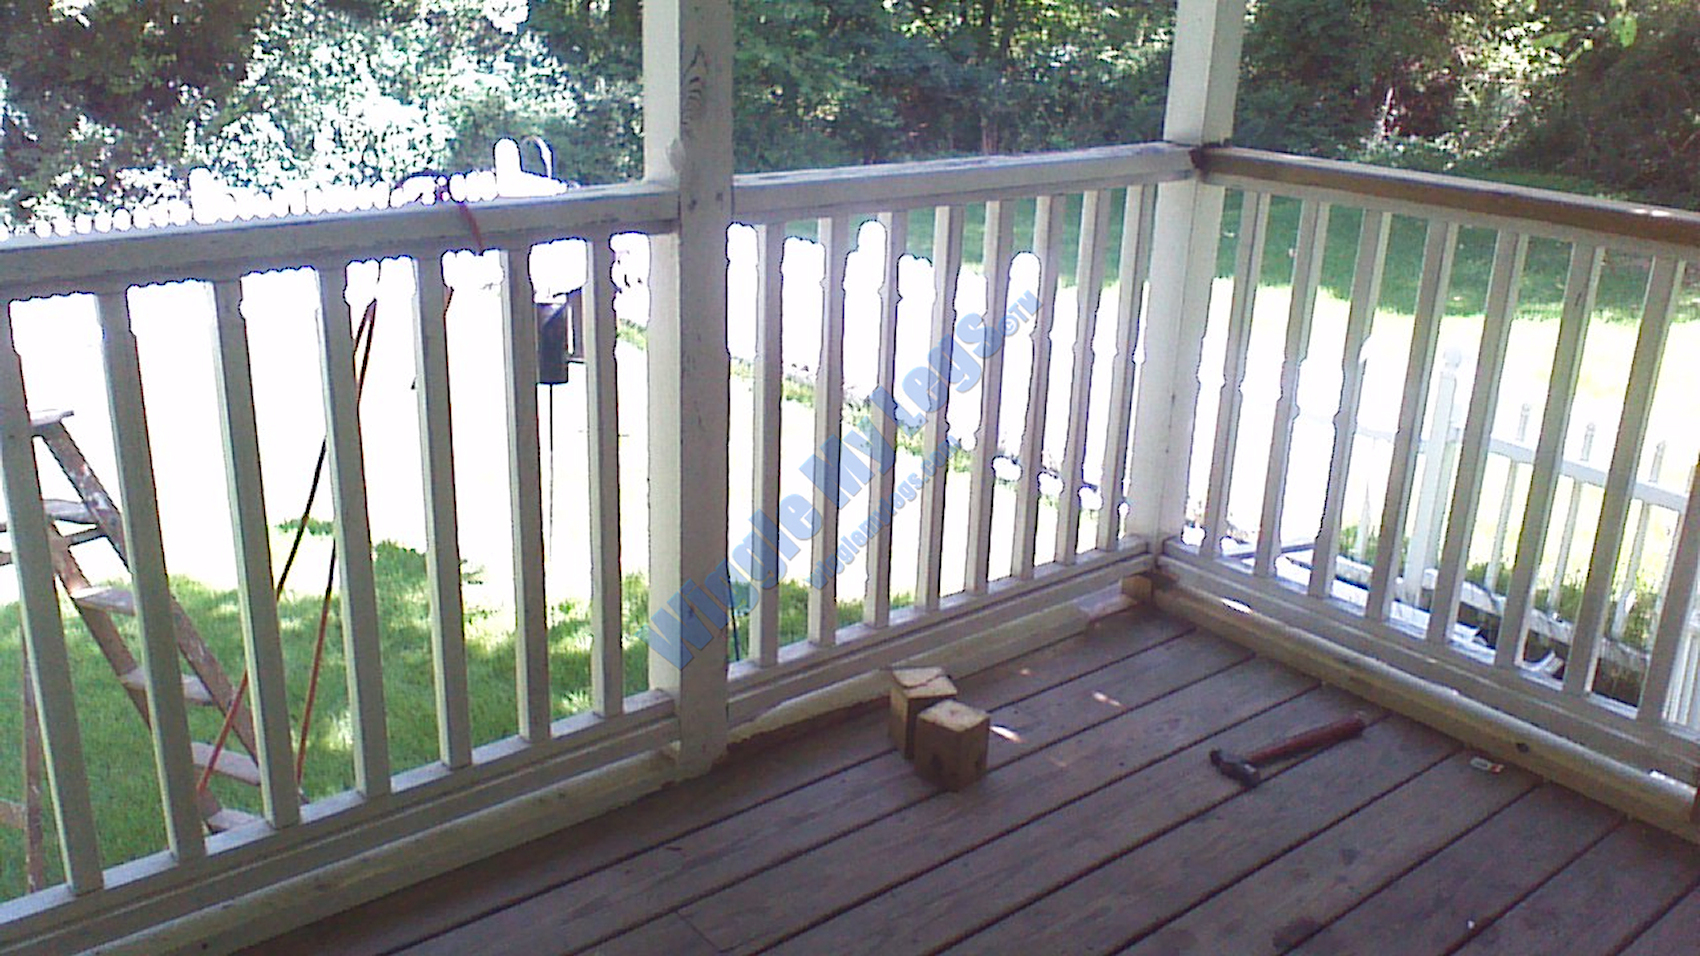
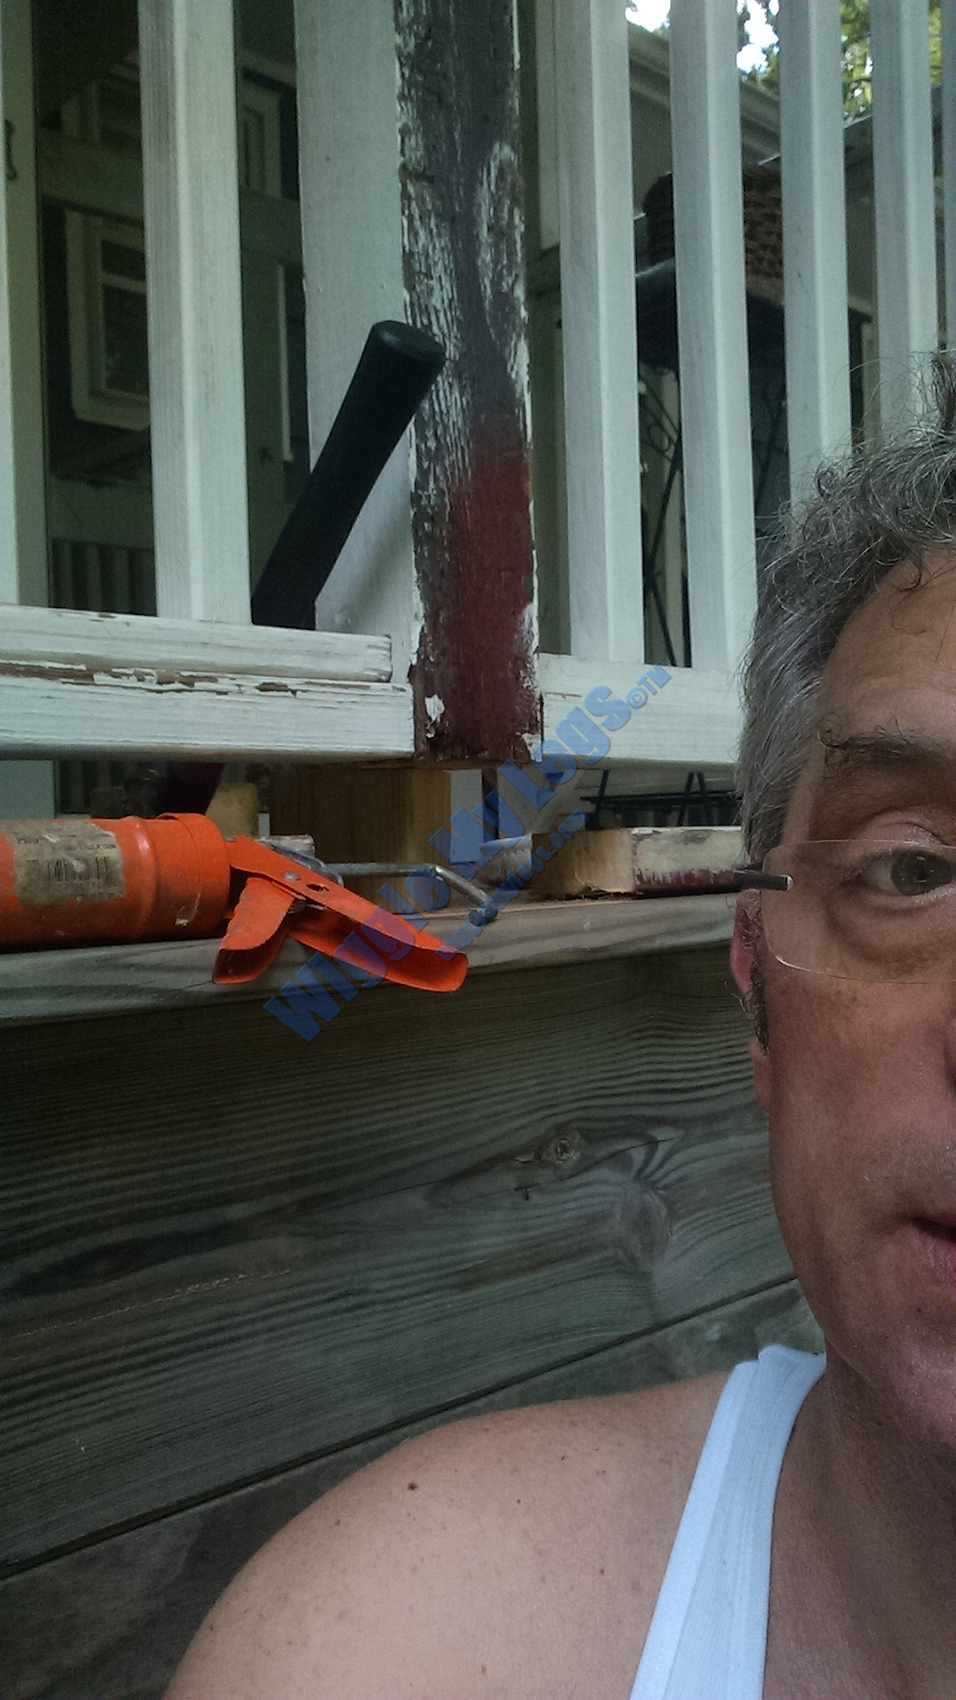
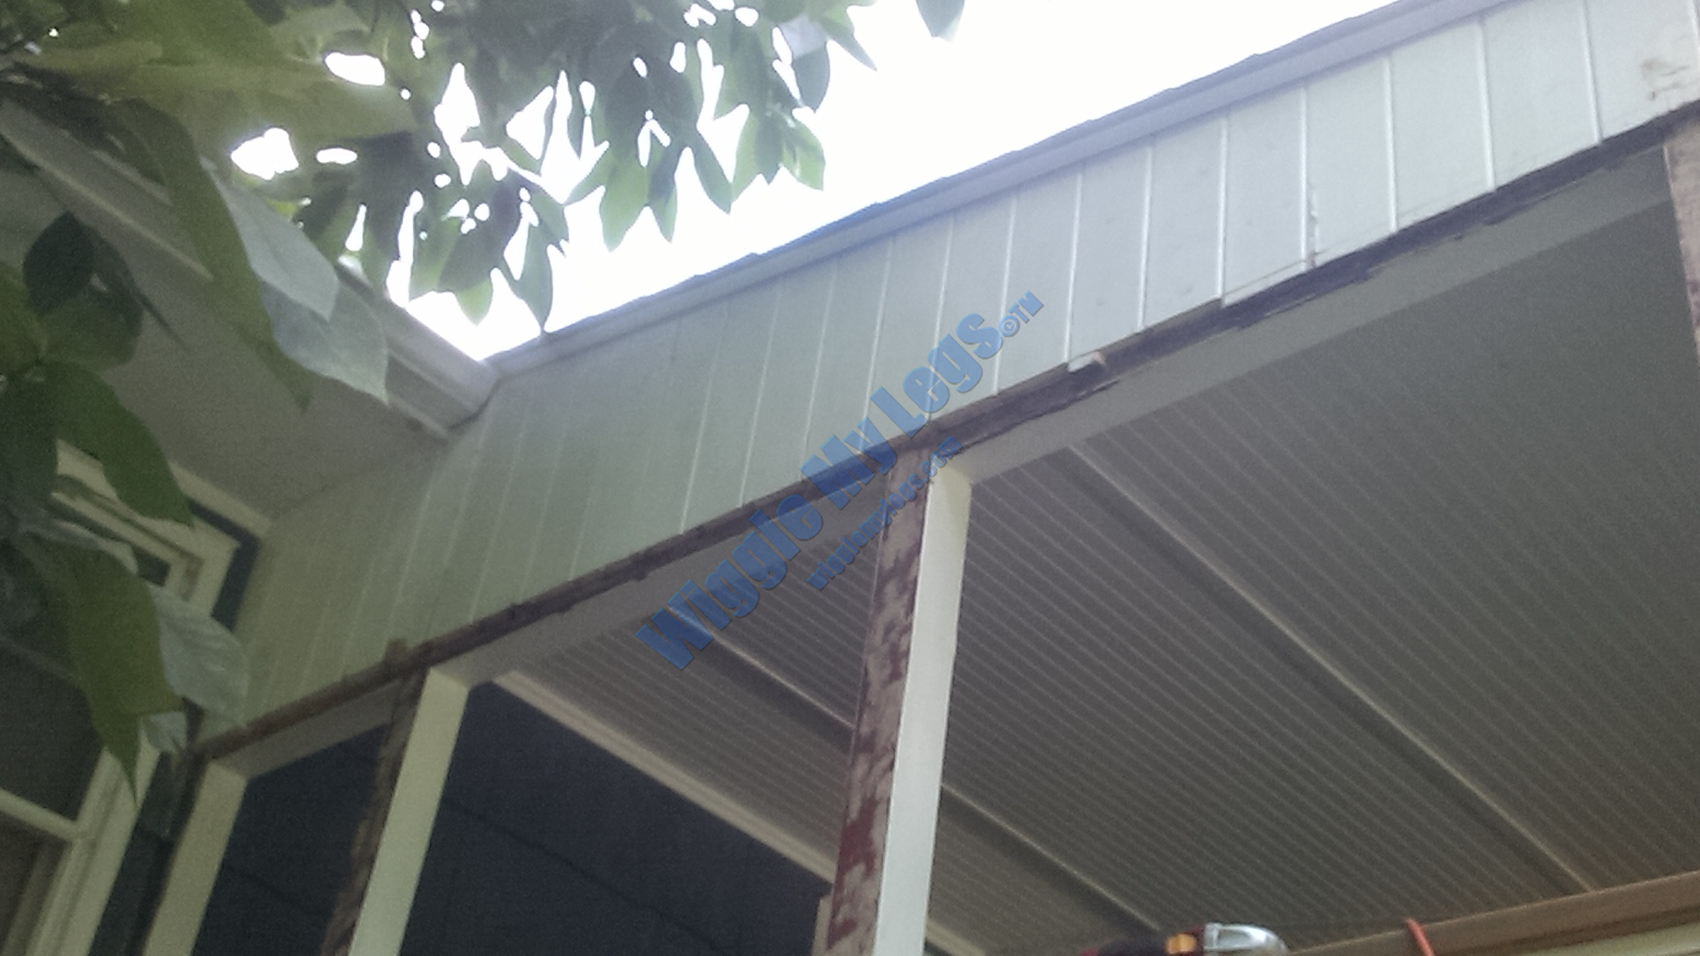
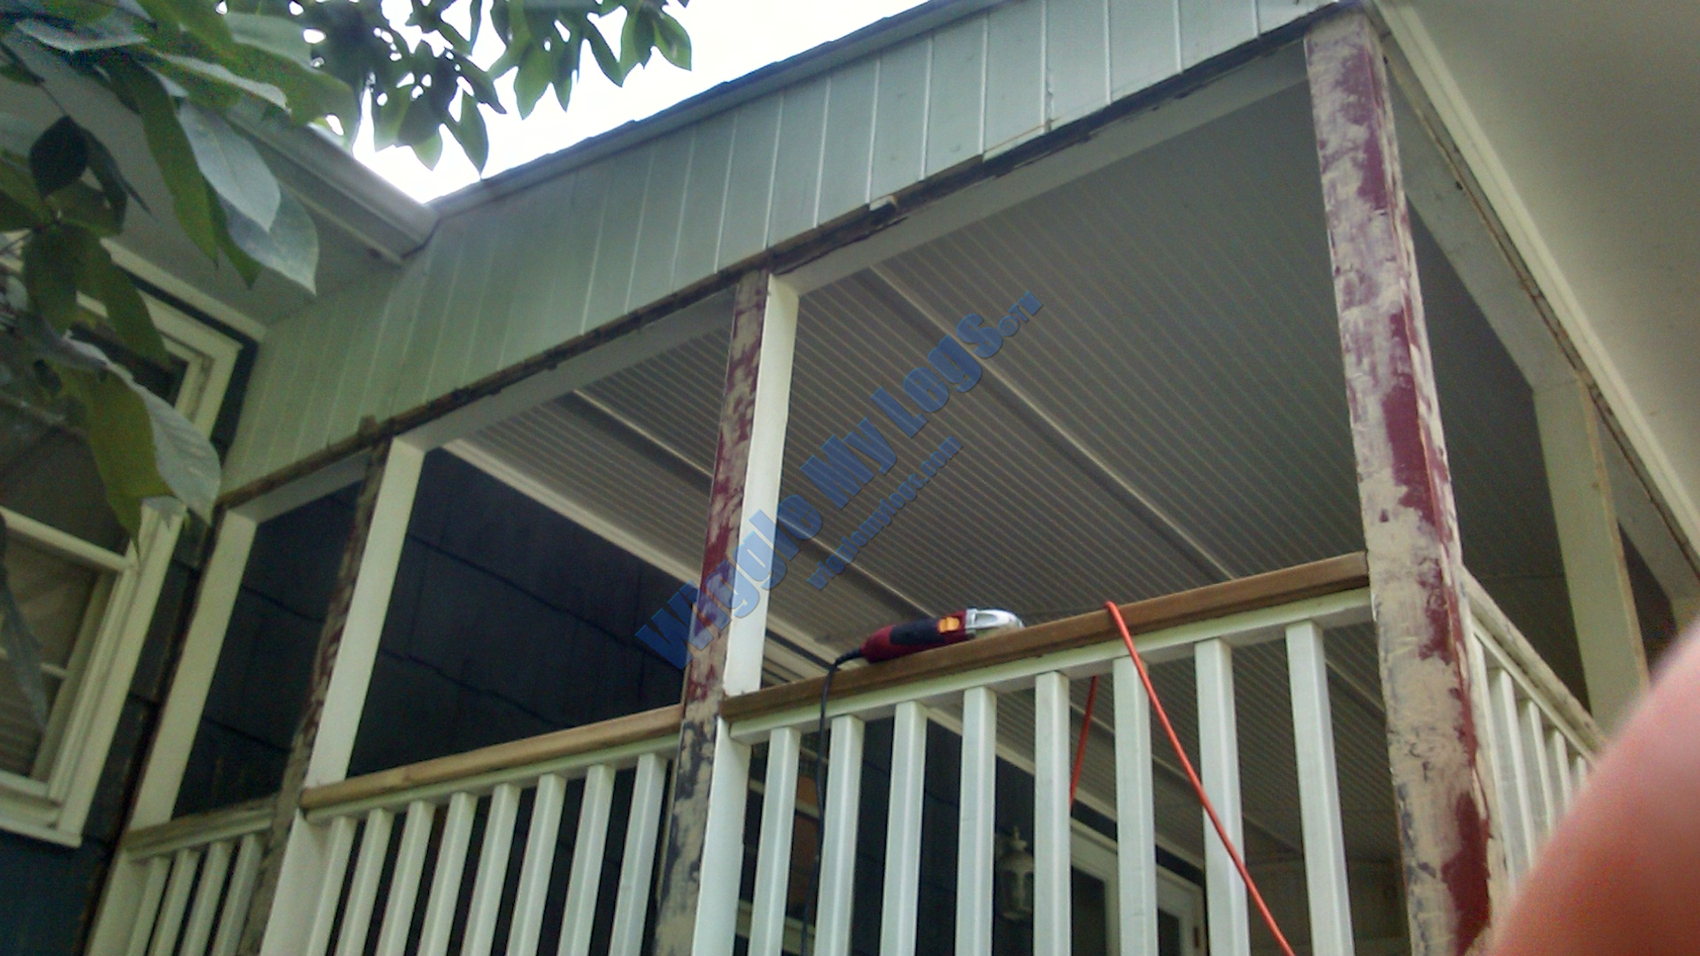
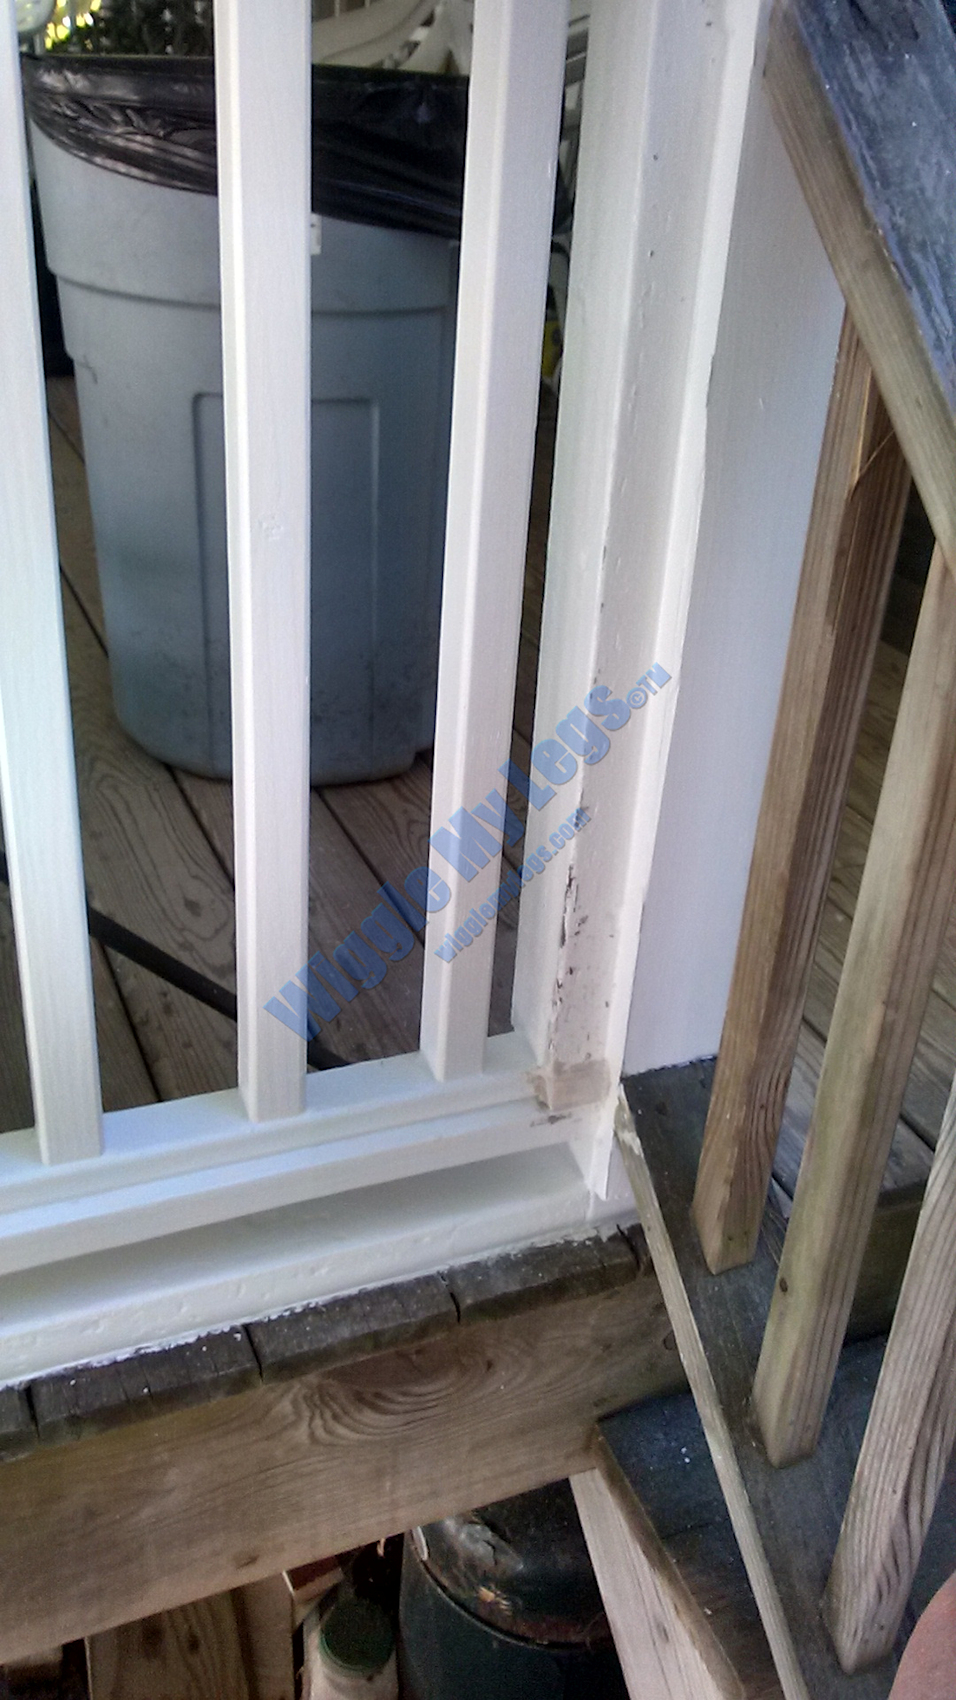
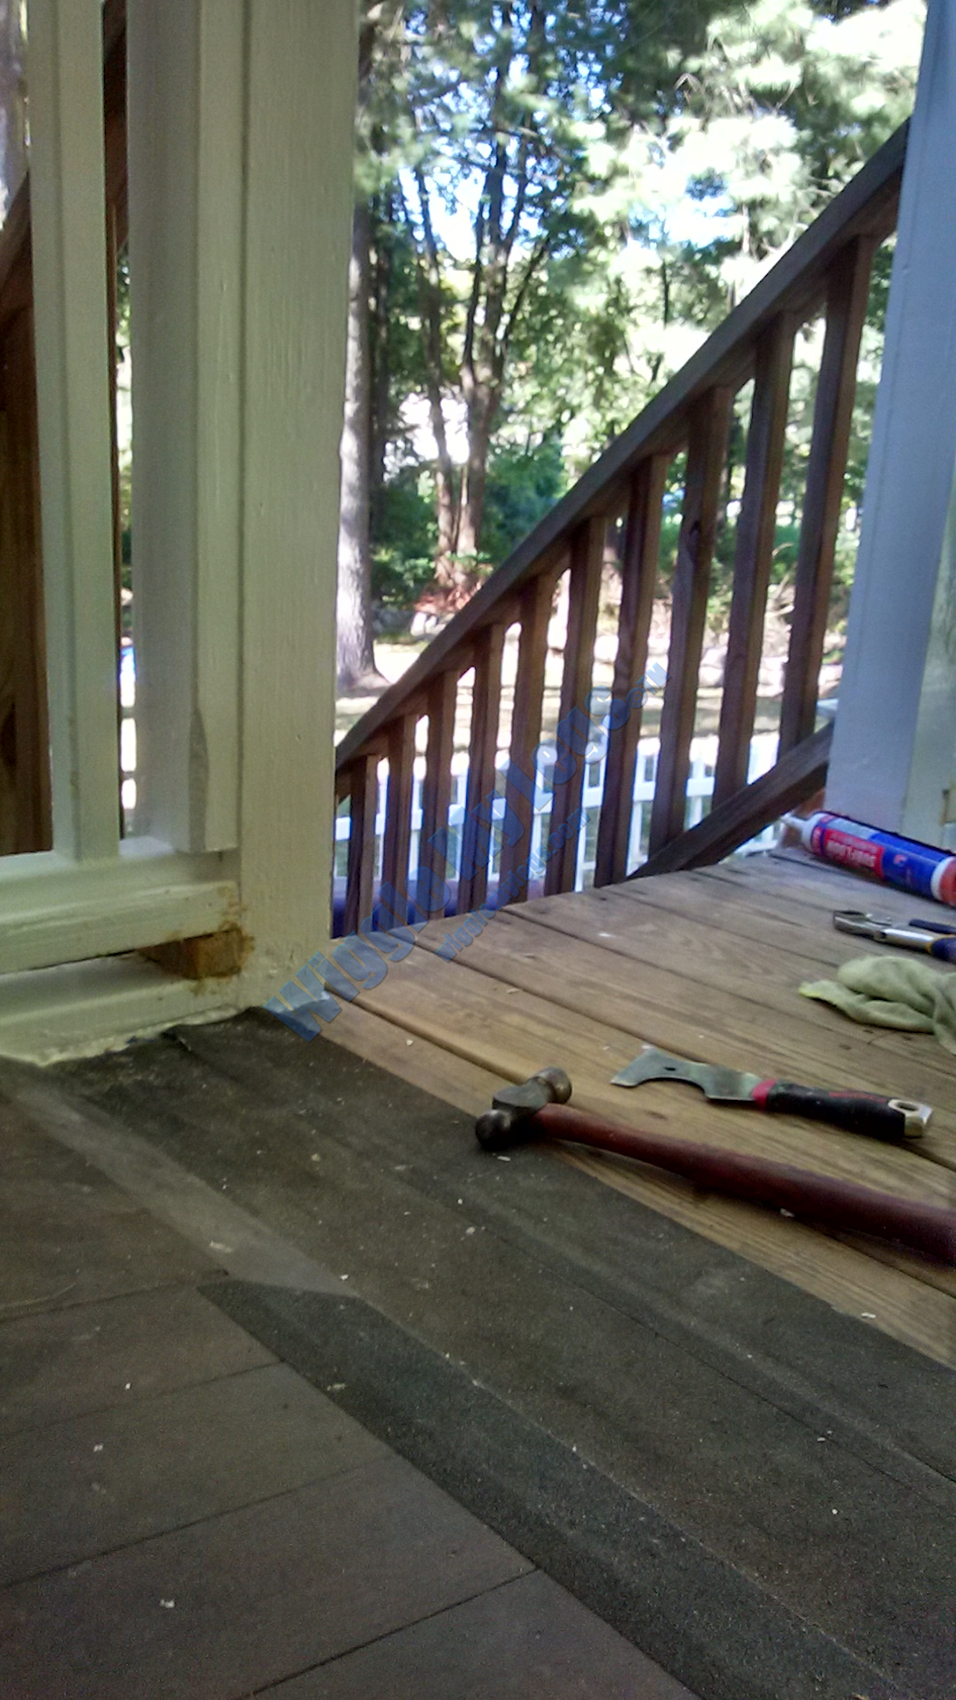
Showing view of vertical 2 by 4 with some maroon paint color where screen was stapled into wood. Previously, these areas were covered with wood trim to hide the stapled areas. A little corner of the old screen is still visible on the upper edge of the photo. Also, there are a few gaps to be filled with wood in order to back the installation of the new plastic track, or base of the "Screen Tight" - Porch Screening System which we picked up at Home Depot. One of these gaps is behind the leaning 2 by 4 at the bottom of the picture and the gaps are shown more clearly later. Here the gap is the space from the bottom of the railing's bottom rail to the top of what I will call the sill plate. It is about 1.75 inches, and if left as a gap, it would allow mosquitos and flies to get in around the plastic screen frame.
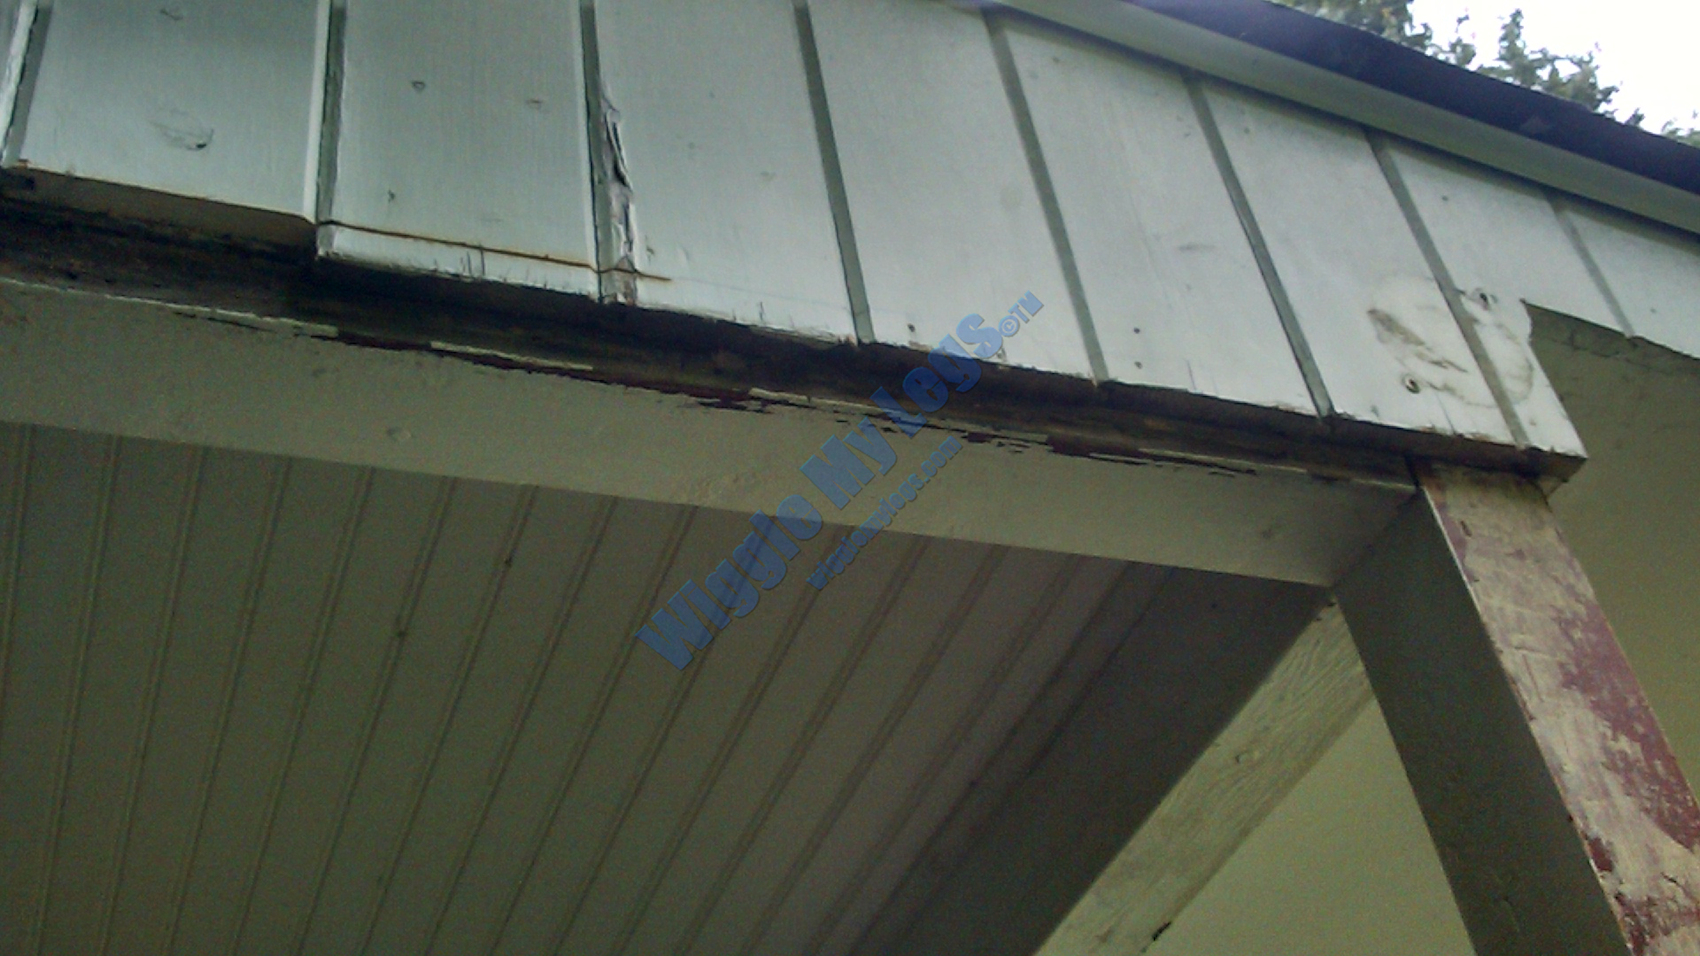
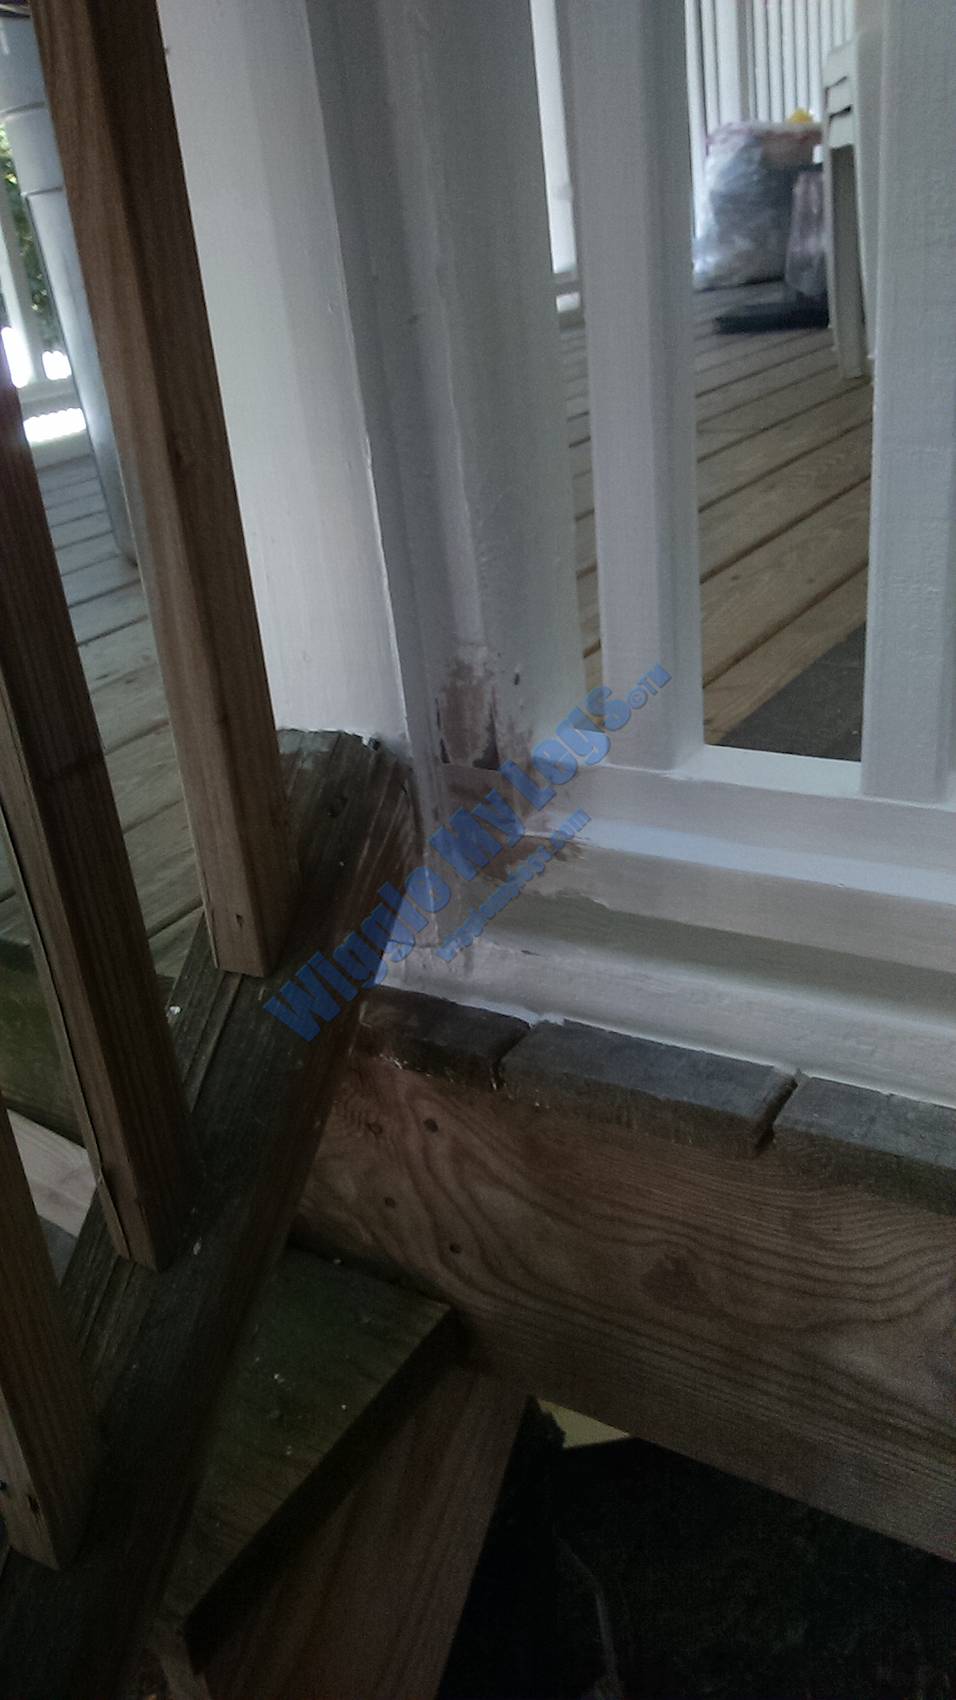
Showing corner 4x4 post and baseboard (or sill plate) decay under staples. All these maroon painted areas had stapled screen with white painted wood trim nailed over them to conceal the staples.
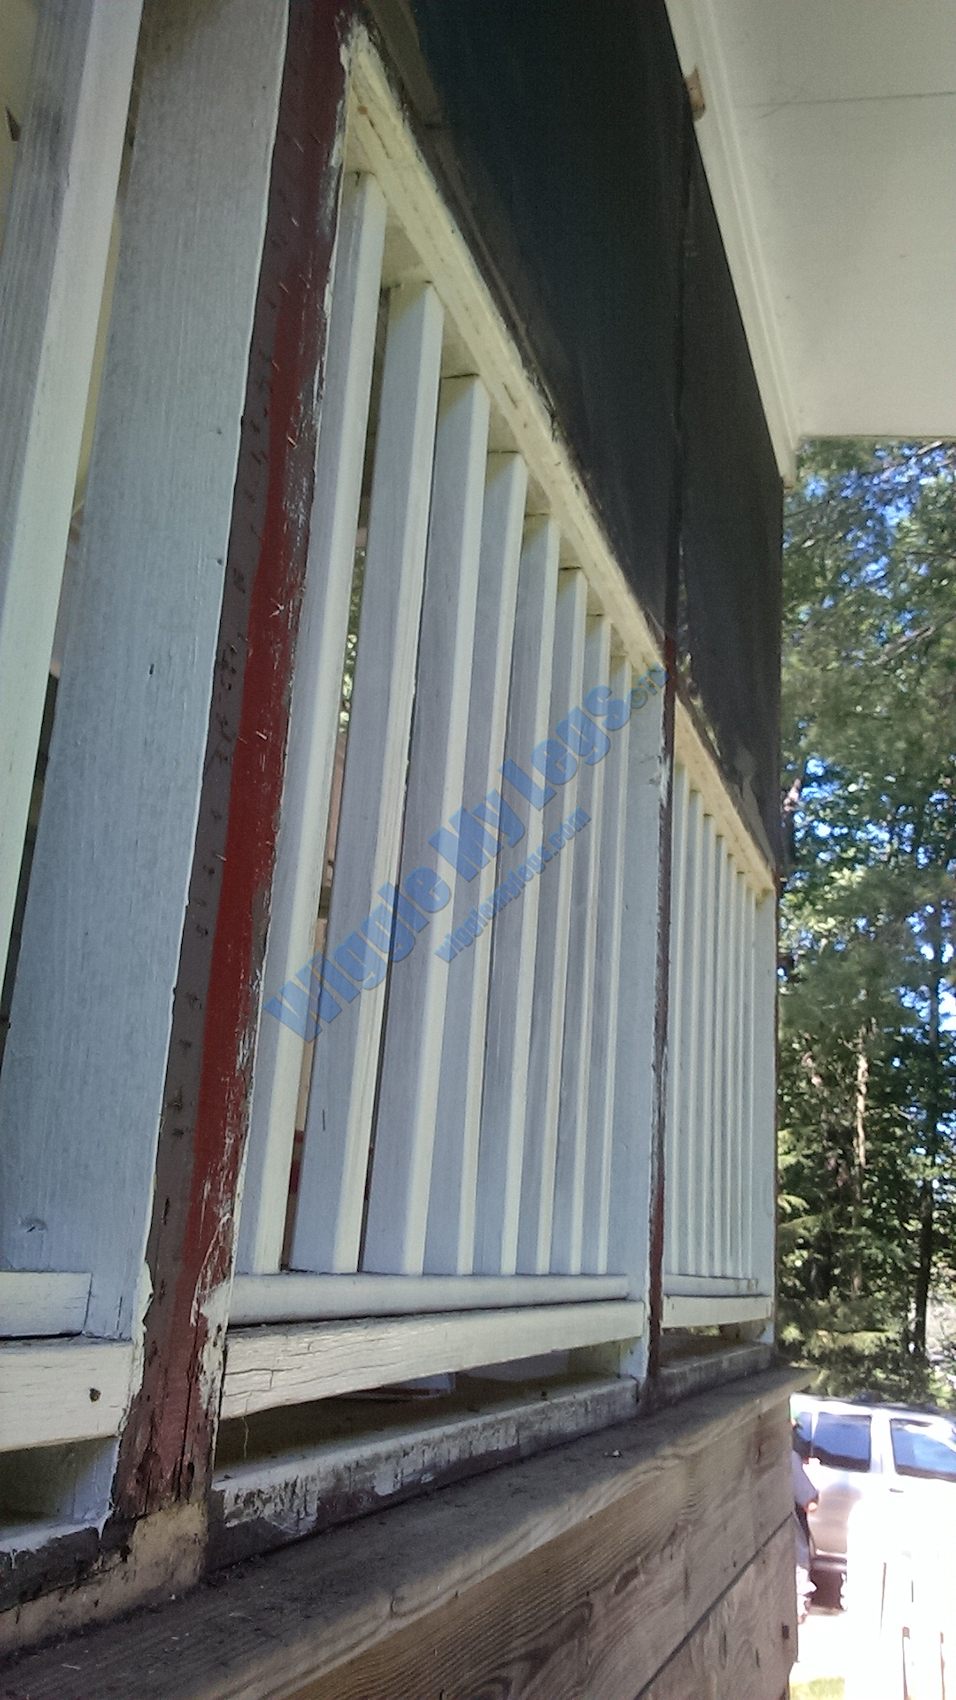
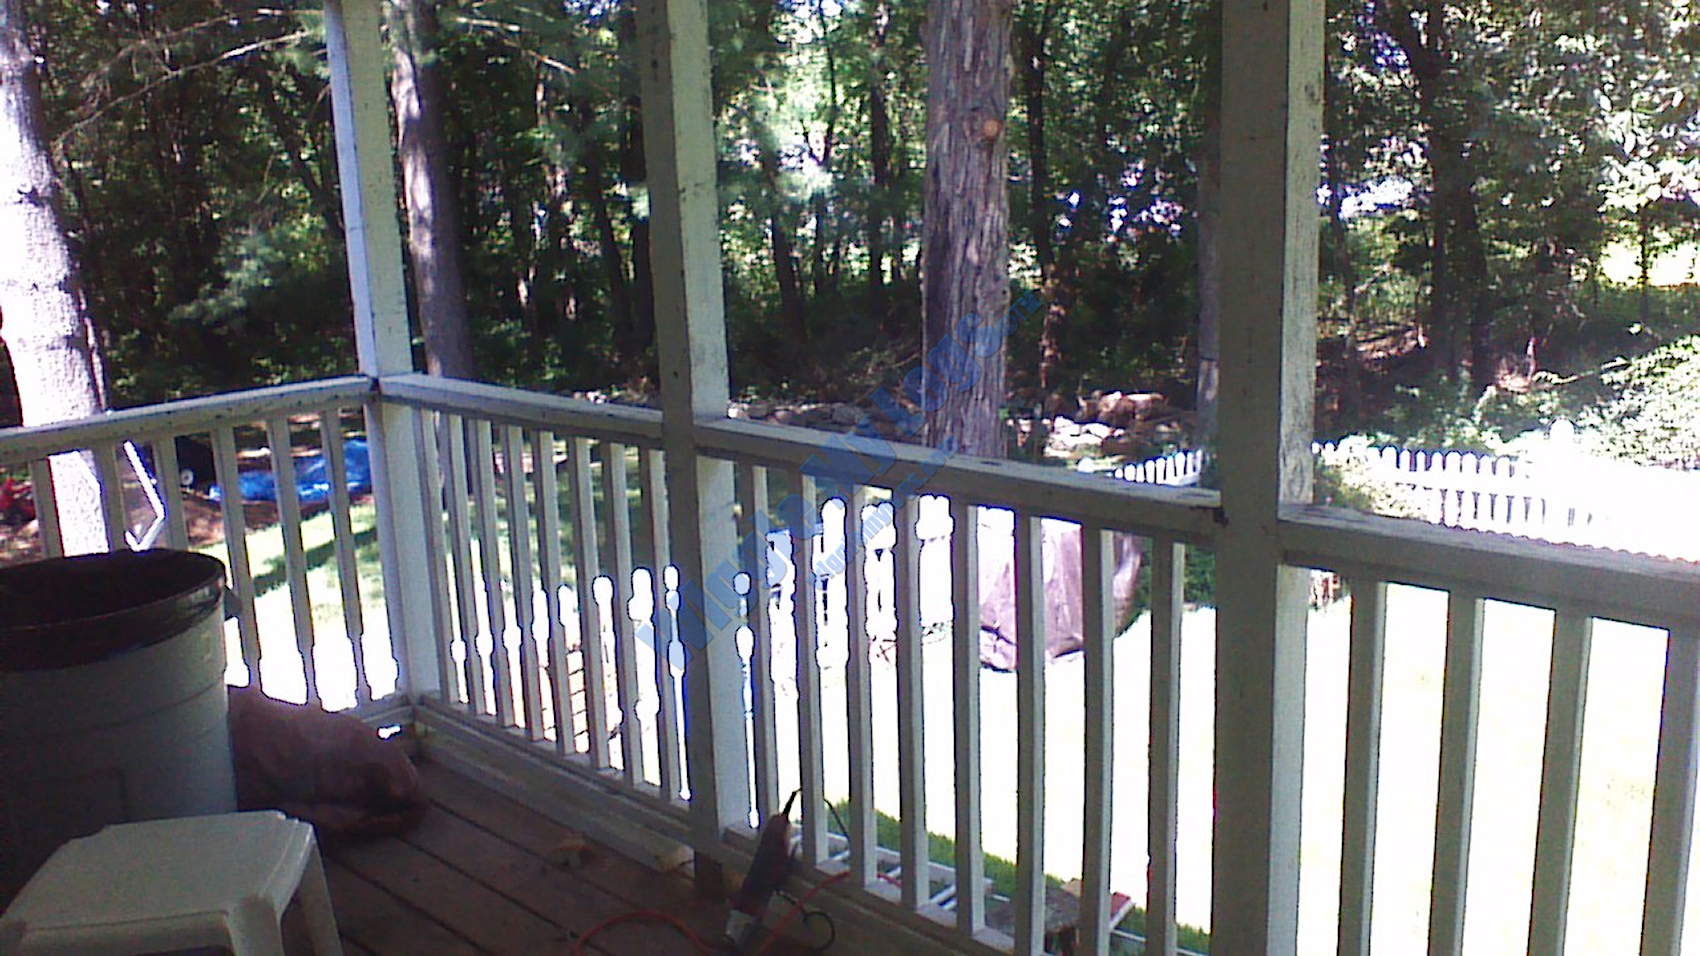
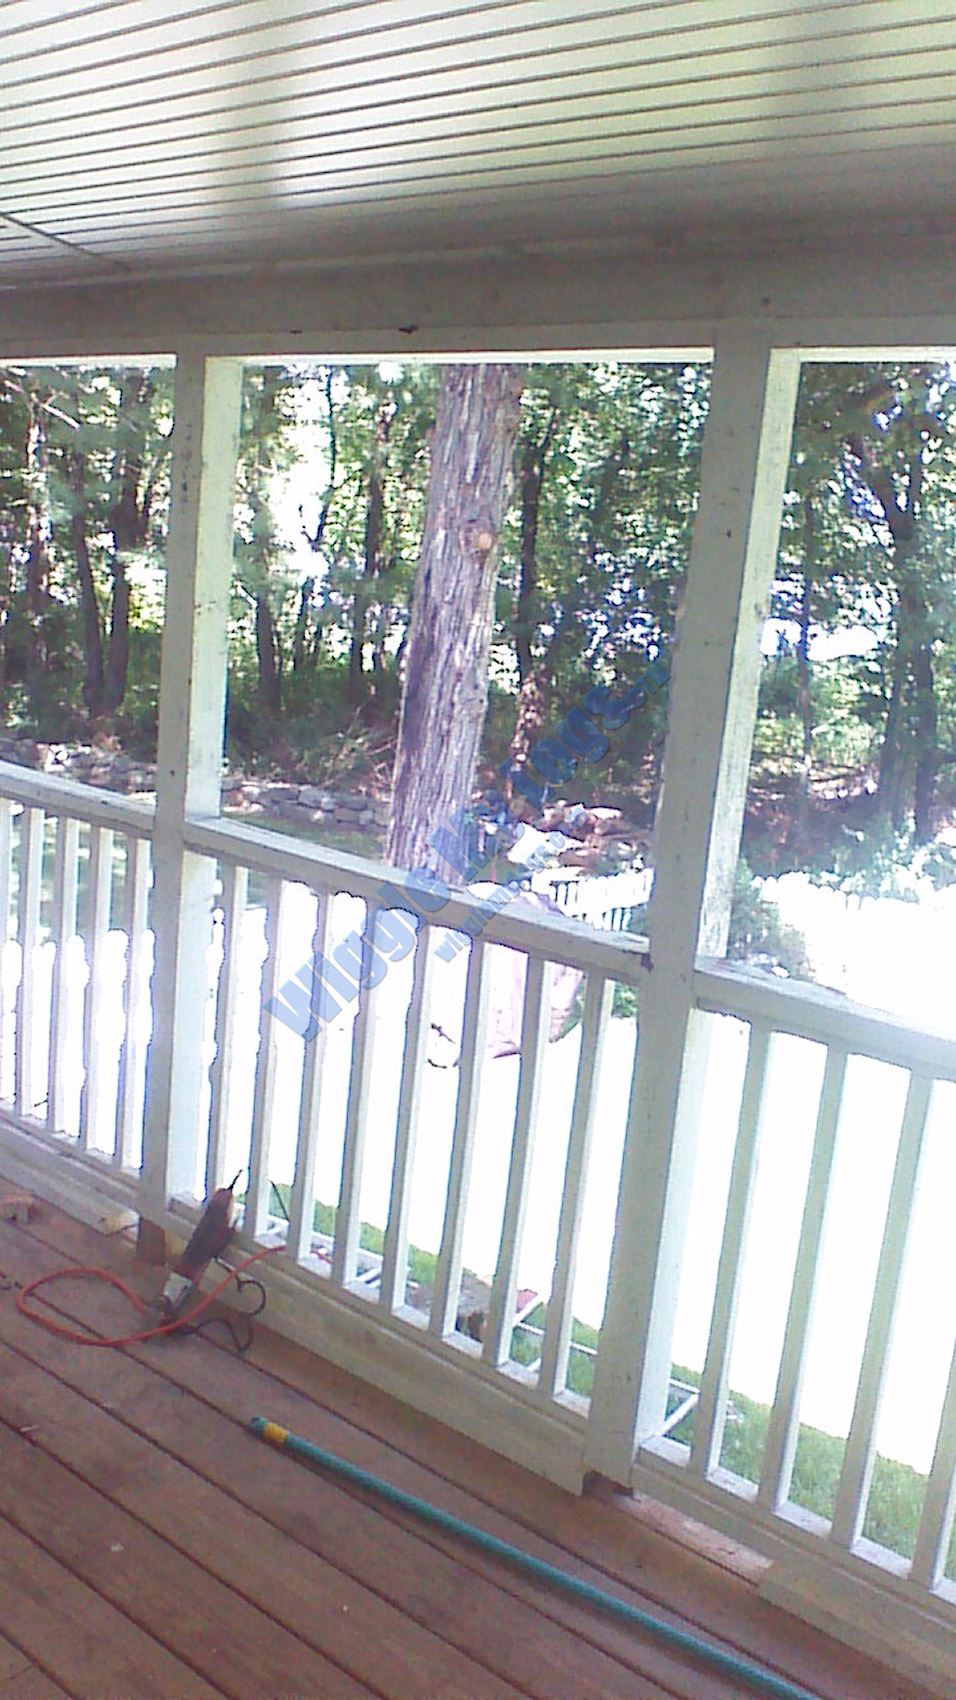
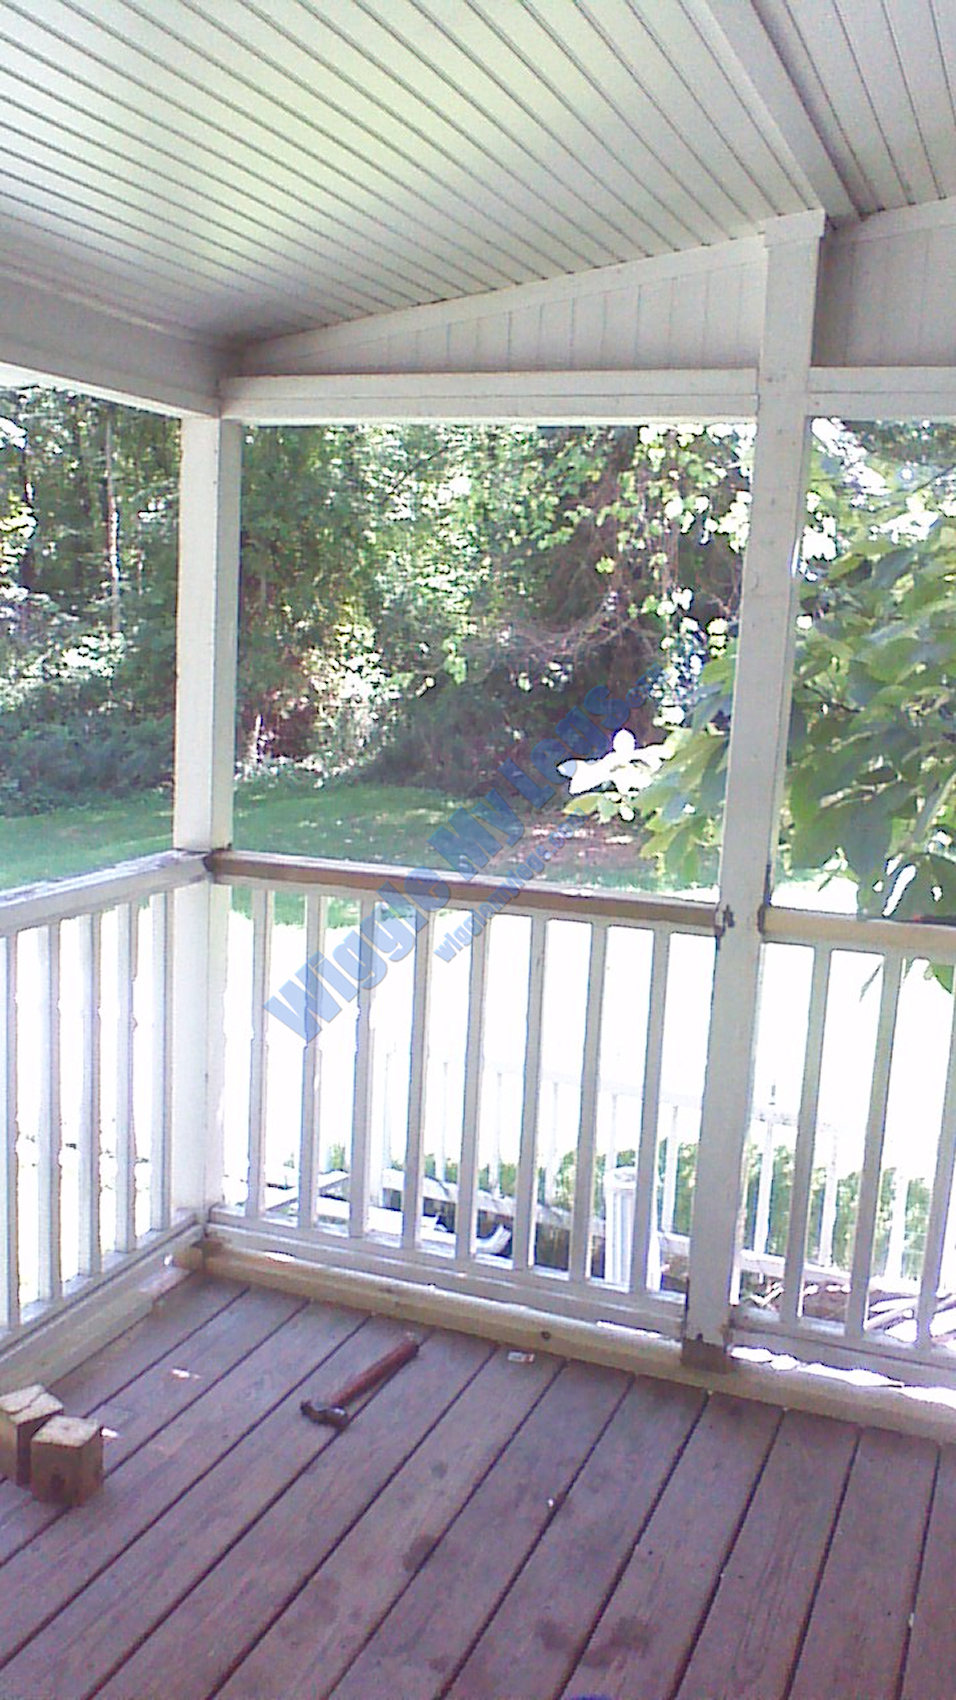
Showing along handrail base with screen removed below handrail.
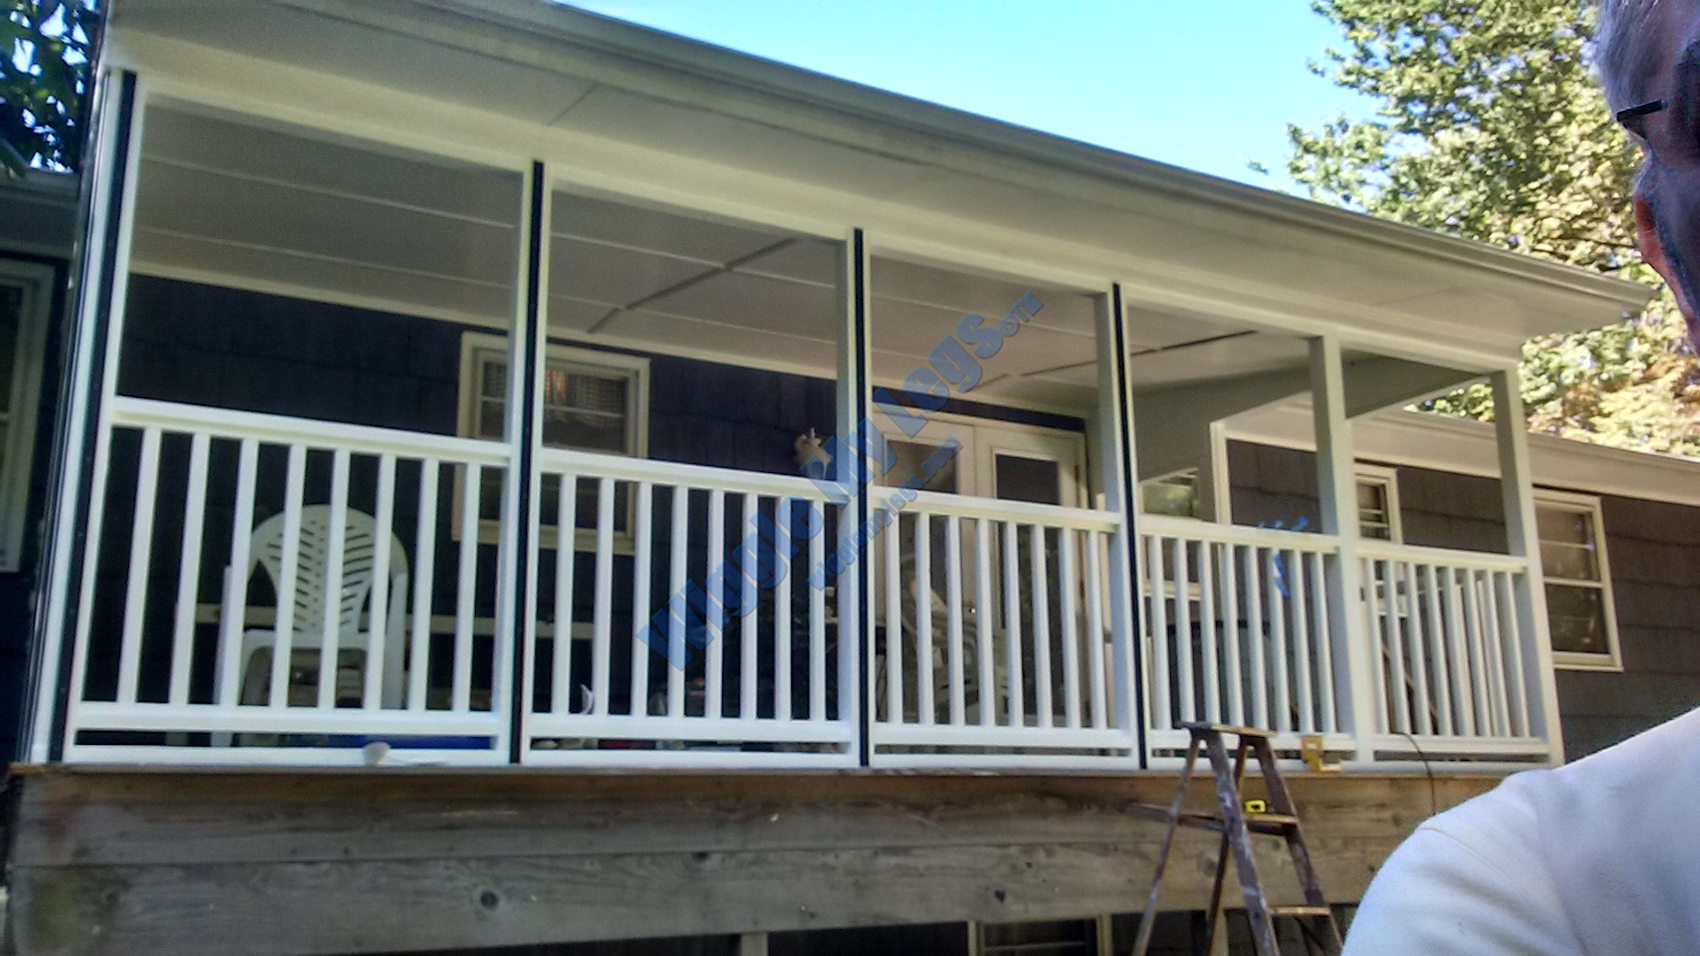
From yard with screens gone.

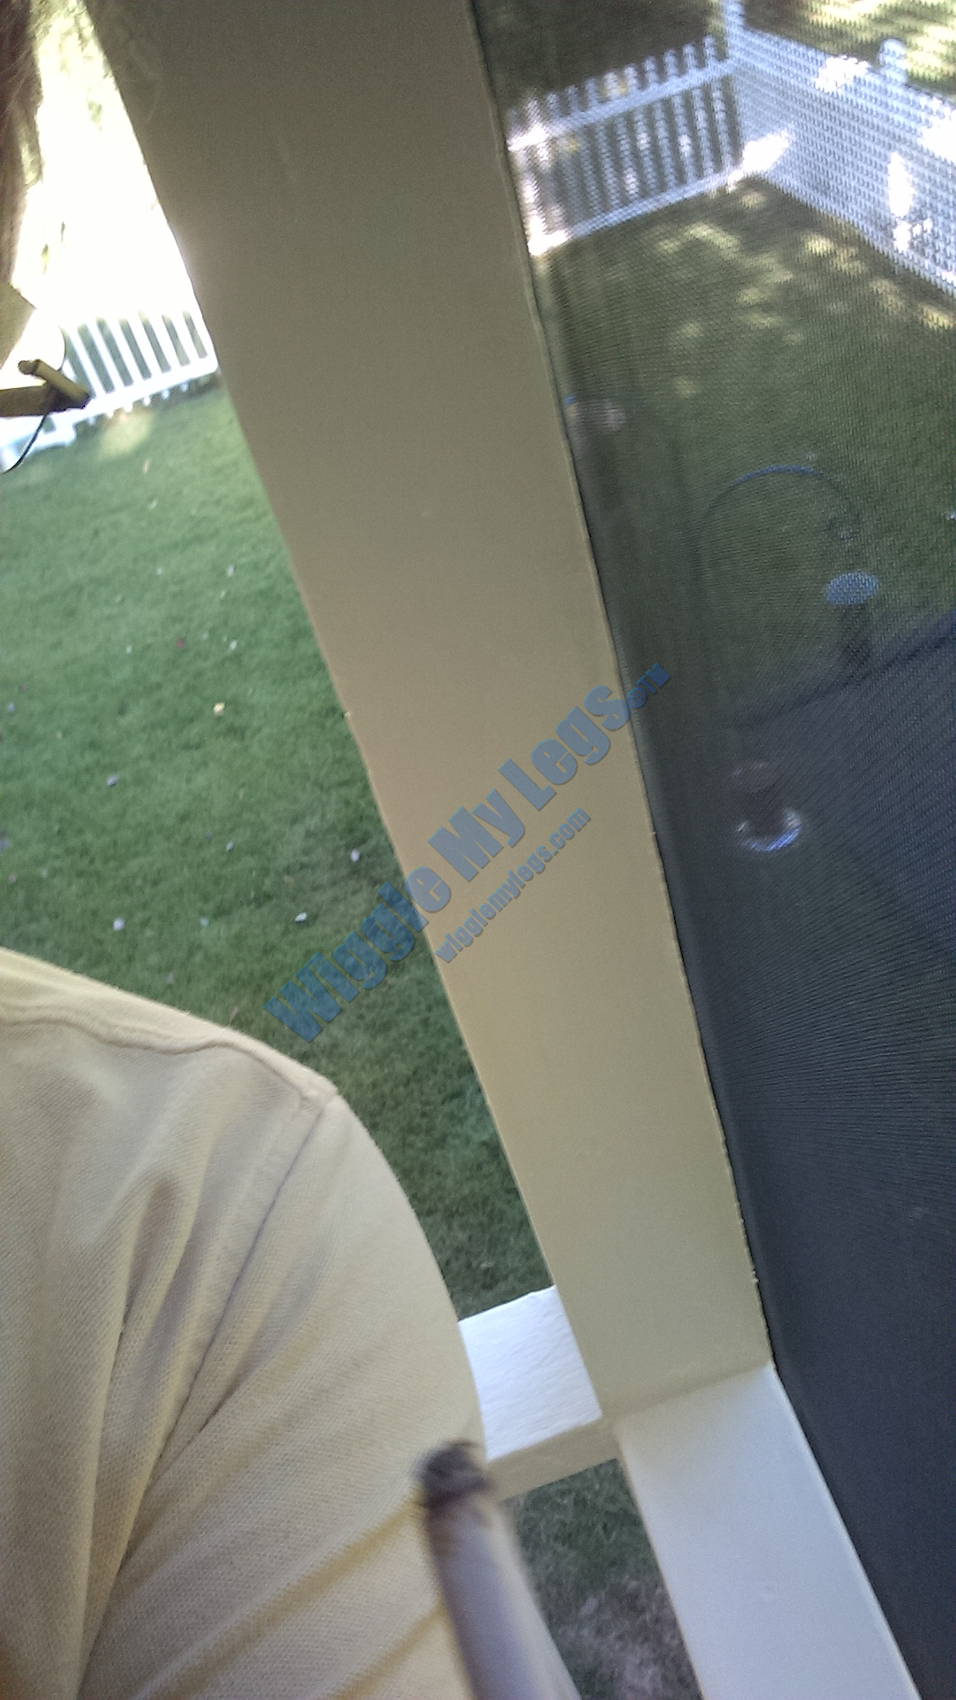
From yard showing the ta da salute.
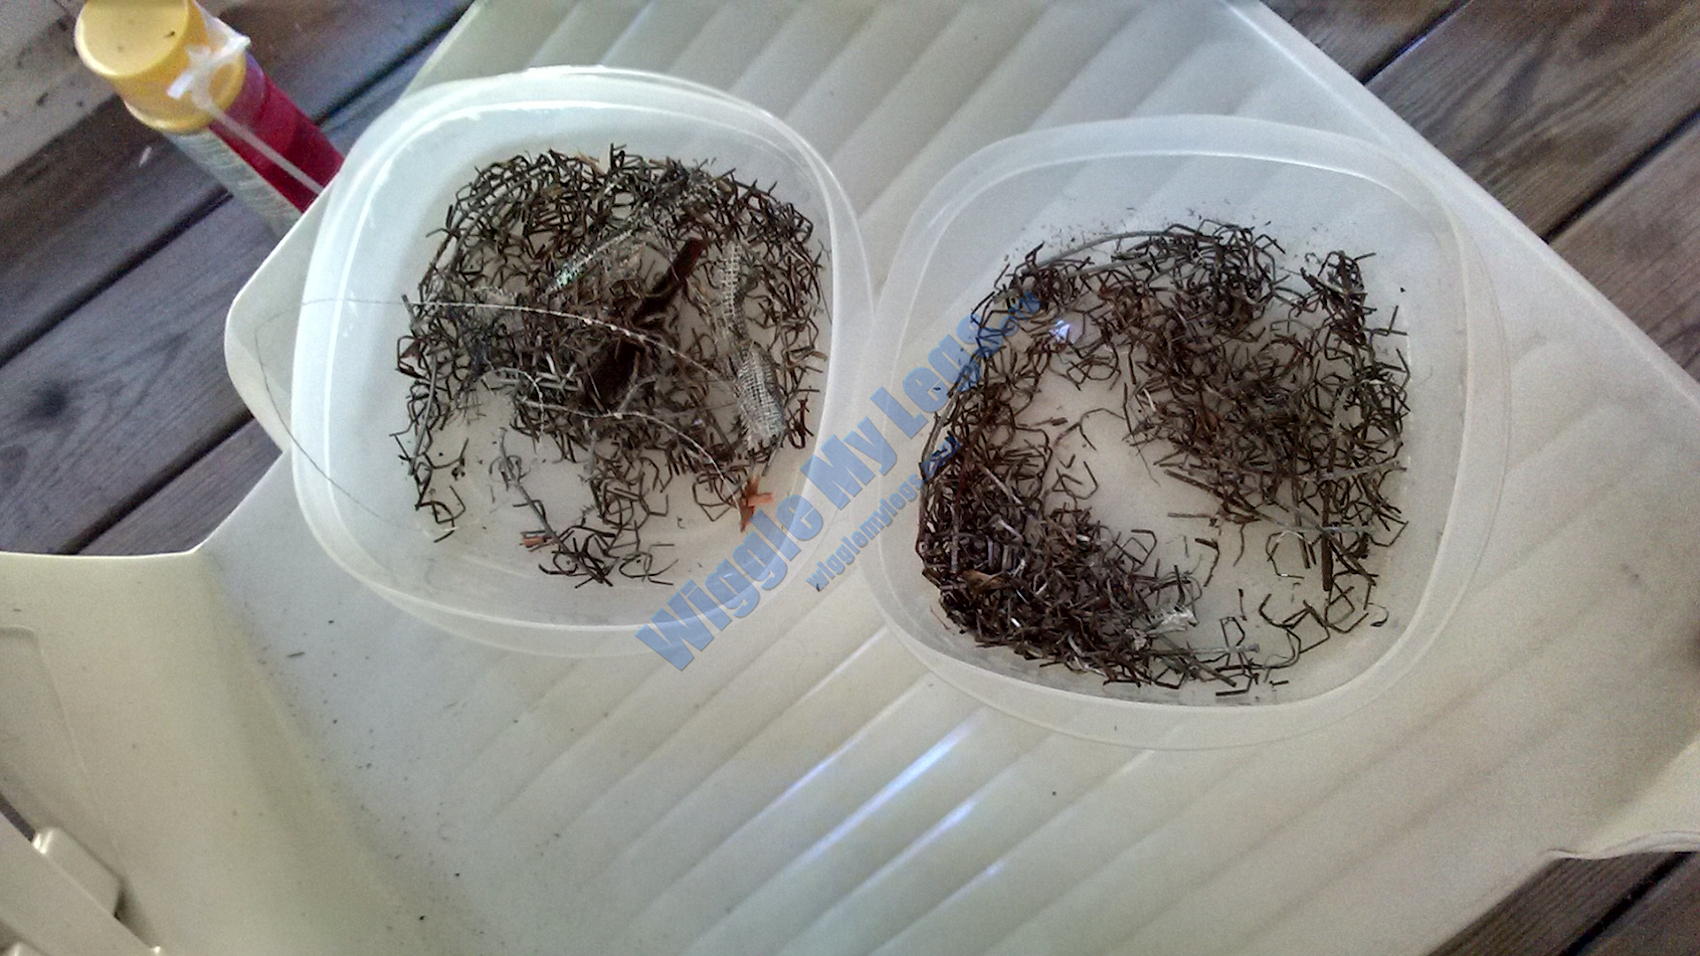
Two bowls of removed staples, but there were many more.
Old screens off, looking out far left showing permanent handicapped ramp.
Old screens off, looking out far left.
Old screens off, looking out a bit left, showing some rotted baseboard cut out.
Old screens off, looking out, another view.
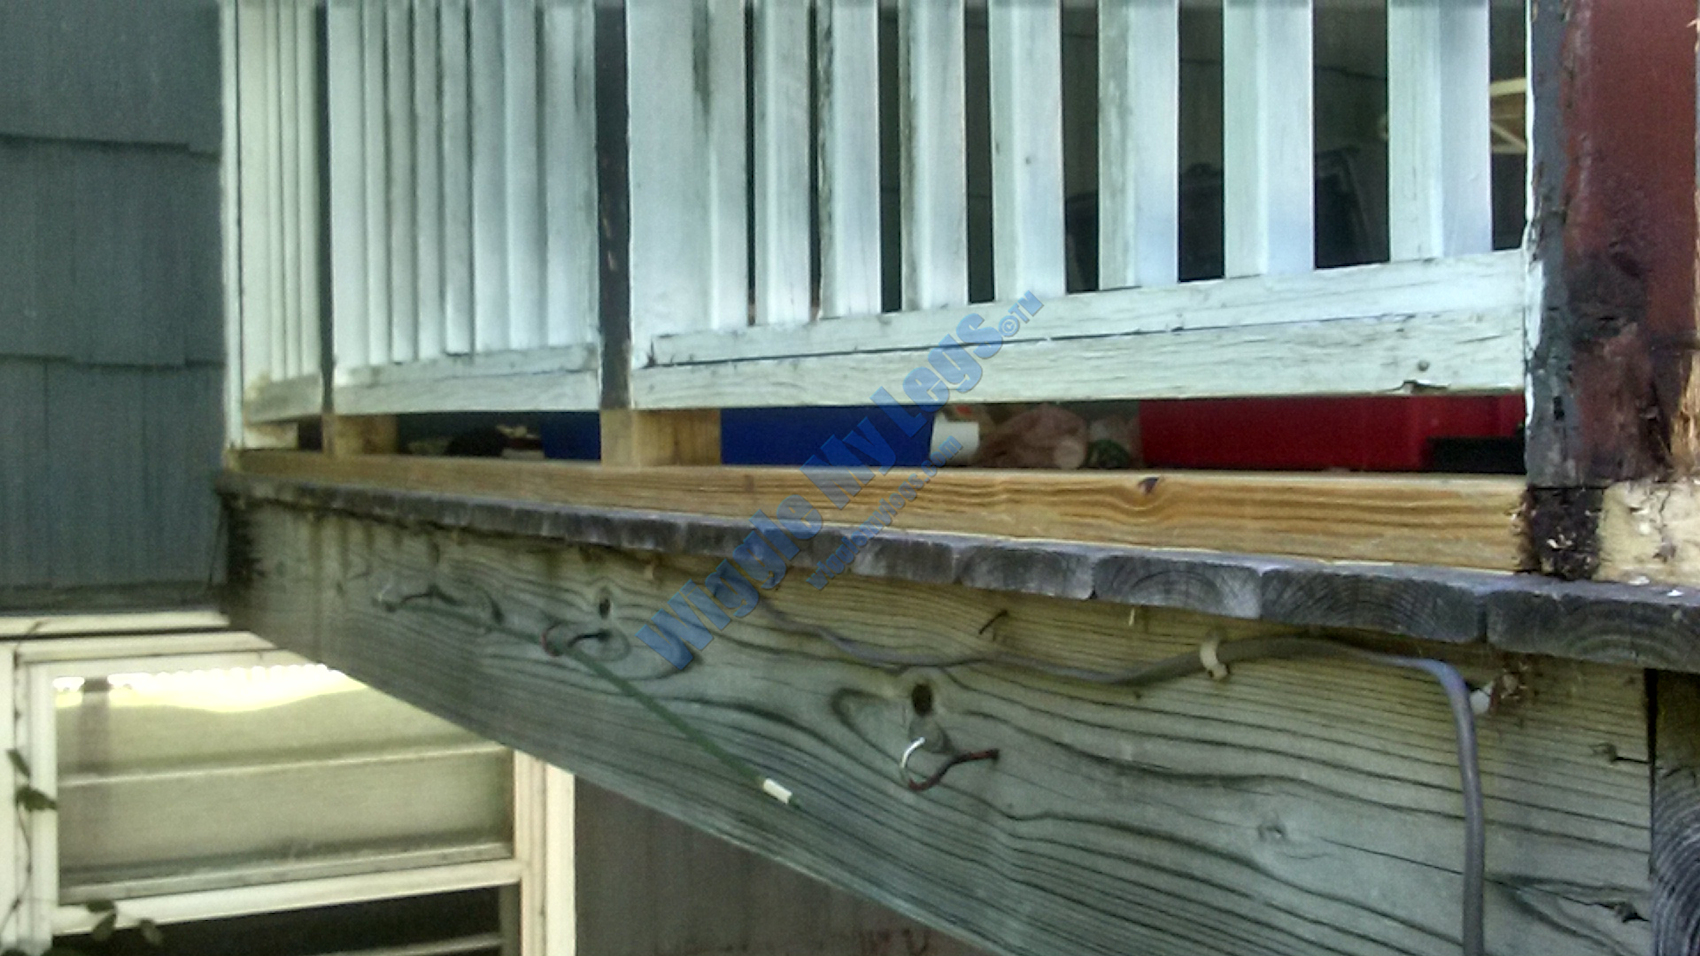
Old screens off, looking out a bit right, showing some baseboard and handrail replacement.
Old screens off, looking out a bit right, slightly different view.
Old screens off, looking out far right, showing baseboard and post base replacement.
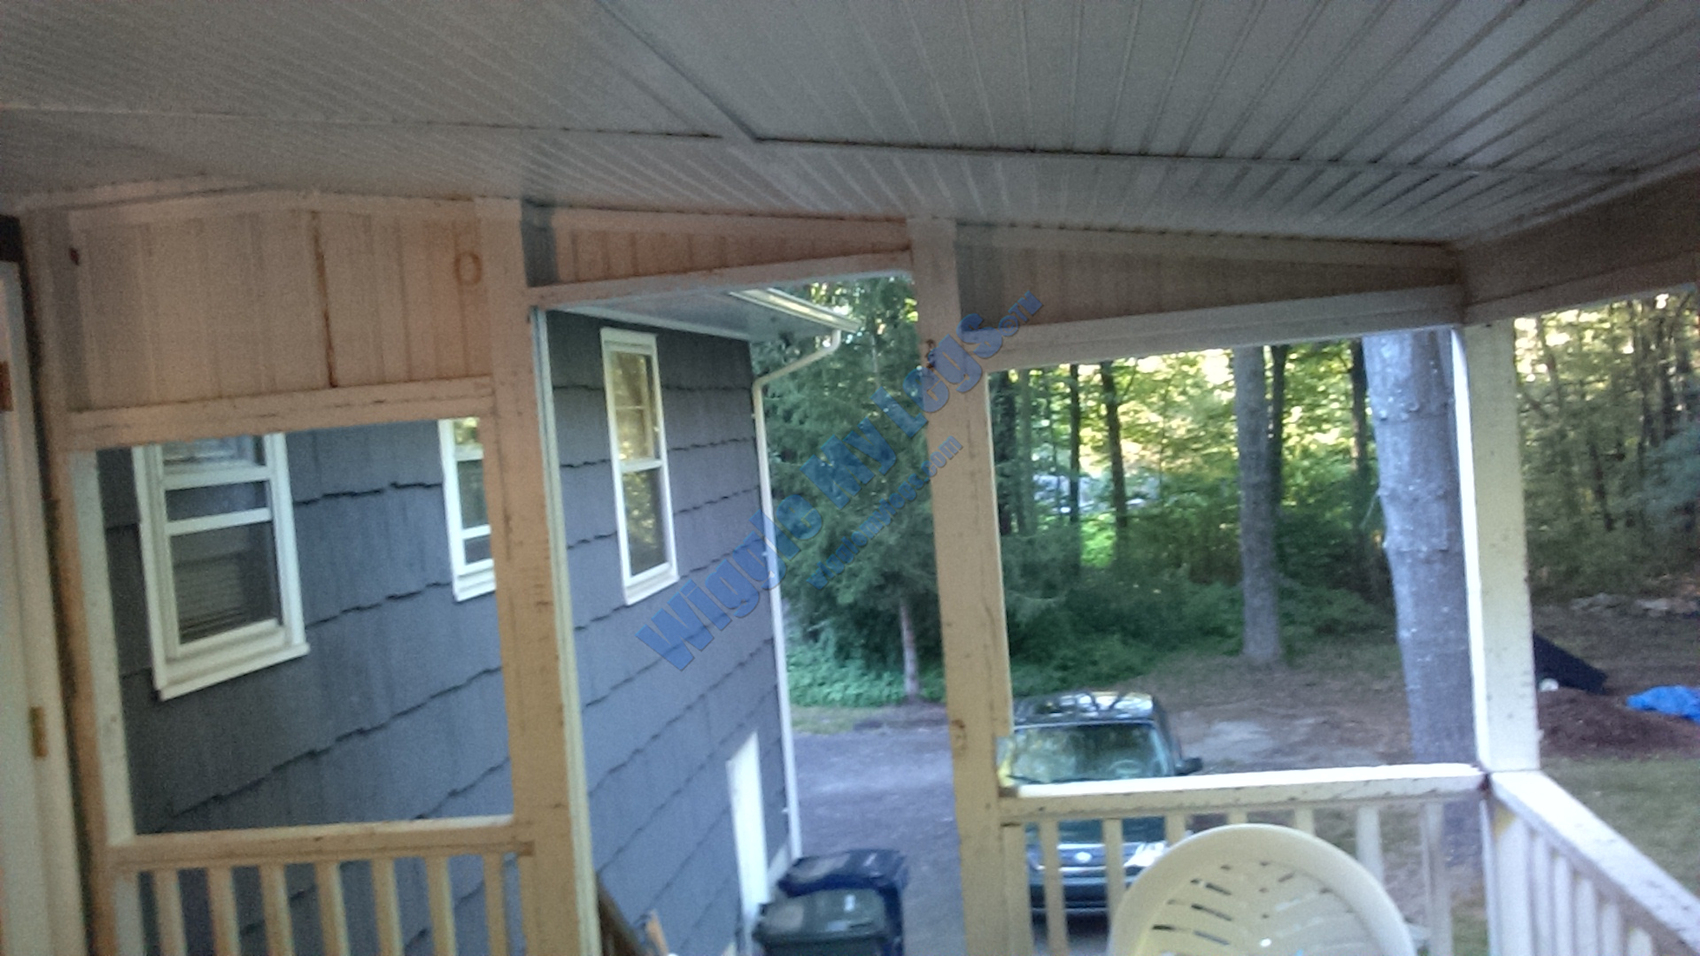
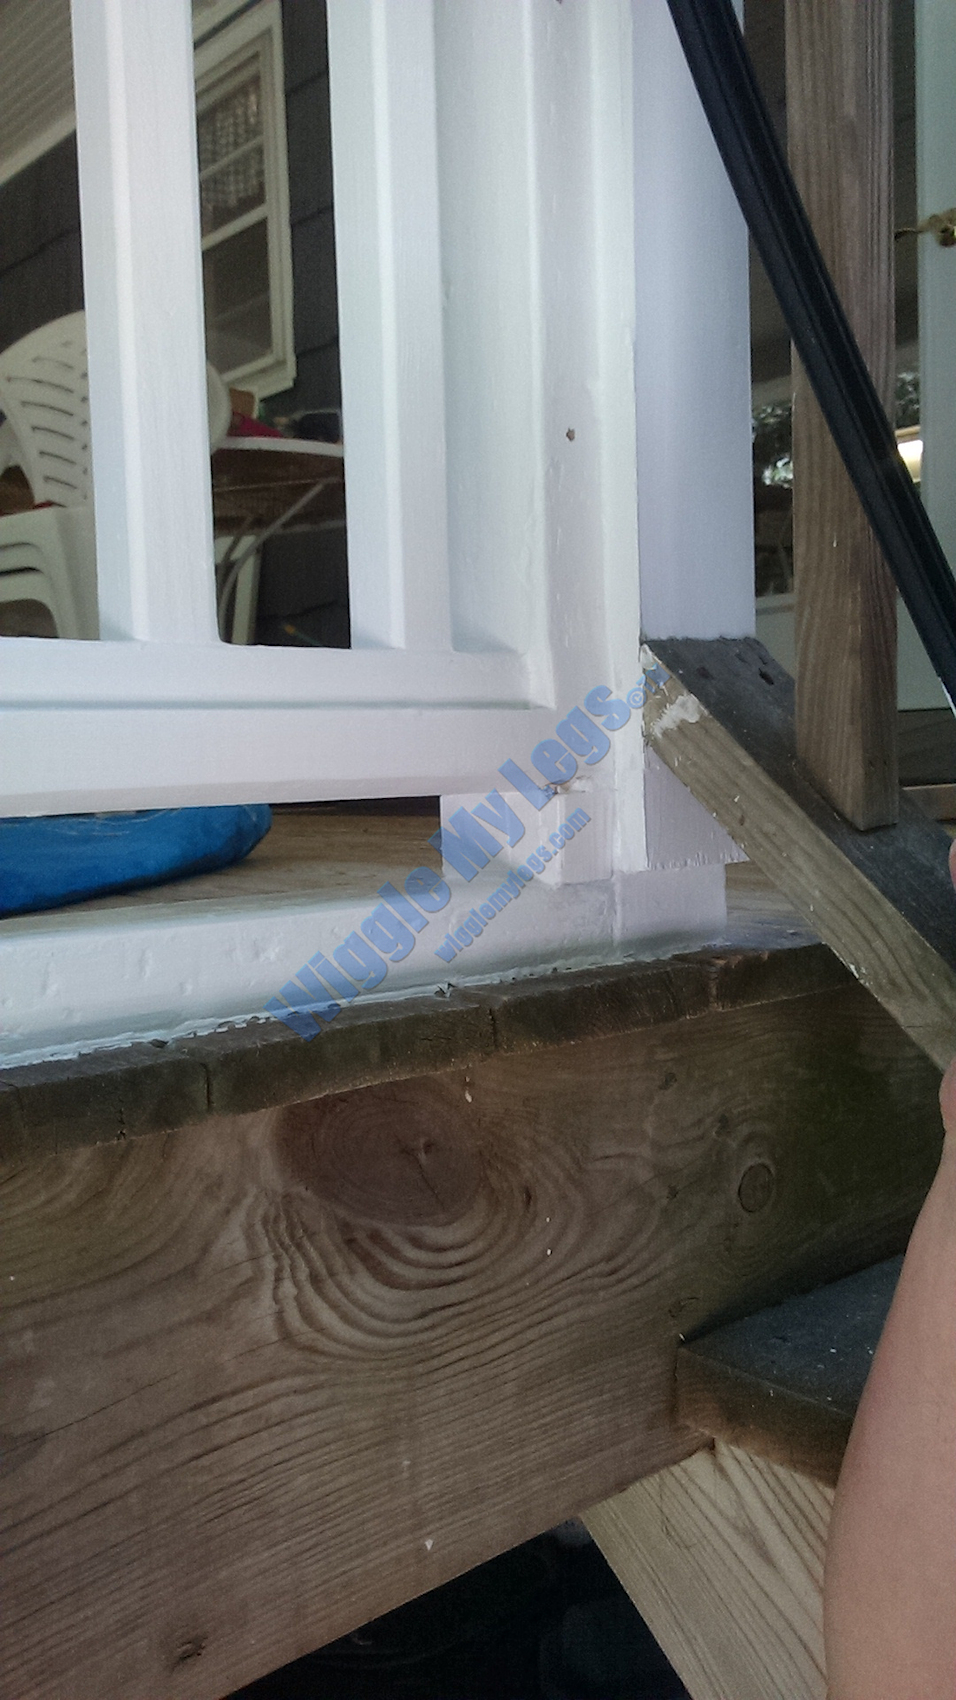
Looking to the right from on deck showing new pressure-treated baseboard and 4x4 post base.
On that right end, showing sizing and installation of new 4x4 post base.
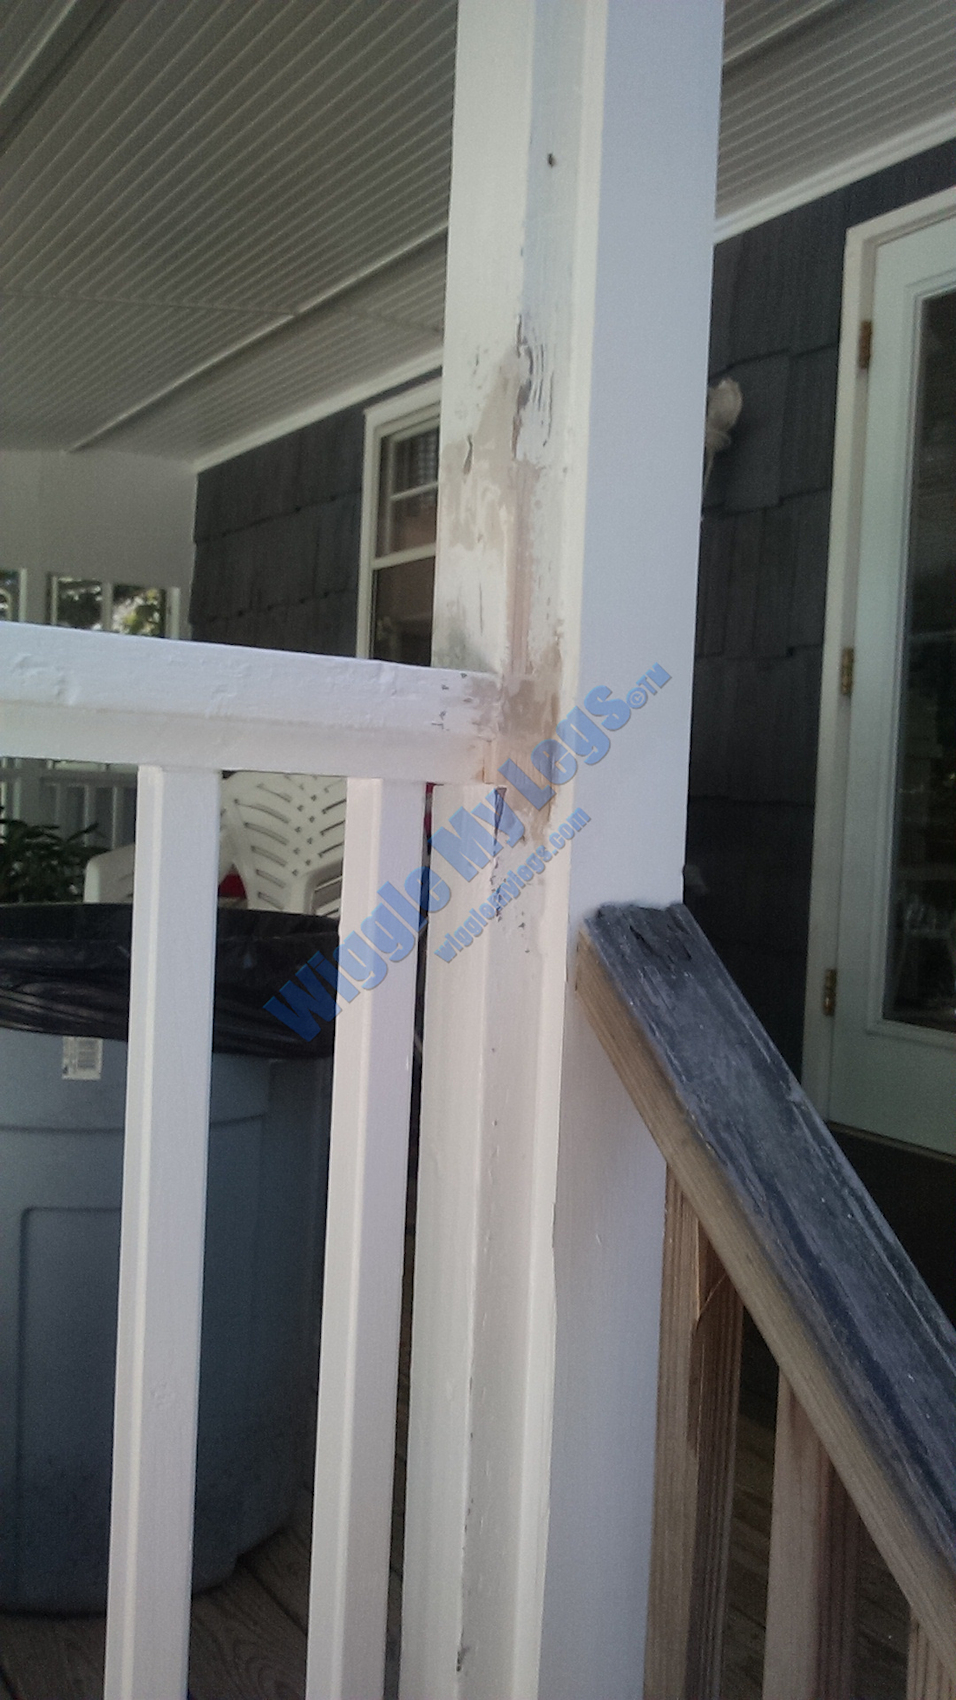
Same end, baseboard and 4x4 posts, with new bases installed on two posts, old repair showing at corner.
Same corner, showing Elmer's woodfill in staple holes, shims, lever for removing old, and installing new post bases.
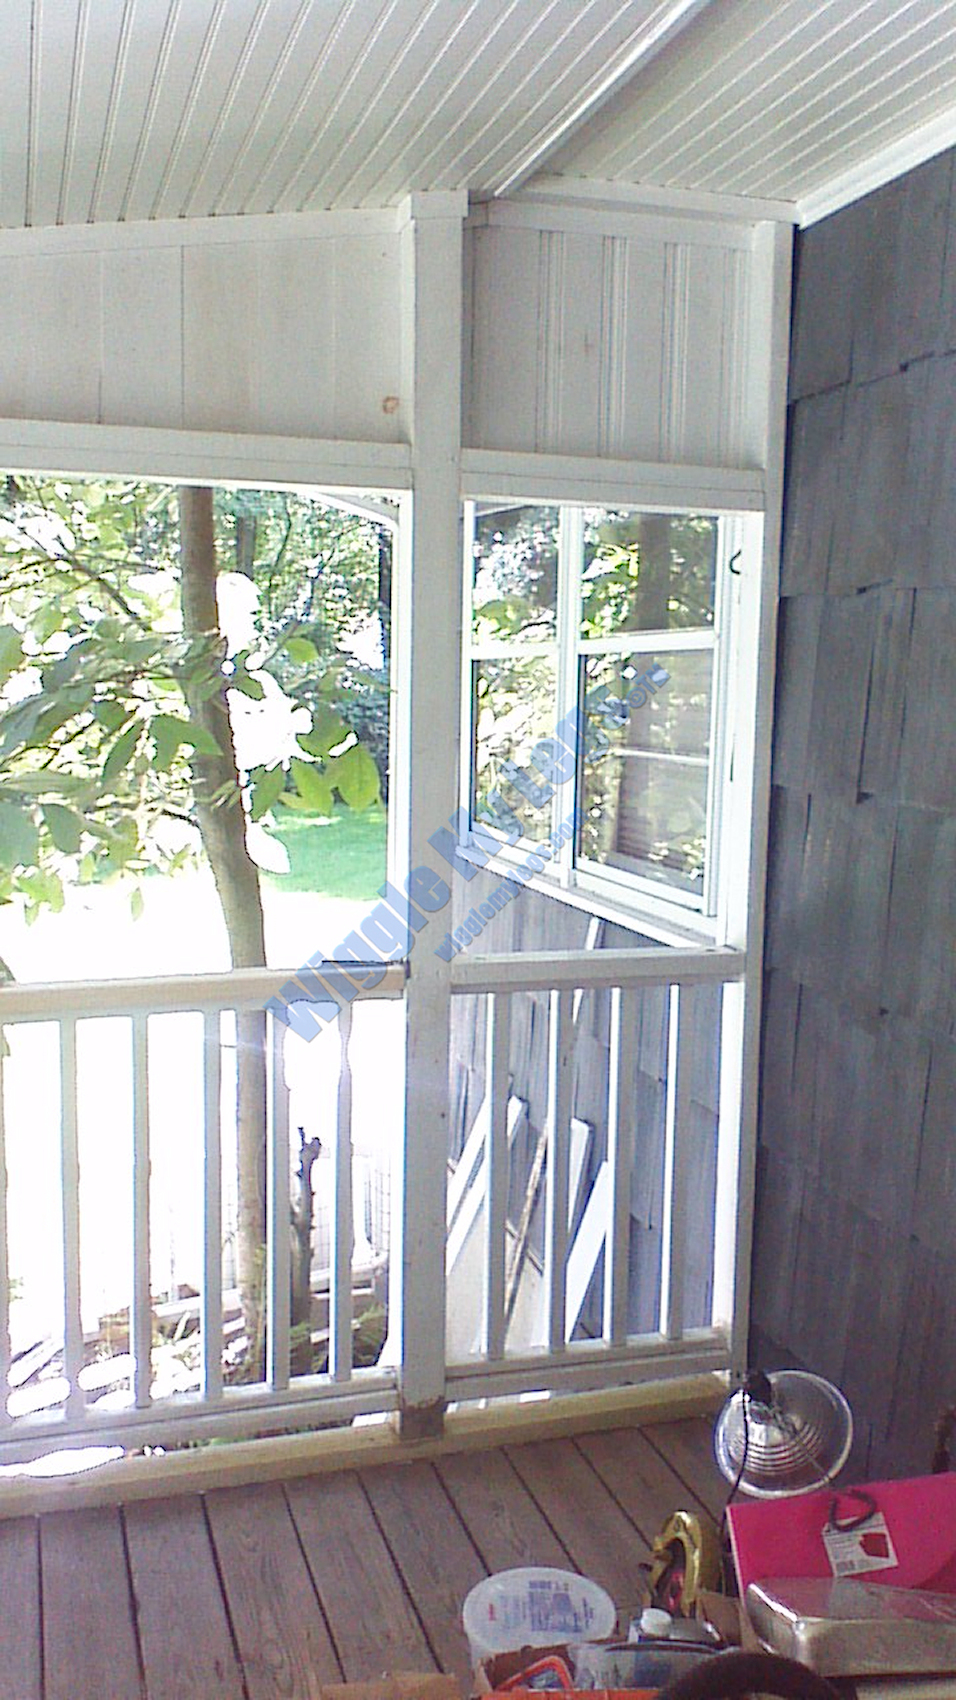
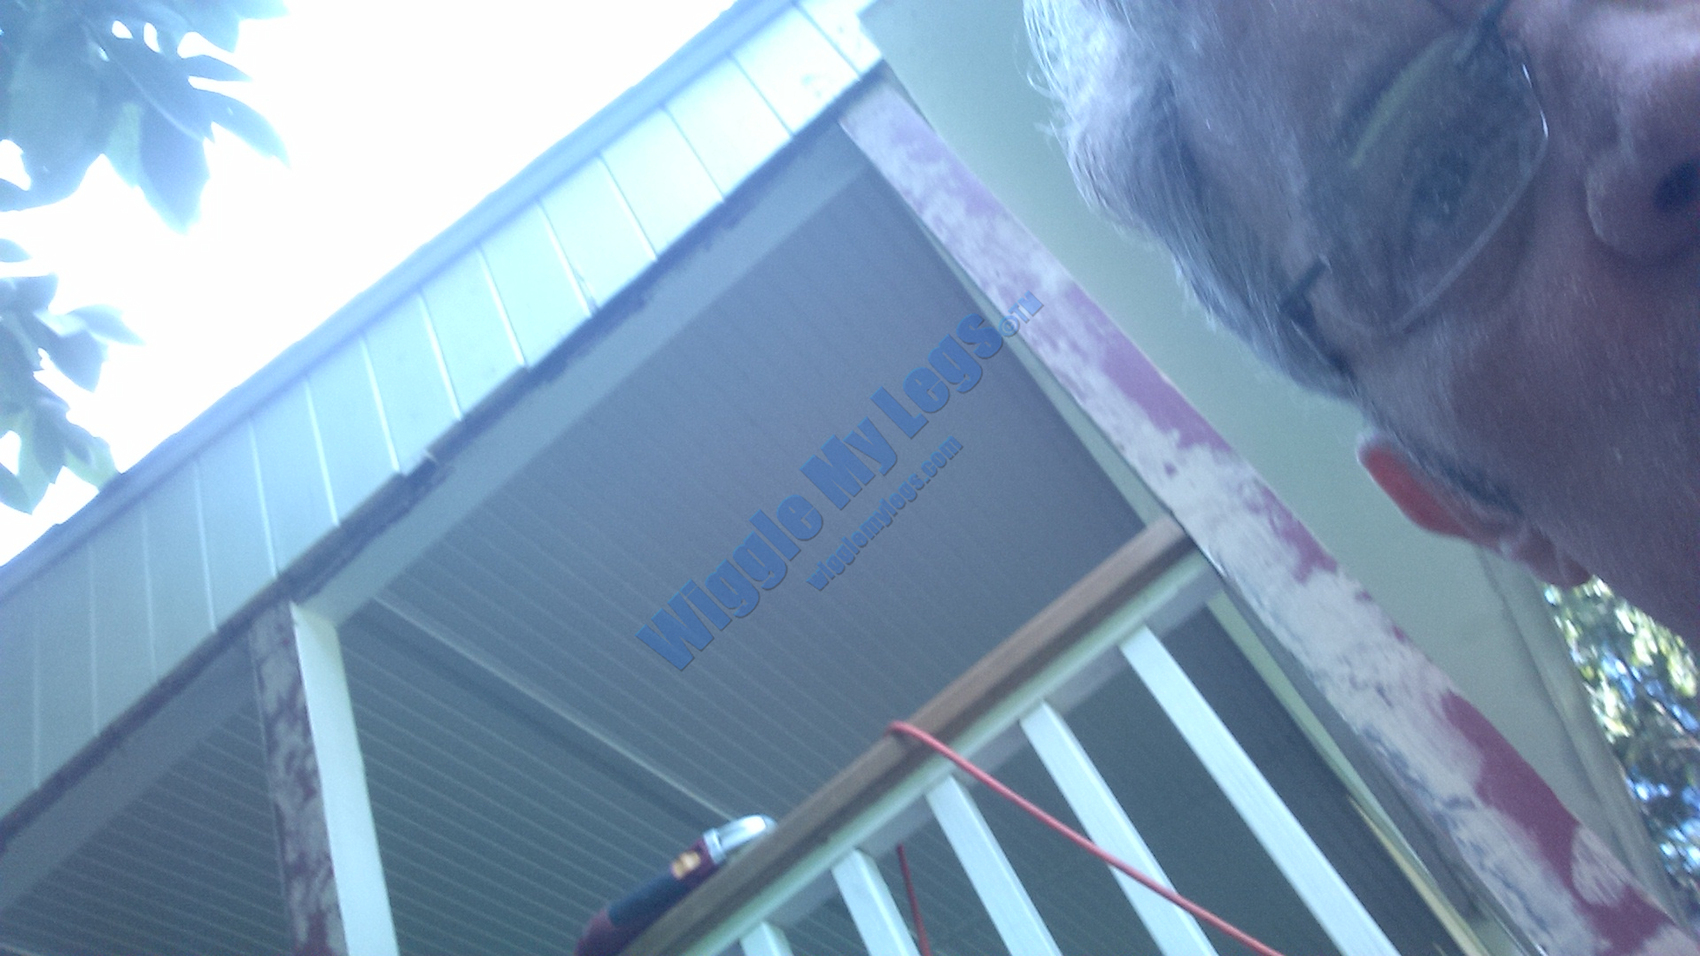
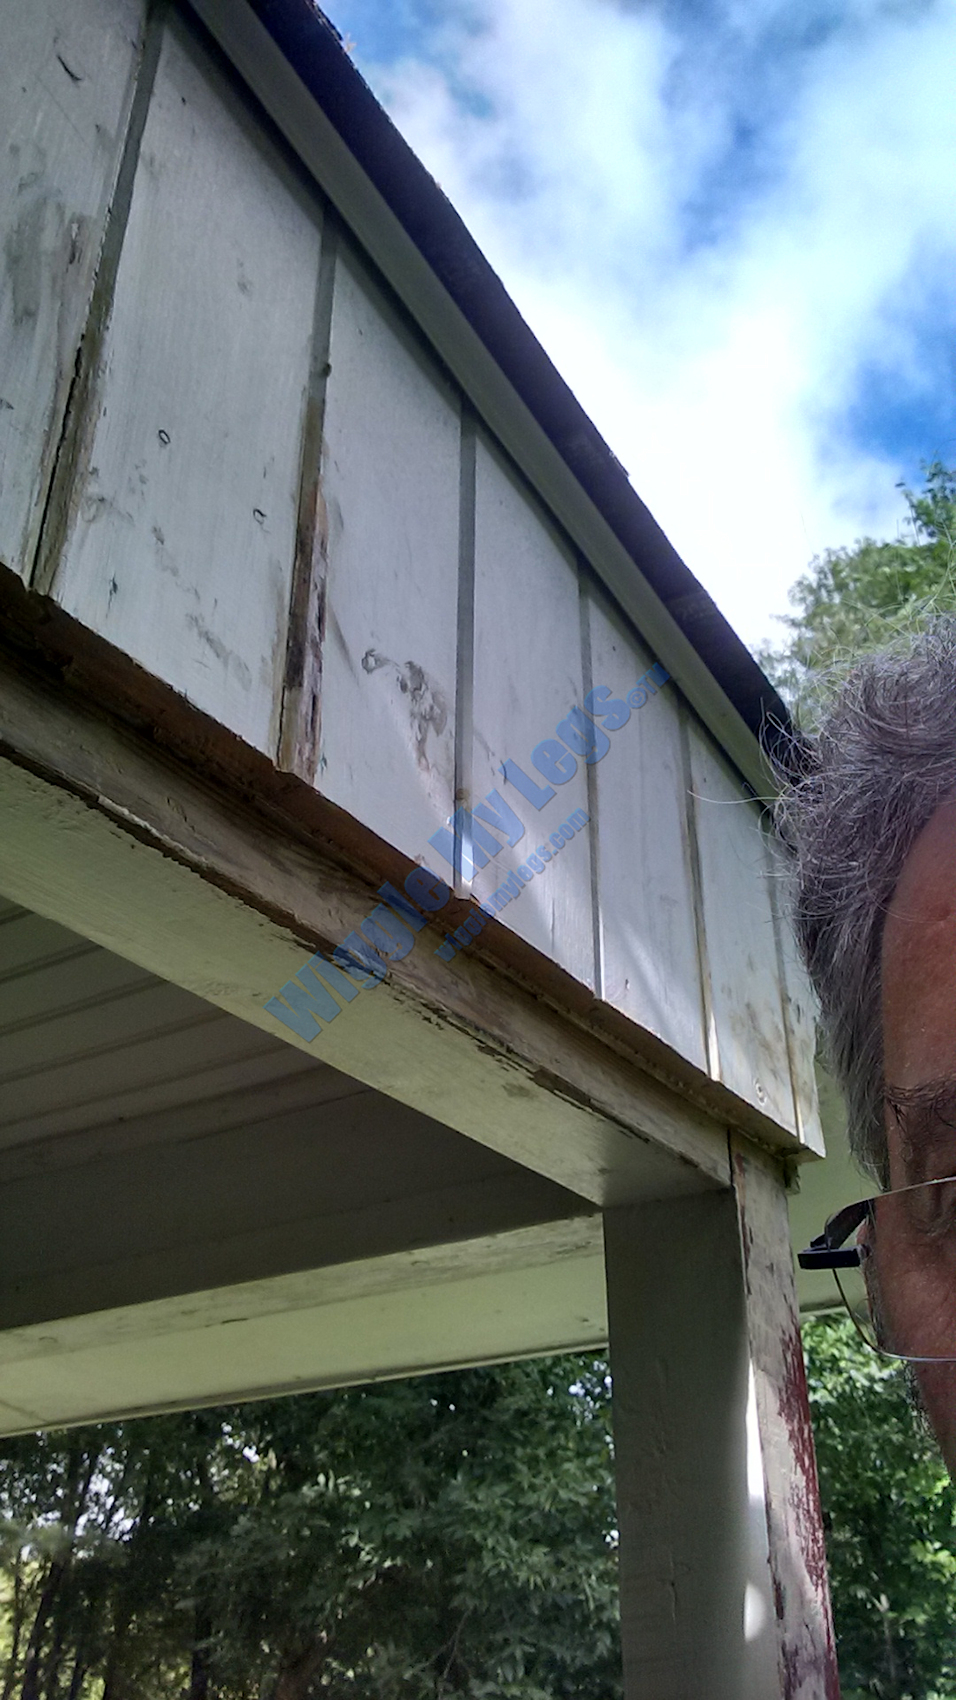
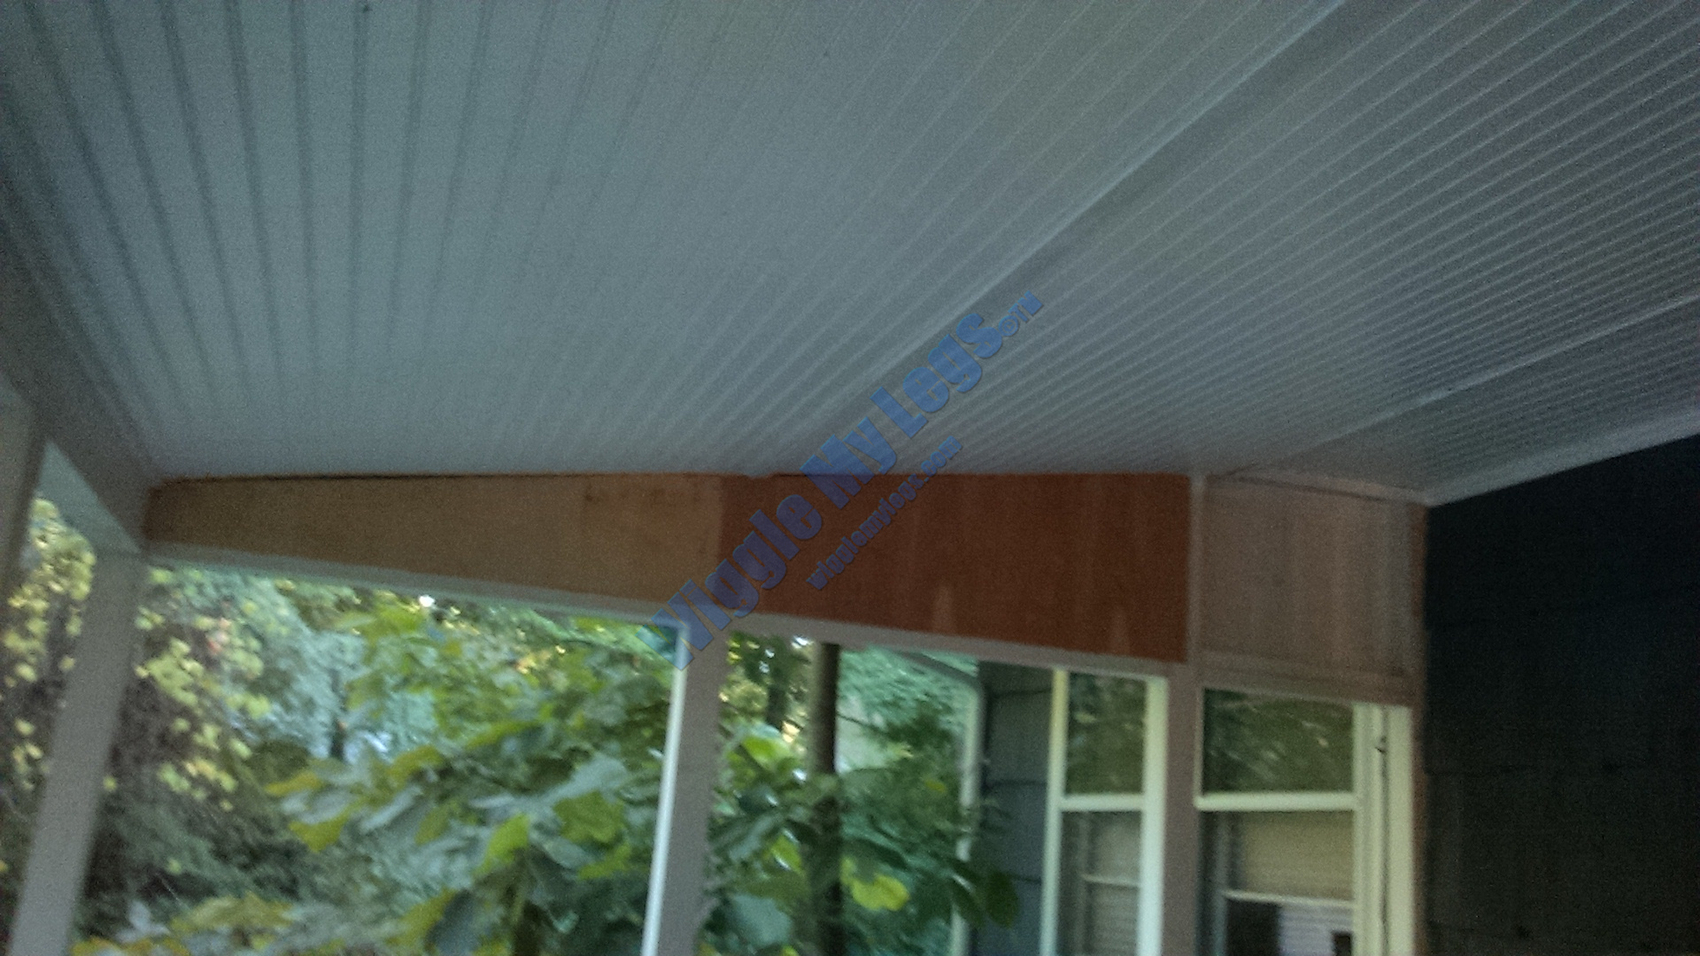
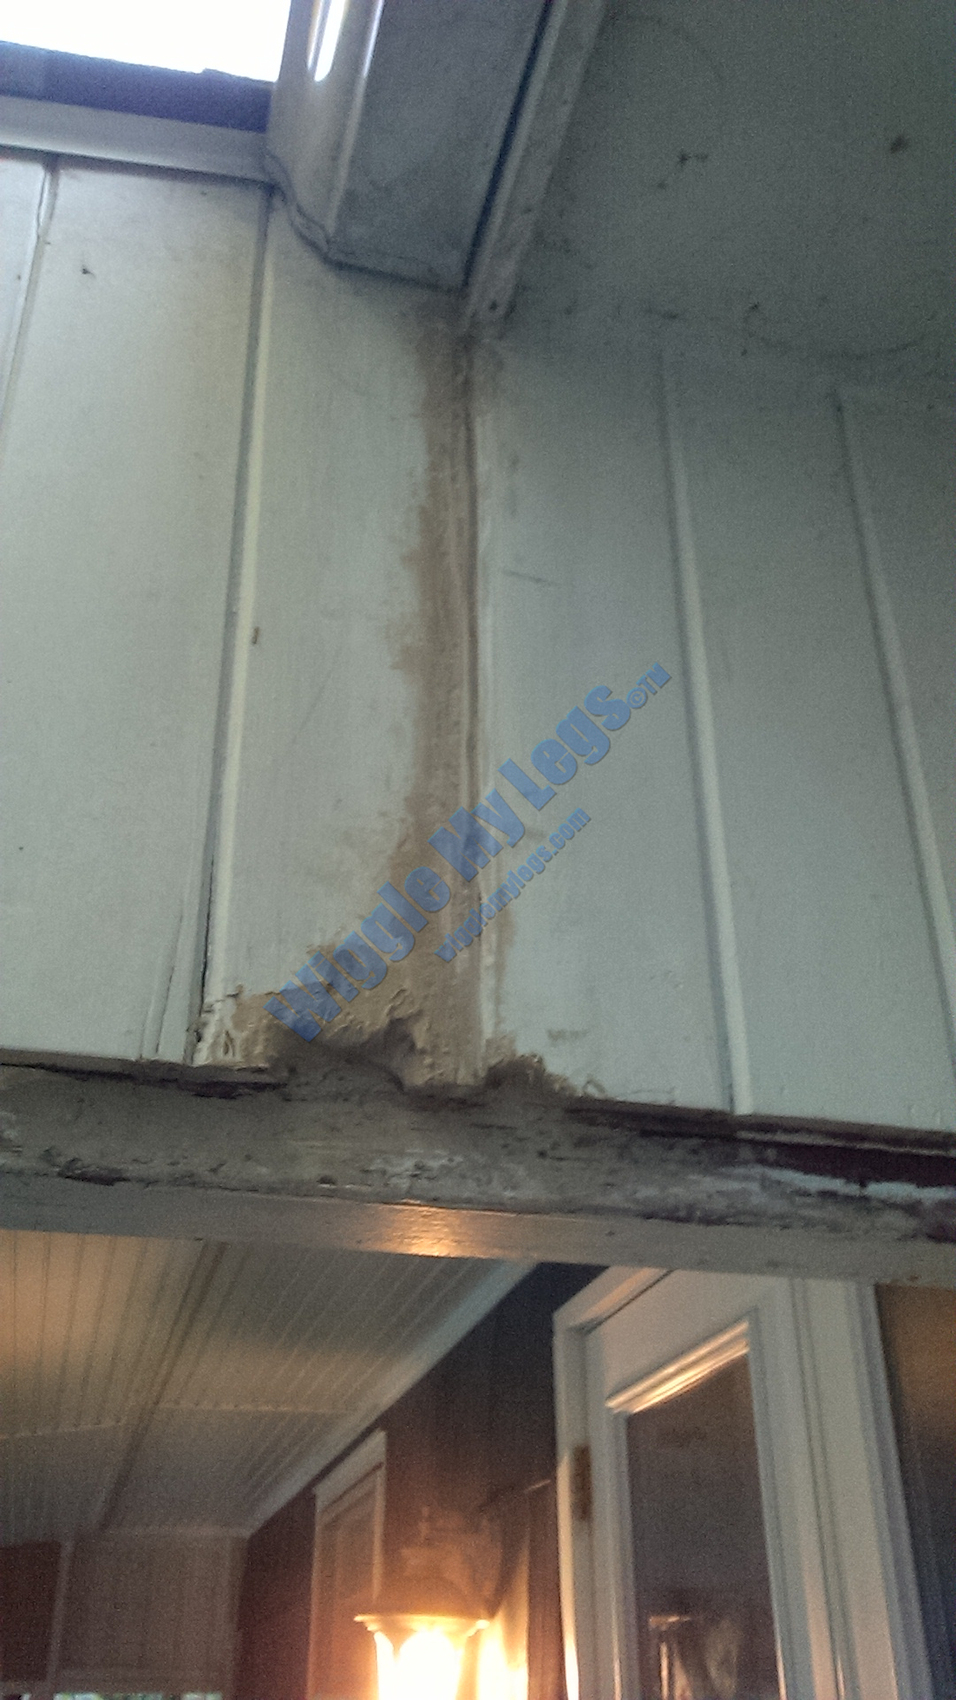
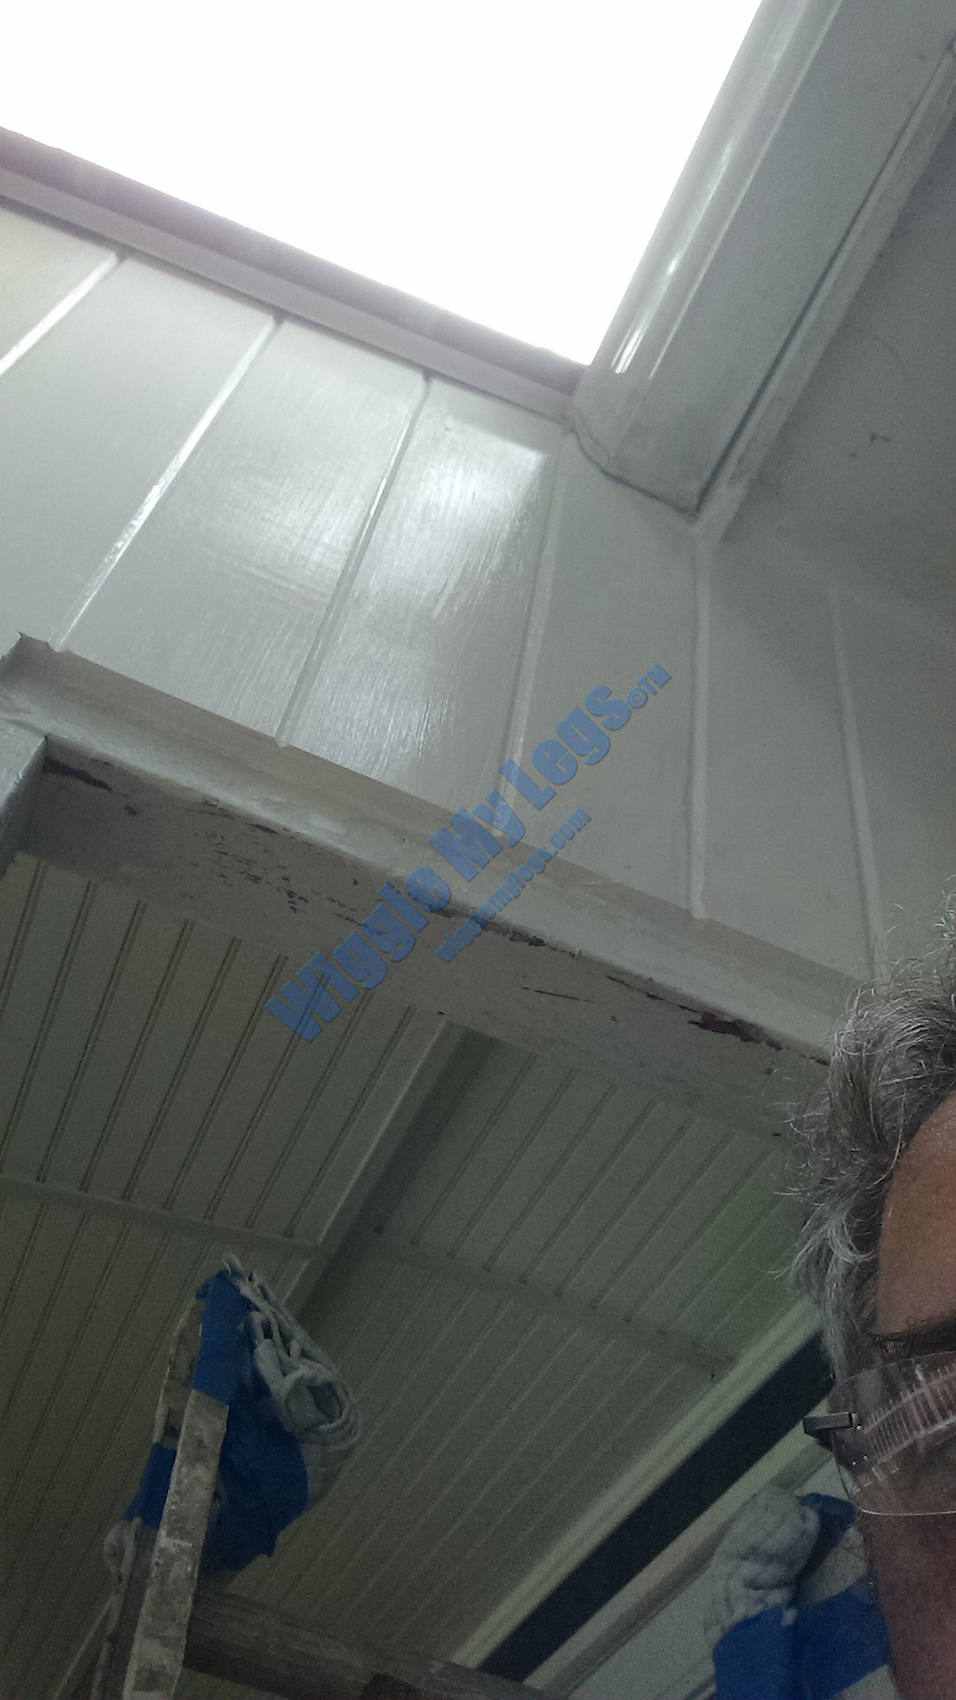
Same corner post upward view showing shiplap wood siding on gable.
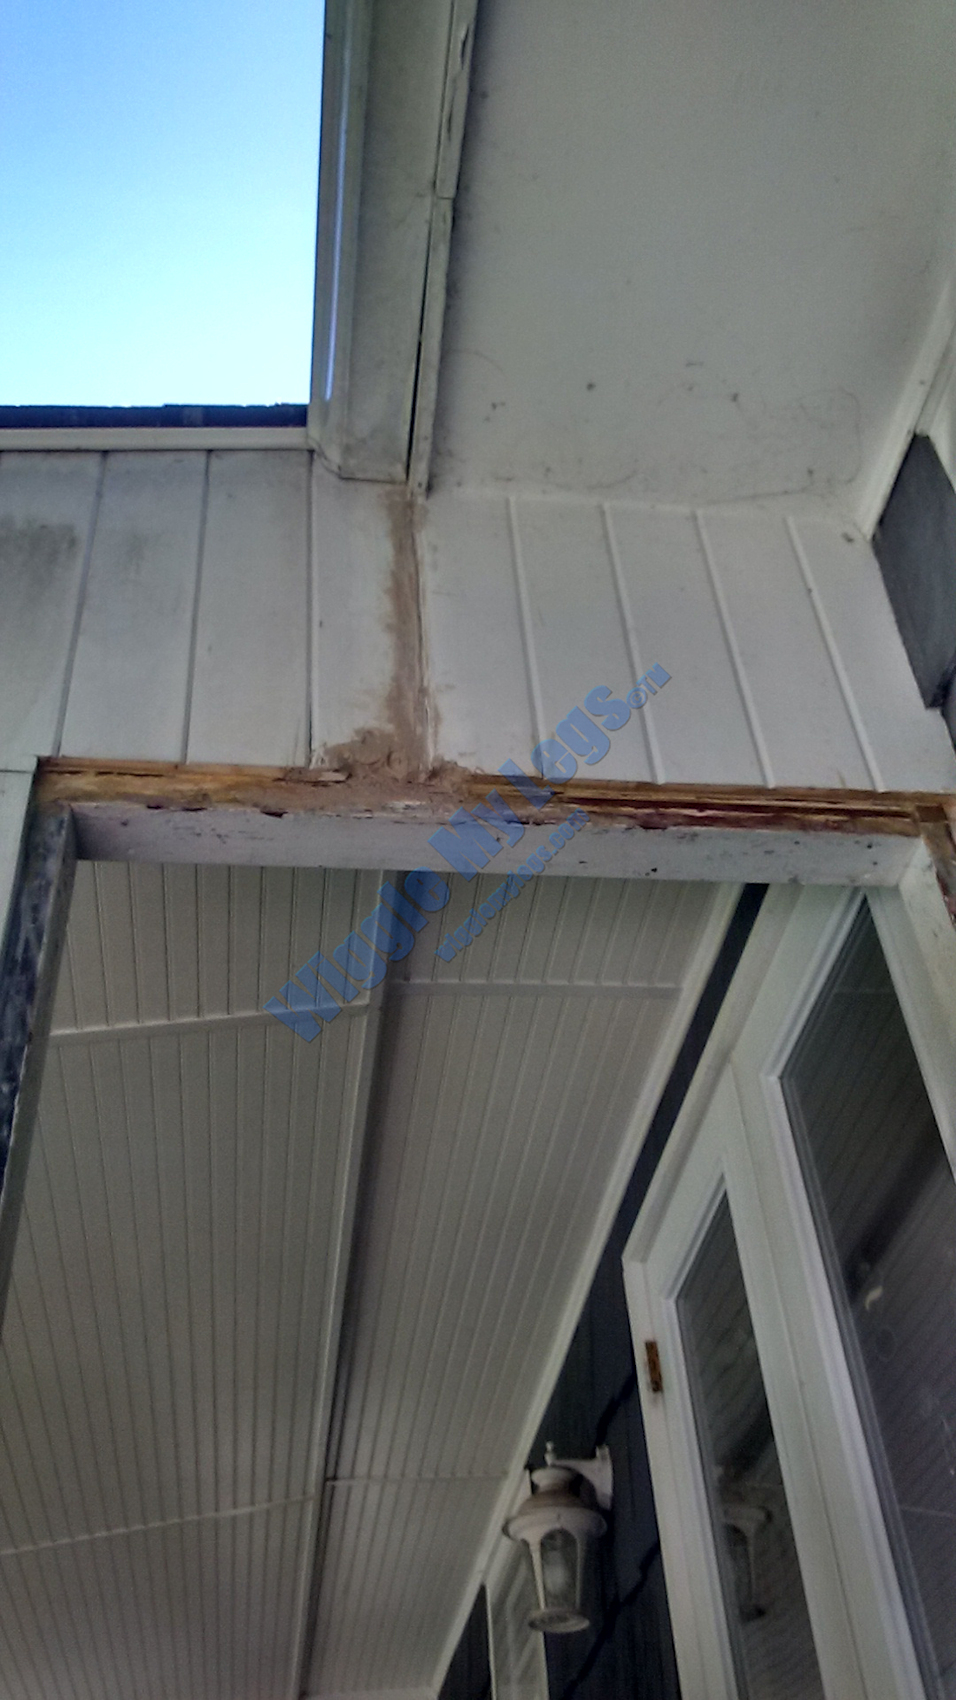
Same gable attempting to show some of wood rot and edge gaps in shiplap siding.
Gable with bottom edge of rotting shiplap siding being sawed off to make room for new frame for screens and remove rot.
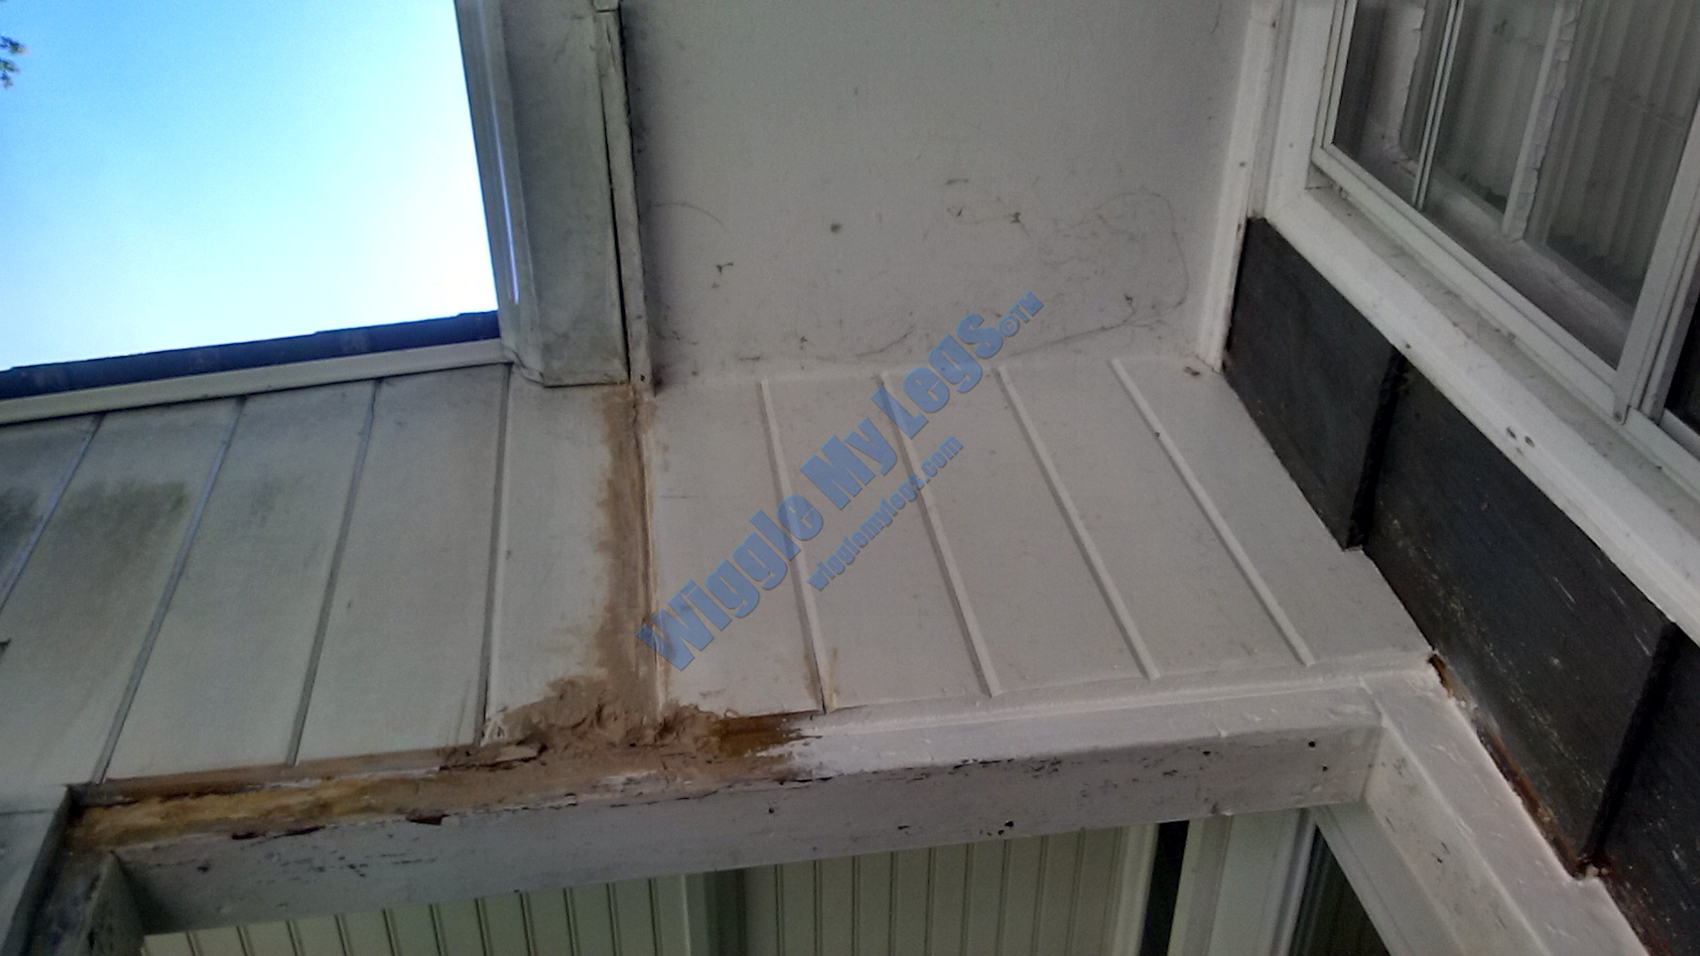
Closer view of sawing off shiplap siding edge.
Another closer view of gable after scraping out soft wood.
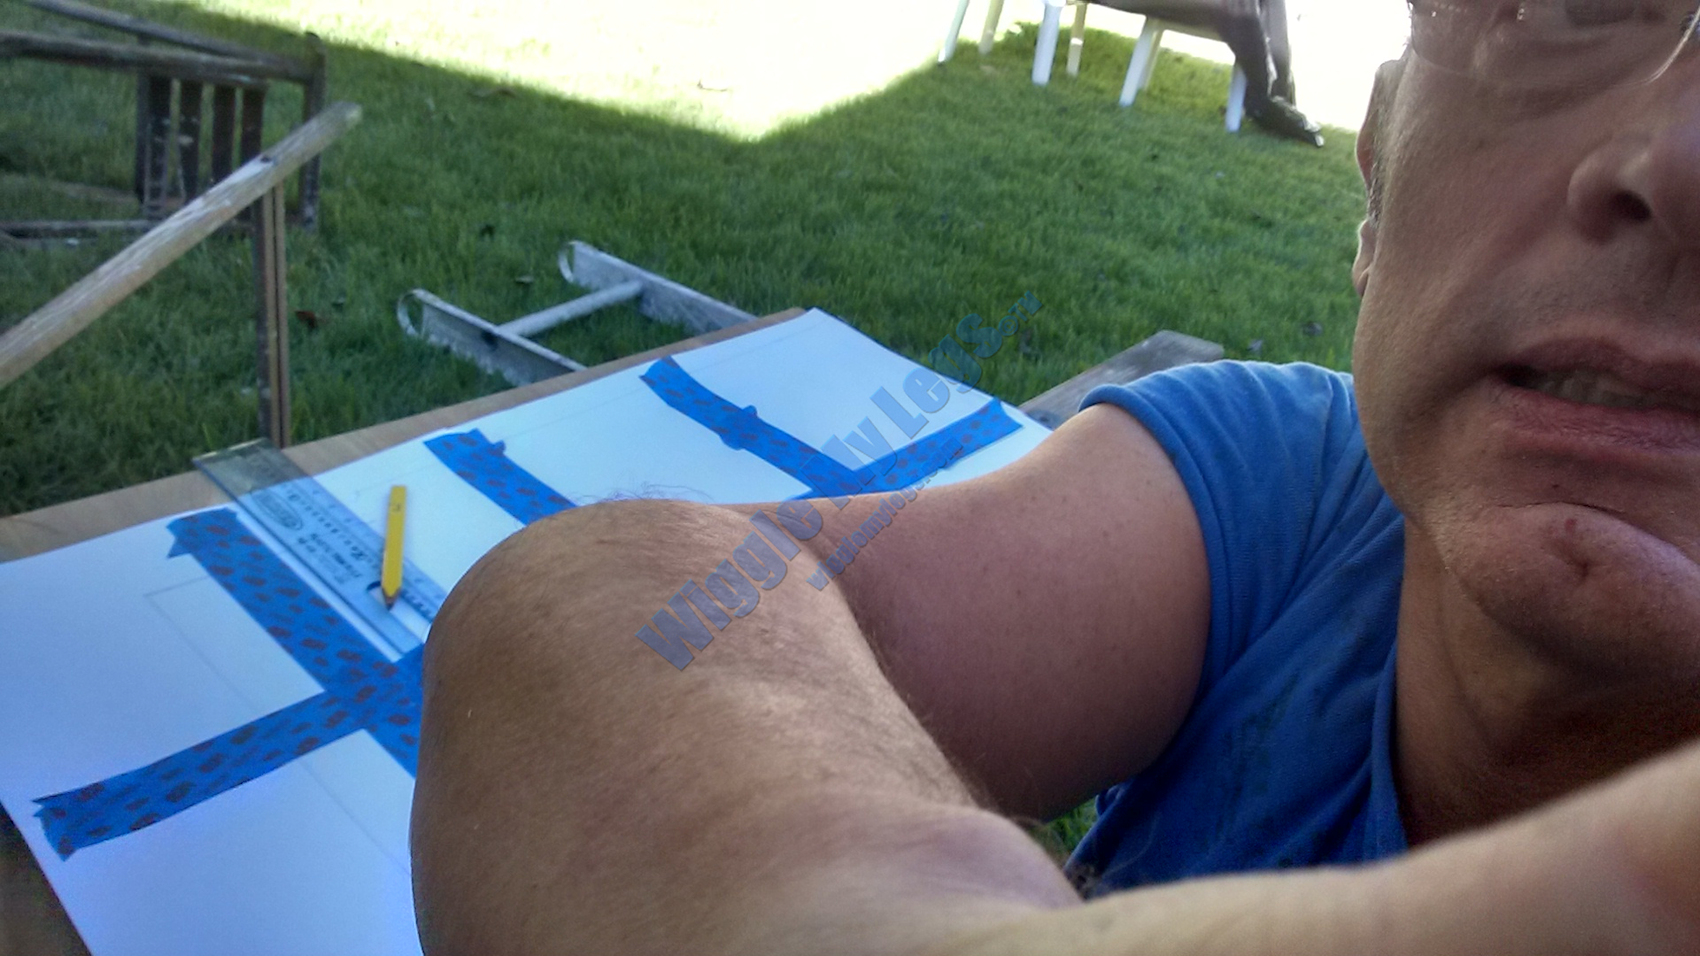
Taped together 8.5x11 inch paper to make patterns to cut plywood panels for interior of deck gable, behind shiplap.
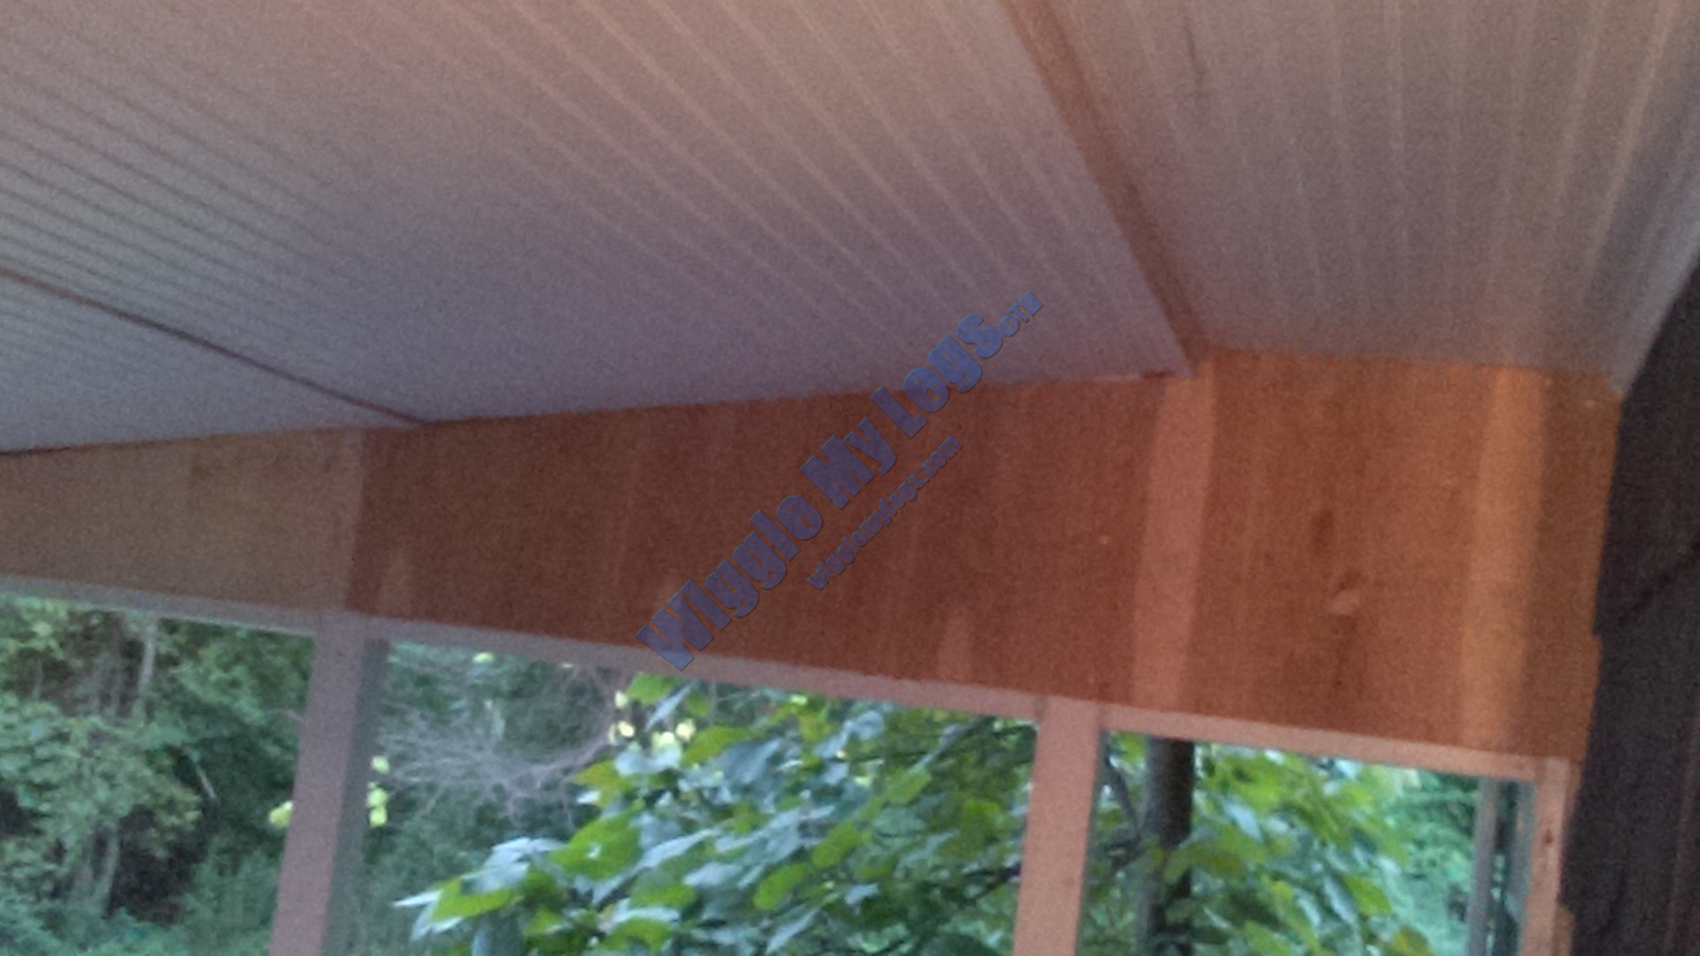
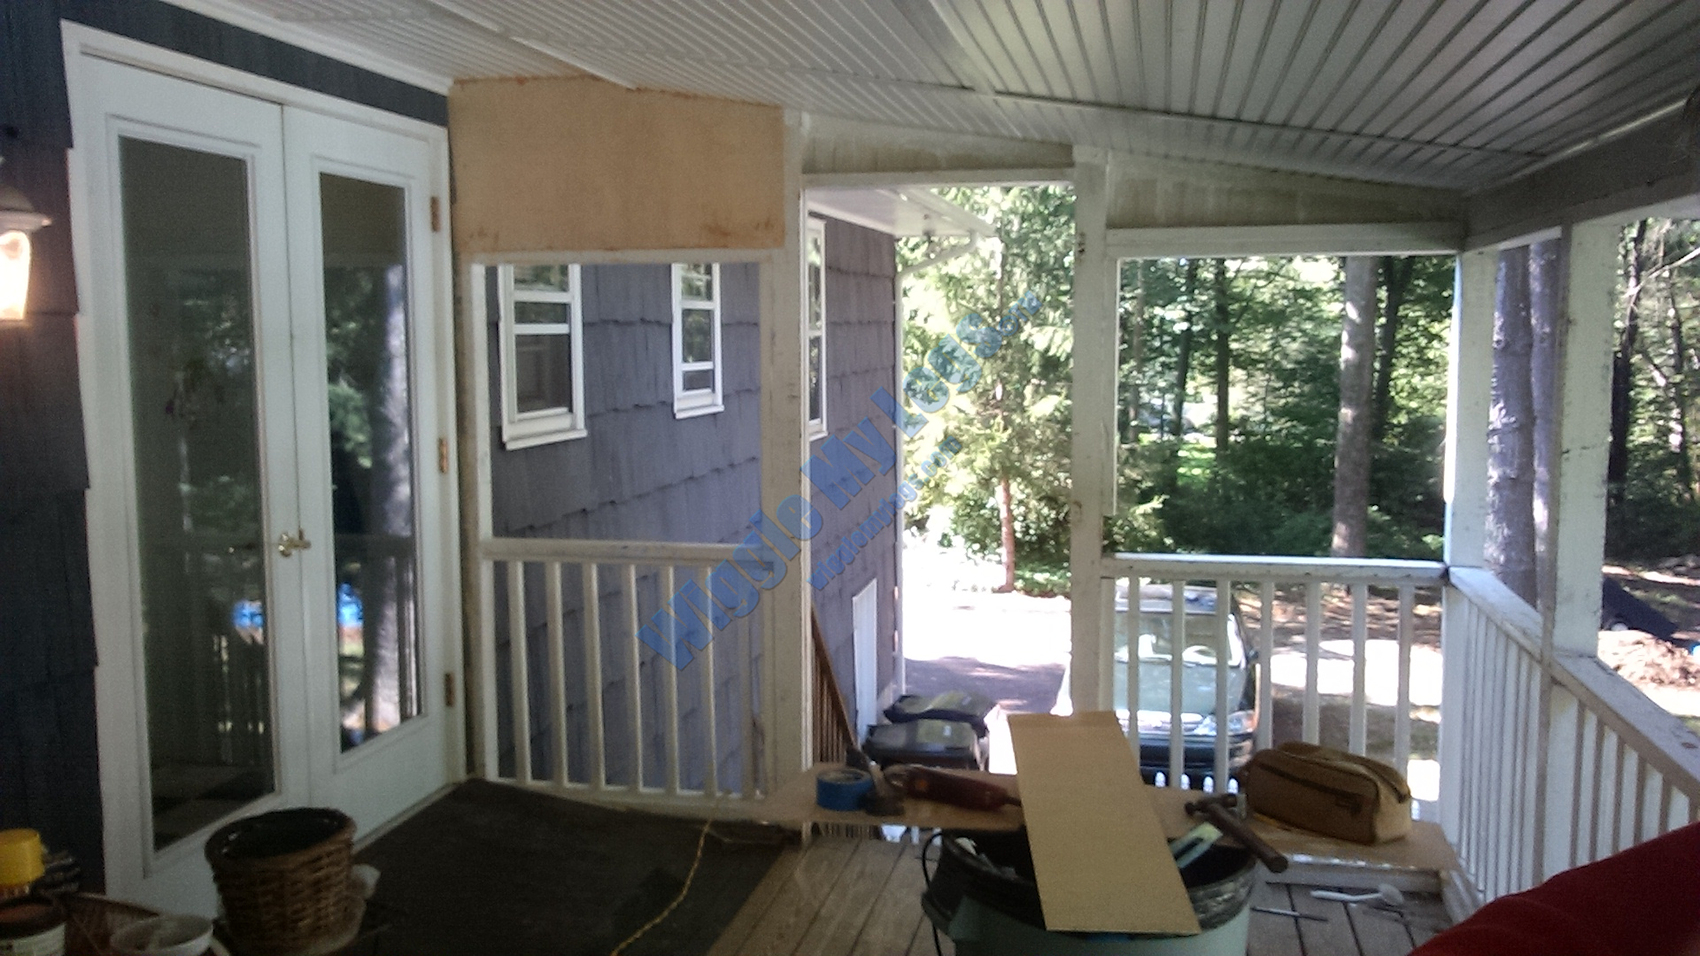
Showing two of three plywood panels installed on one end of deck interior.
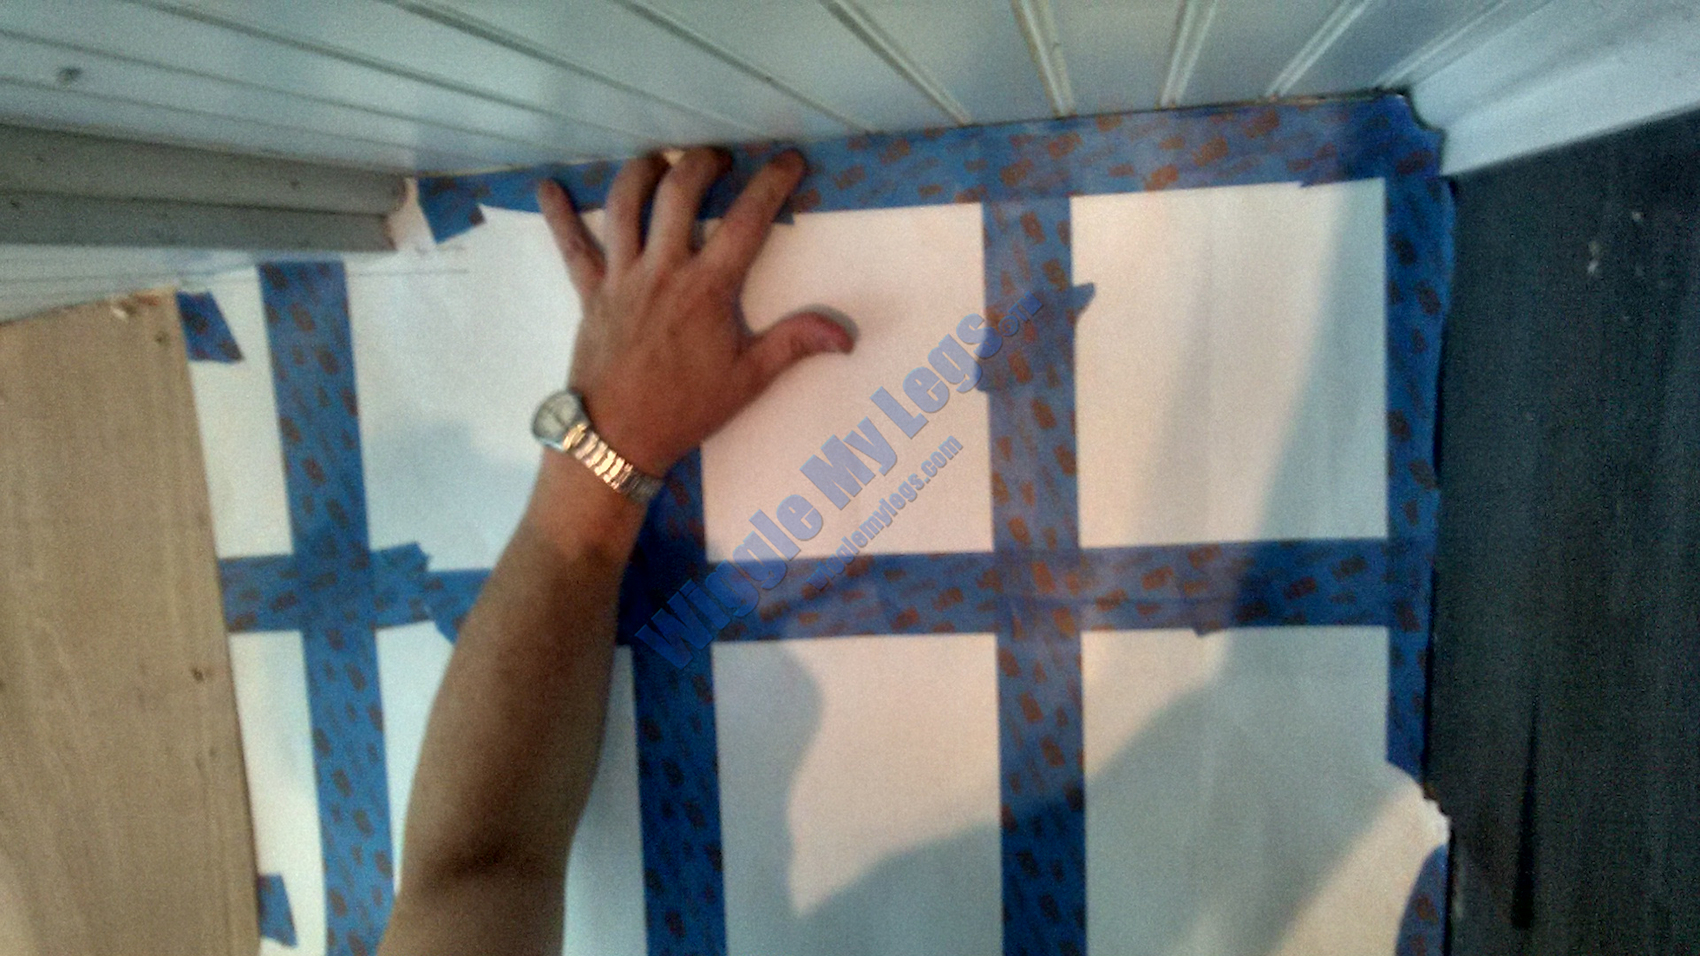
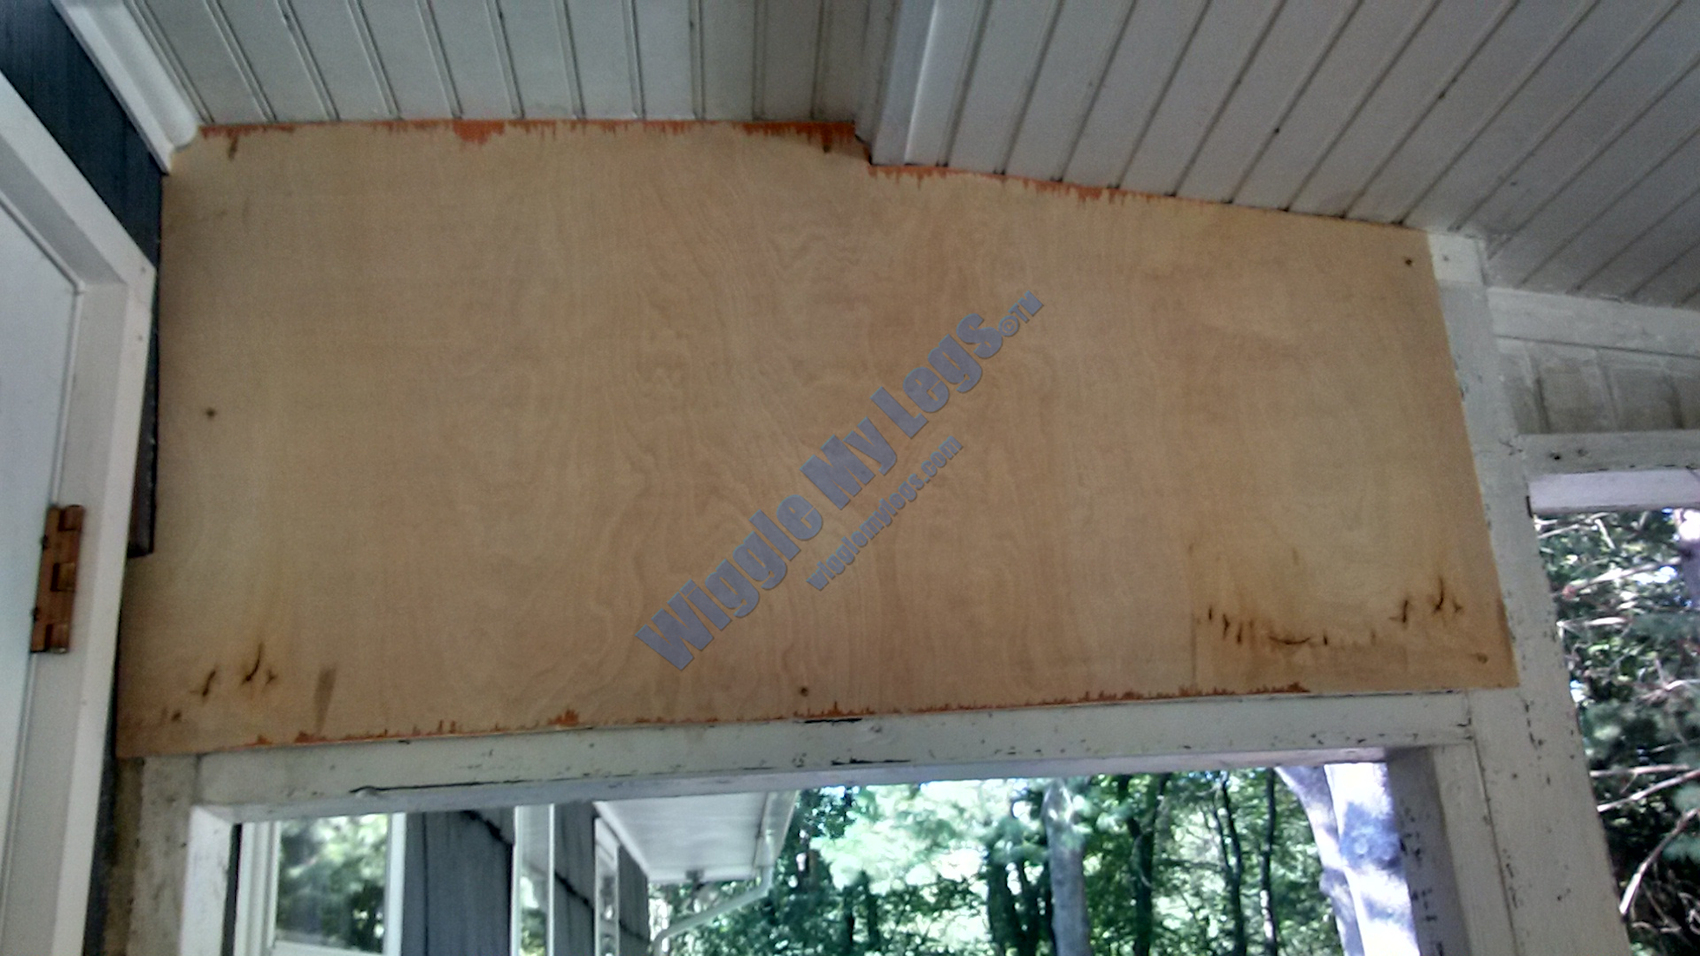
Final fitting for paper pattern on third plywood panel on that end.
After third and final plywood panel is installed on one interior gable.
Gable on other side of deck, after scraping out soft wood, and applying first layer of Minwax epoxy woodfill. This damage was caused by an old gutter leak which was fixed by getting a new roof and gutters.
Ground view of large Minwax epoxy woodfill repair in shiplap after another layer of Minwax woodfill.
After another layer of woodfill and showing caulking and painting while waiting for epoxy to dry.
Back of that same Minwax epoxy woodfill repair showing wood shims stuffed into gap, also to be filled.

That same repair with entire end of interior gable area showing.
Same shiplap repair after three to four more layers of Minwax epoxy woodfill and sanding and then painting.
First plywood panel going up behind repaired shiplap hole.
Closer view of that plywood panel.
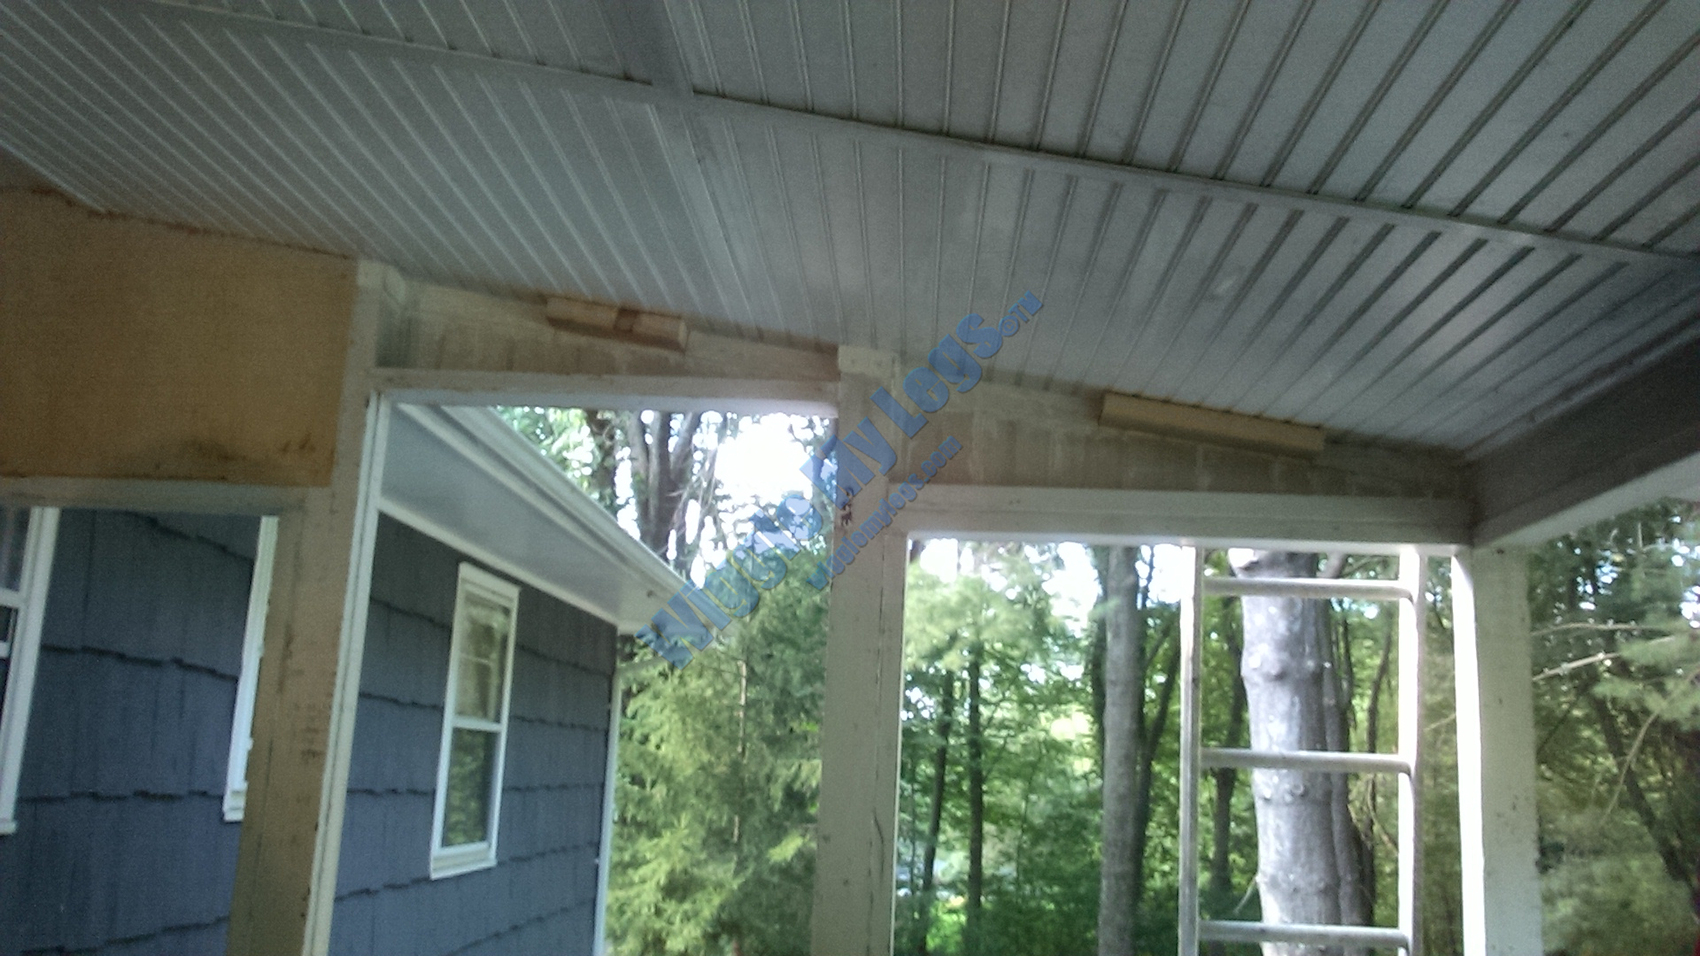
Two areas remaining to install plywood panels had these two, 2x4 braces added, for mounting plywood panels more securely.
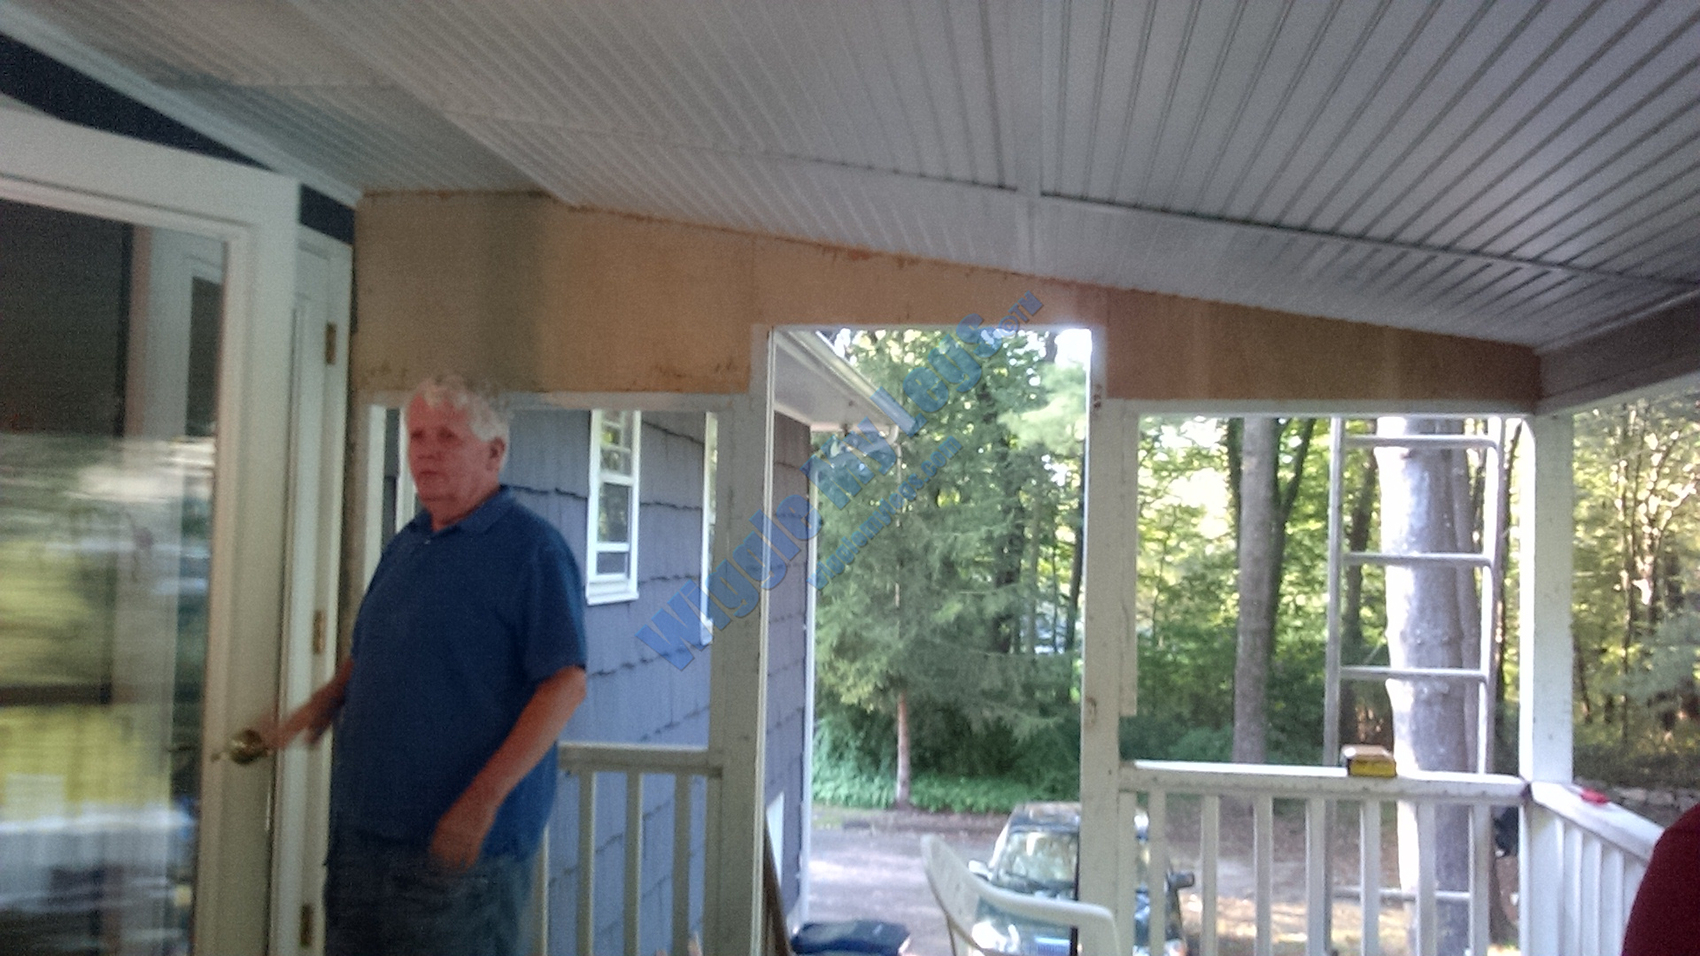
That end of interior gable area complete with plywood panels, and home owner cameo.
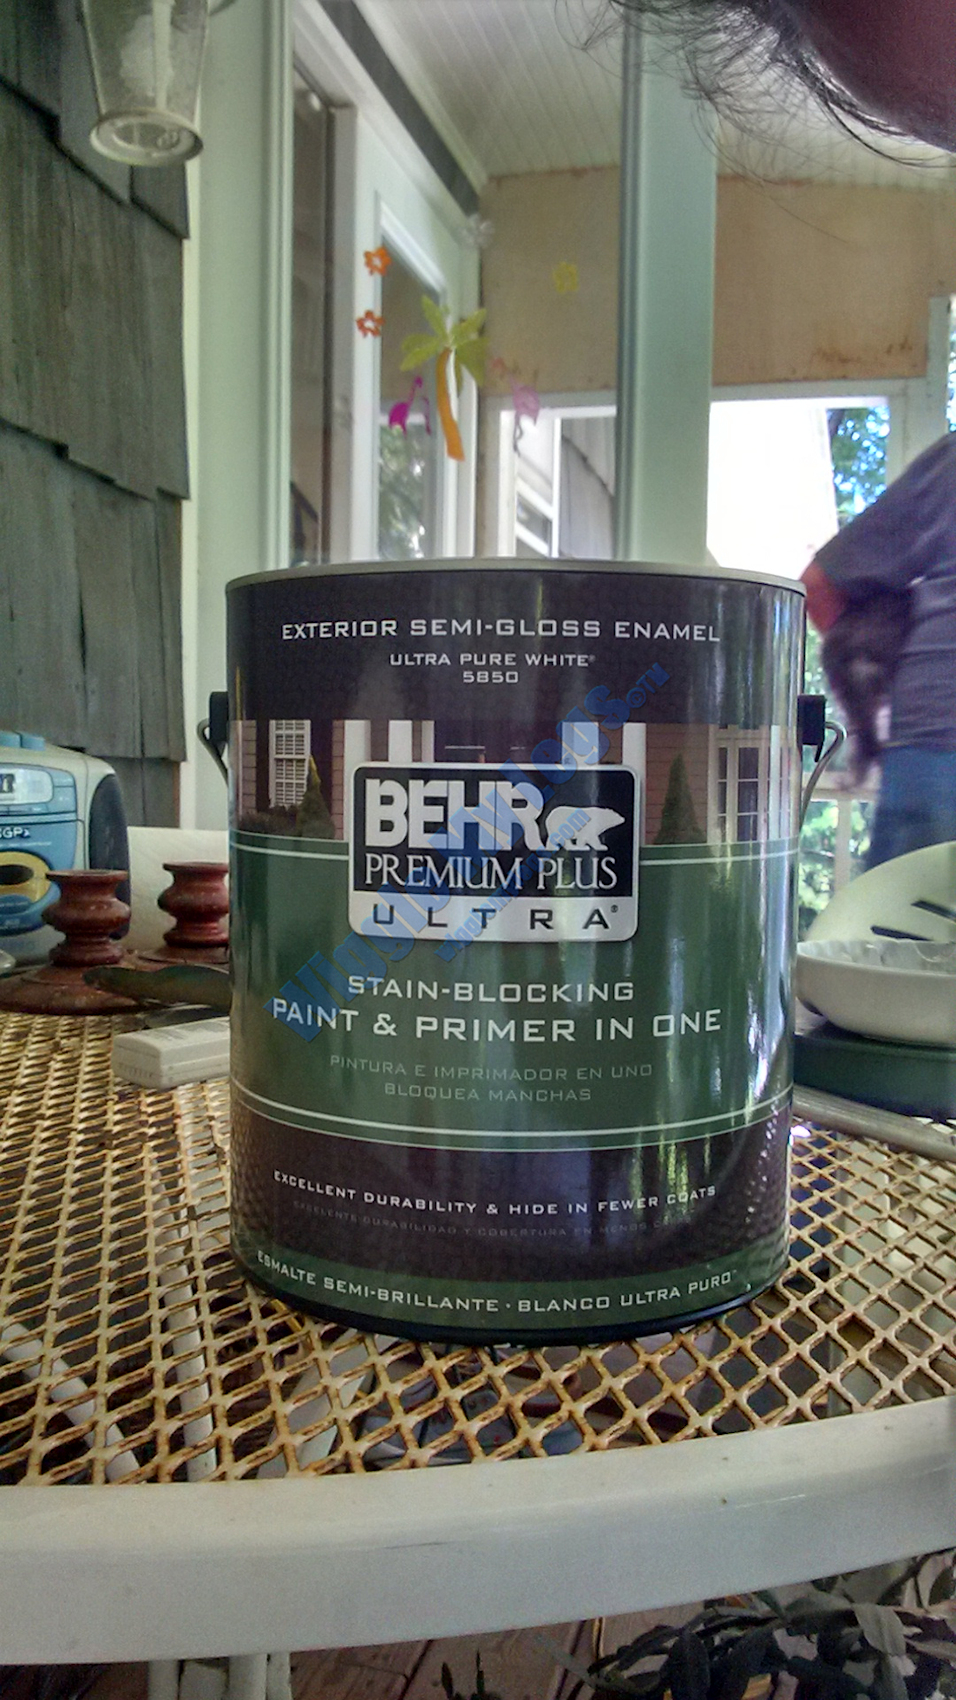
The chosen paint was this Behr Premium Plus Ultra from Home Depot, Stain-blocking Paint and Primer in One.
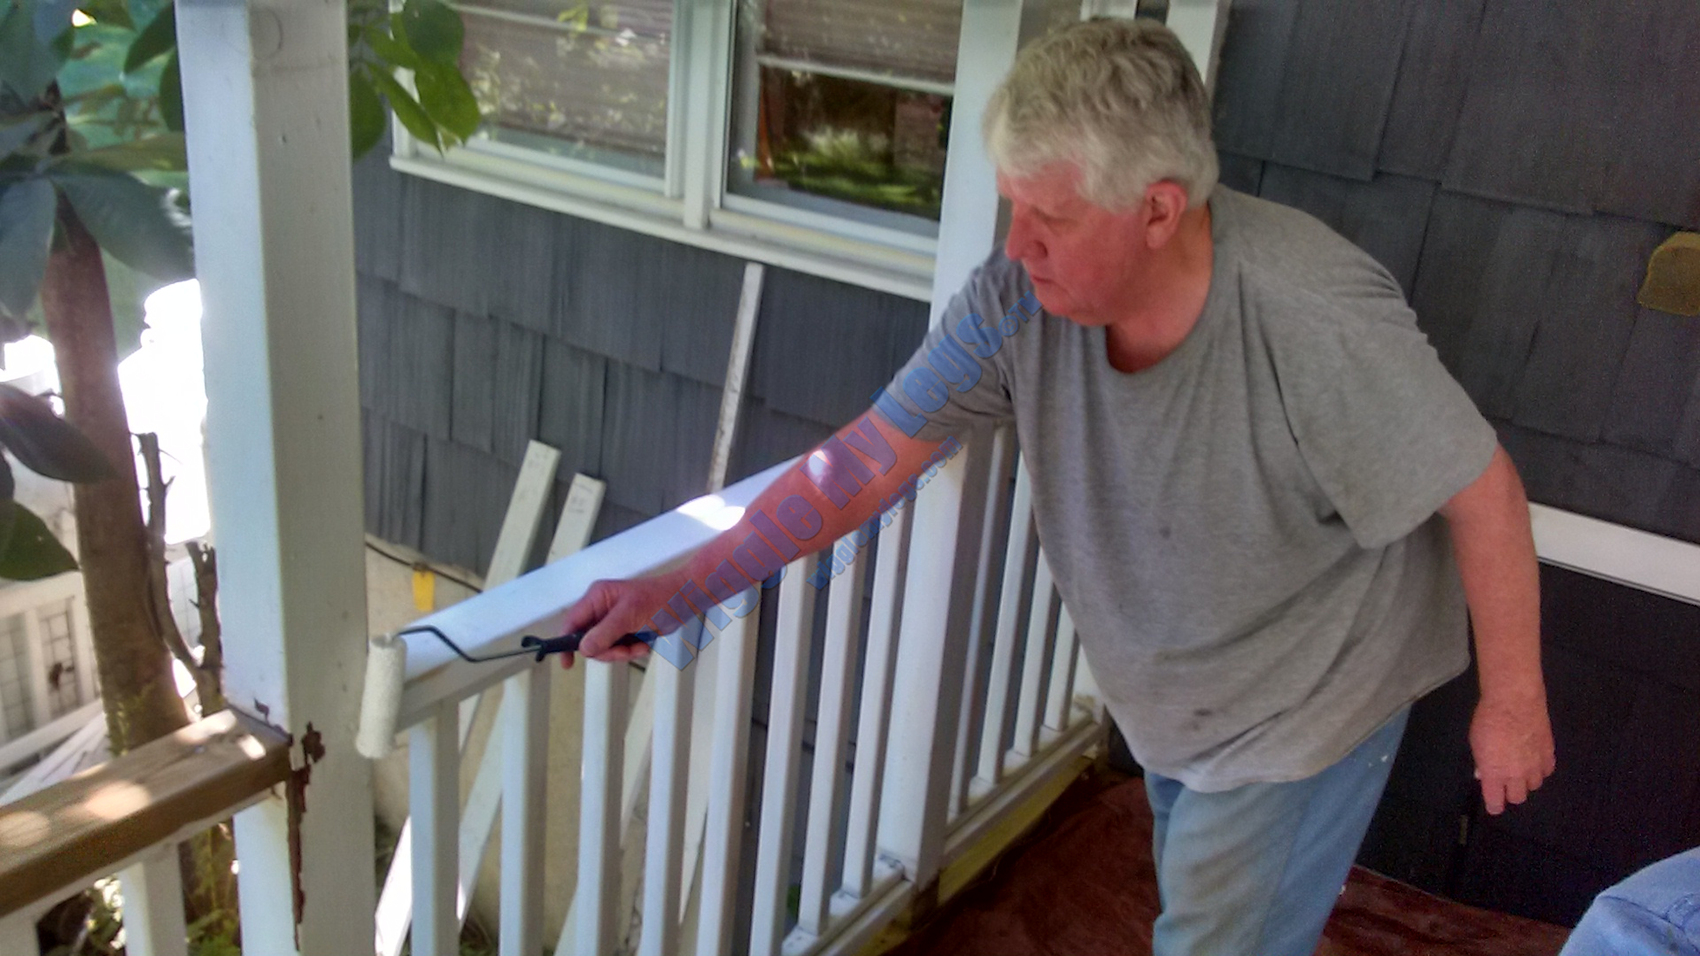
Home owner cameo appearance as a railing and post painter.
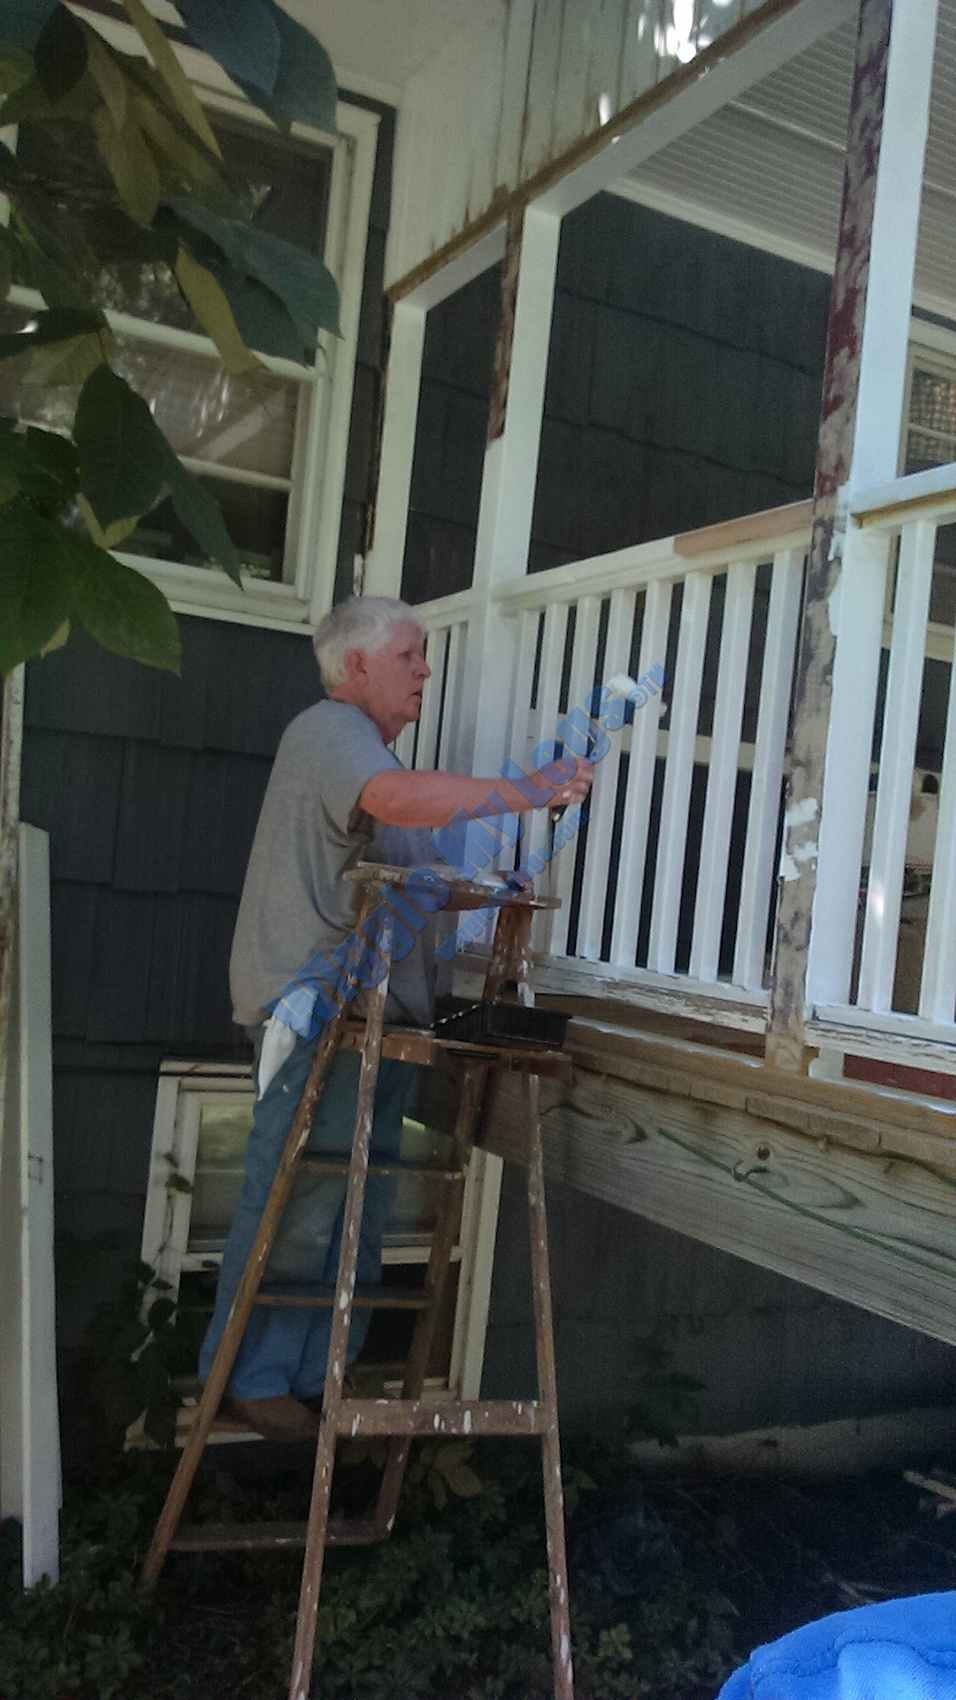
Home owner cameo appearance as a spindle painter.
Another look at home owner cameo appearance as a post painter.
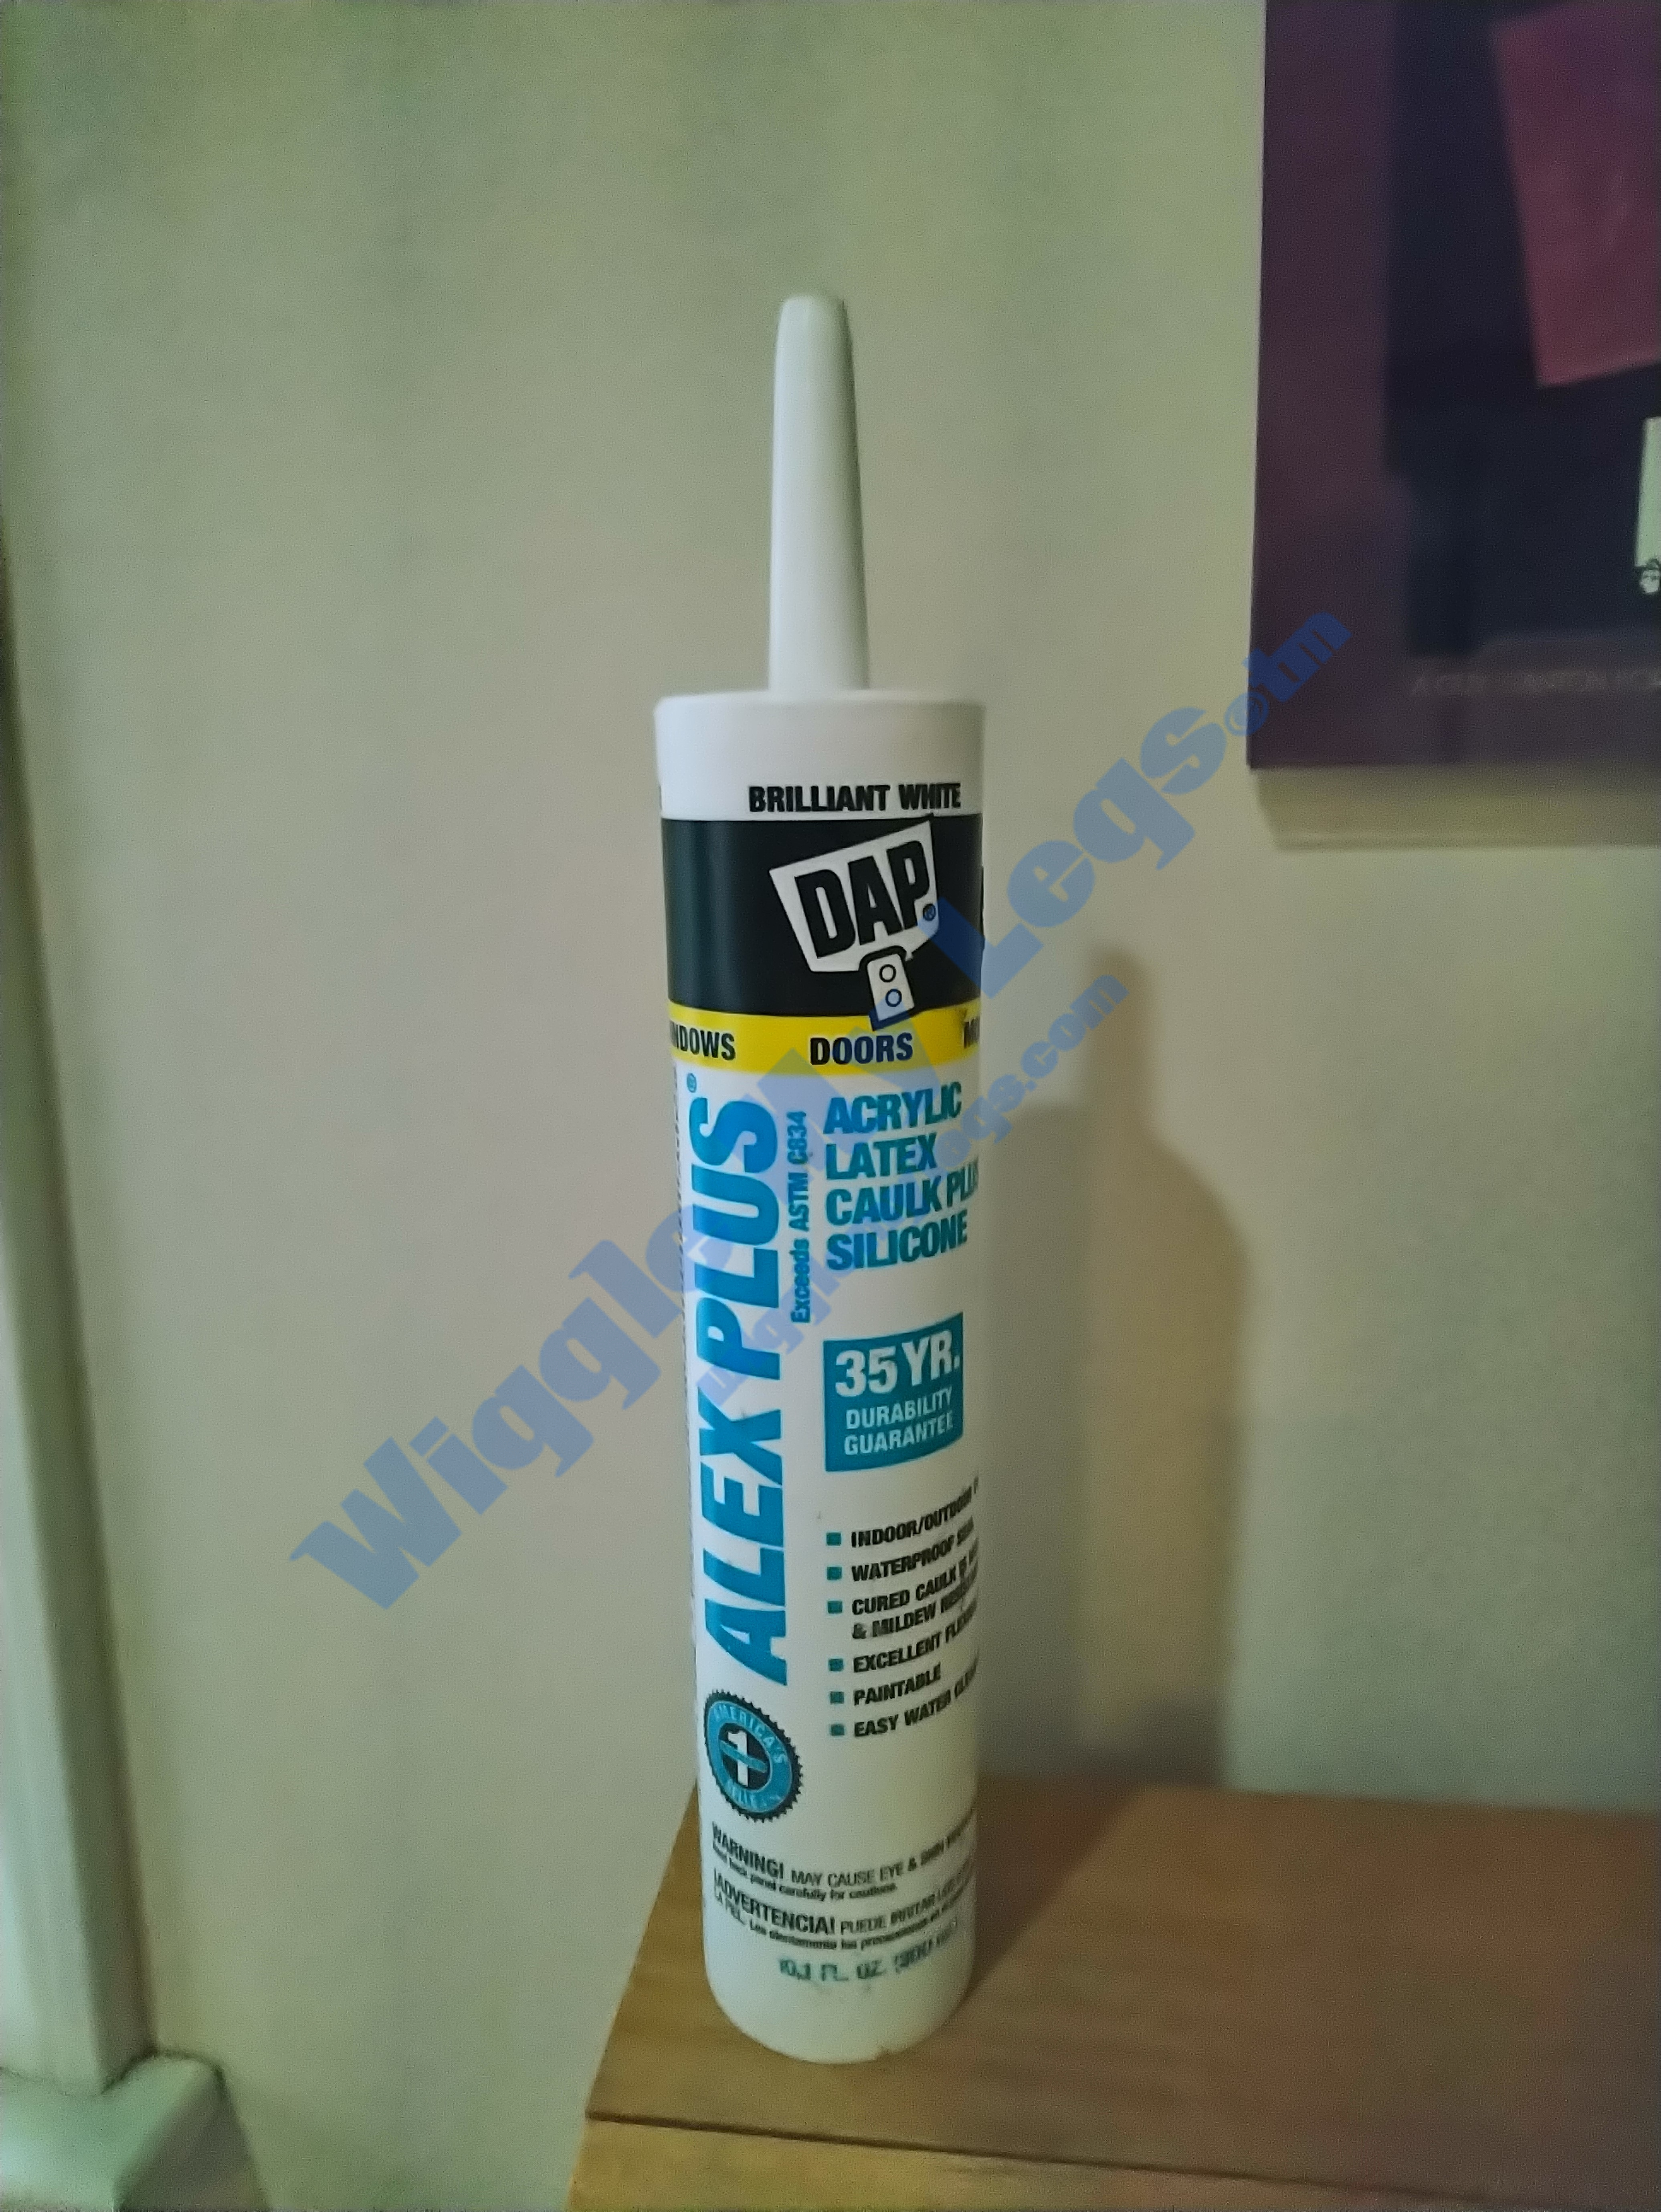
The caulk chosen for this was DAP Alex Plus Acrylic Latex Caulk Plus Silicone - 35 year, and I noticed they upped the warranty to 40 years. Every spindle needed a little at the top and bottom prior to paint.
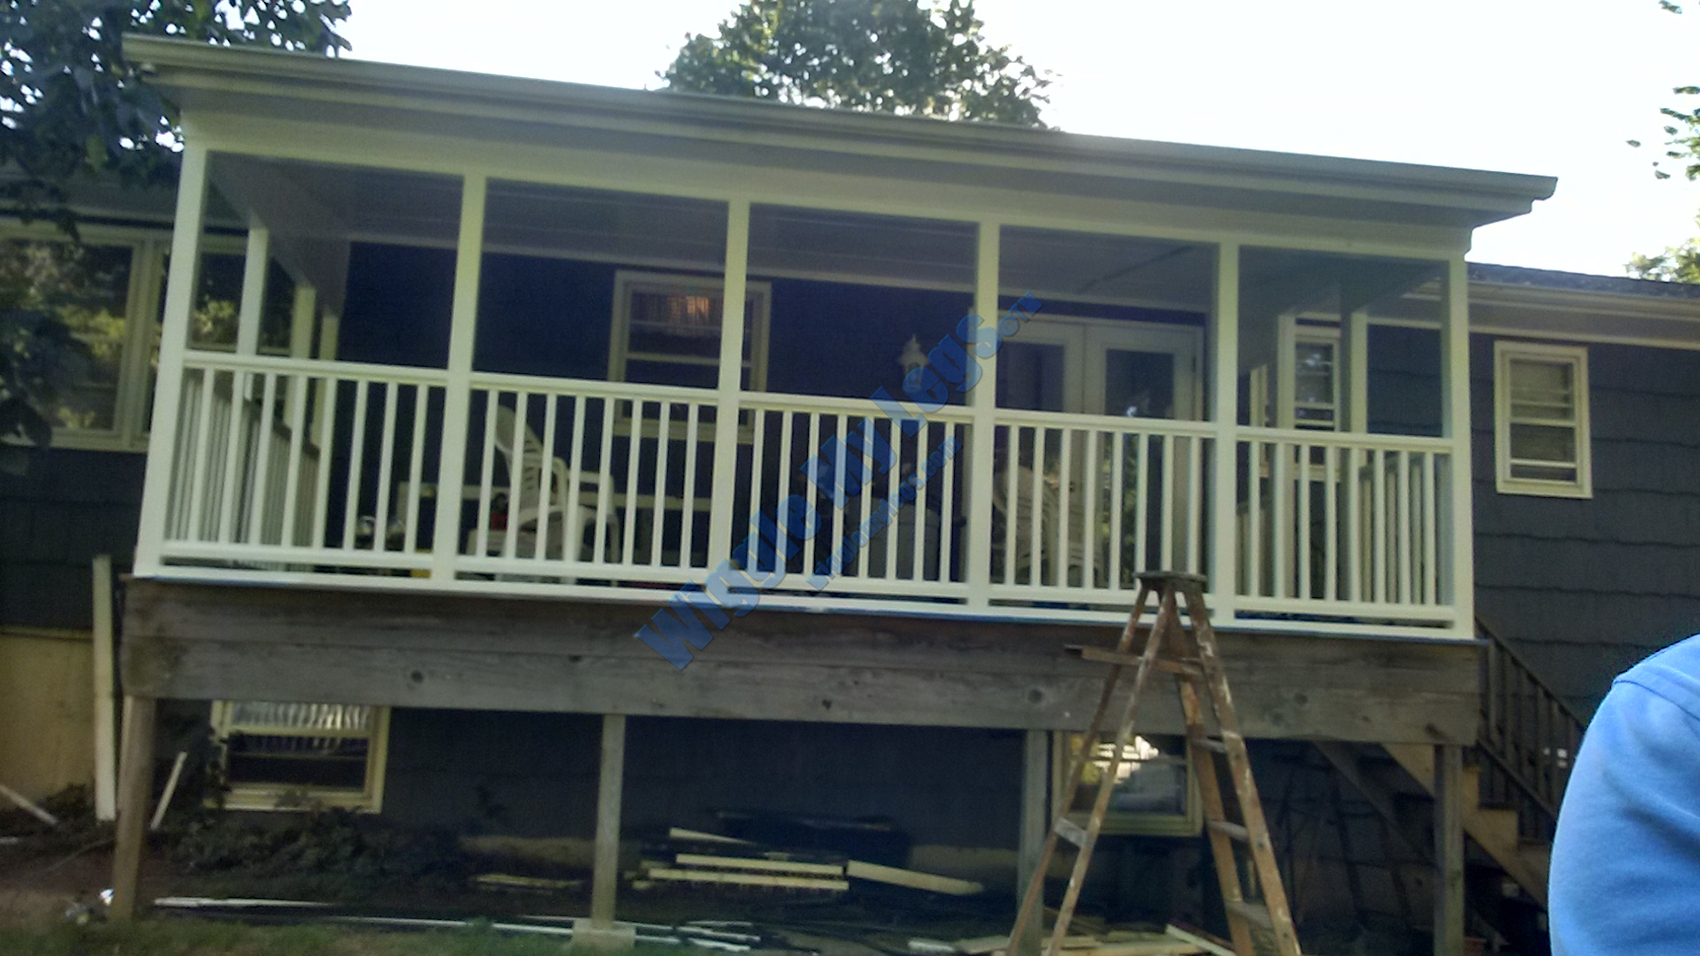
View from yard of deck after sanding, caulking, and painting.
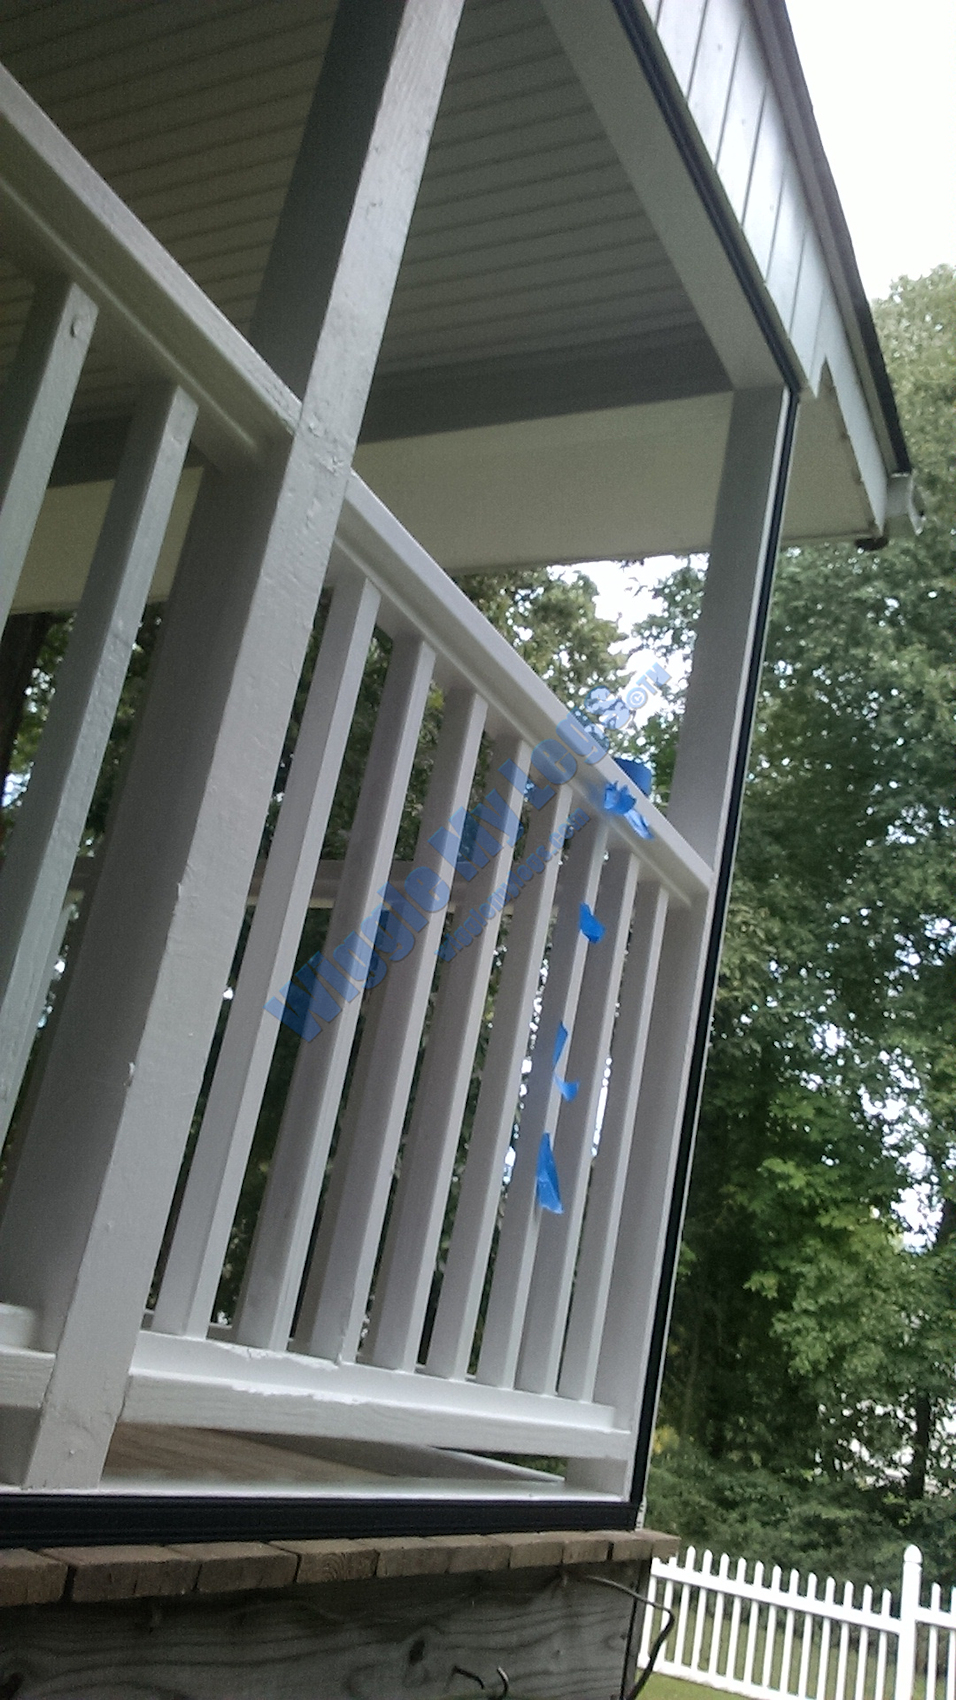
Screwed in first three pieces of black plastic track frames, or bases, from "Screen Tight" with slots to hold the spline for new screens, and blue tape from measuring.
Far end of deck with Screen Tight frames (bases) all installed.
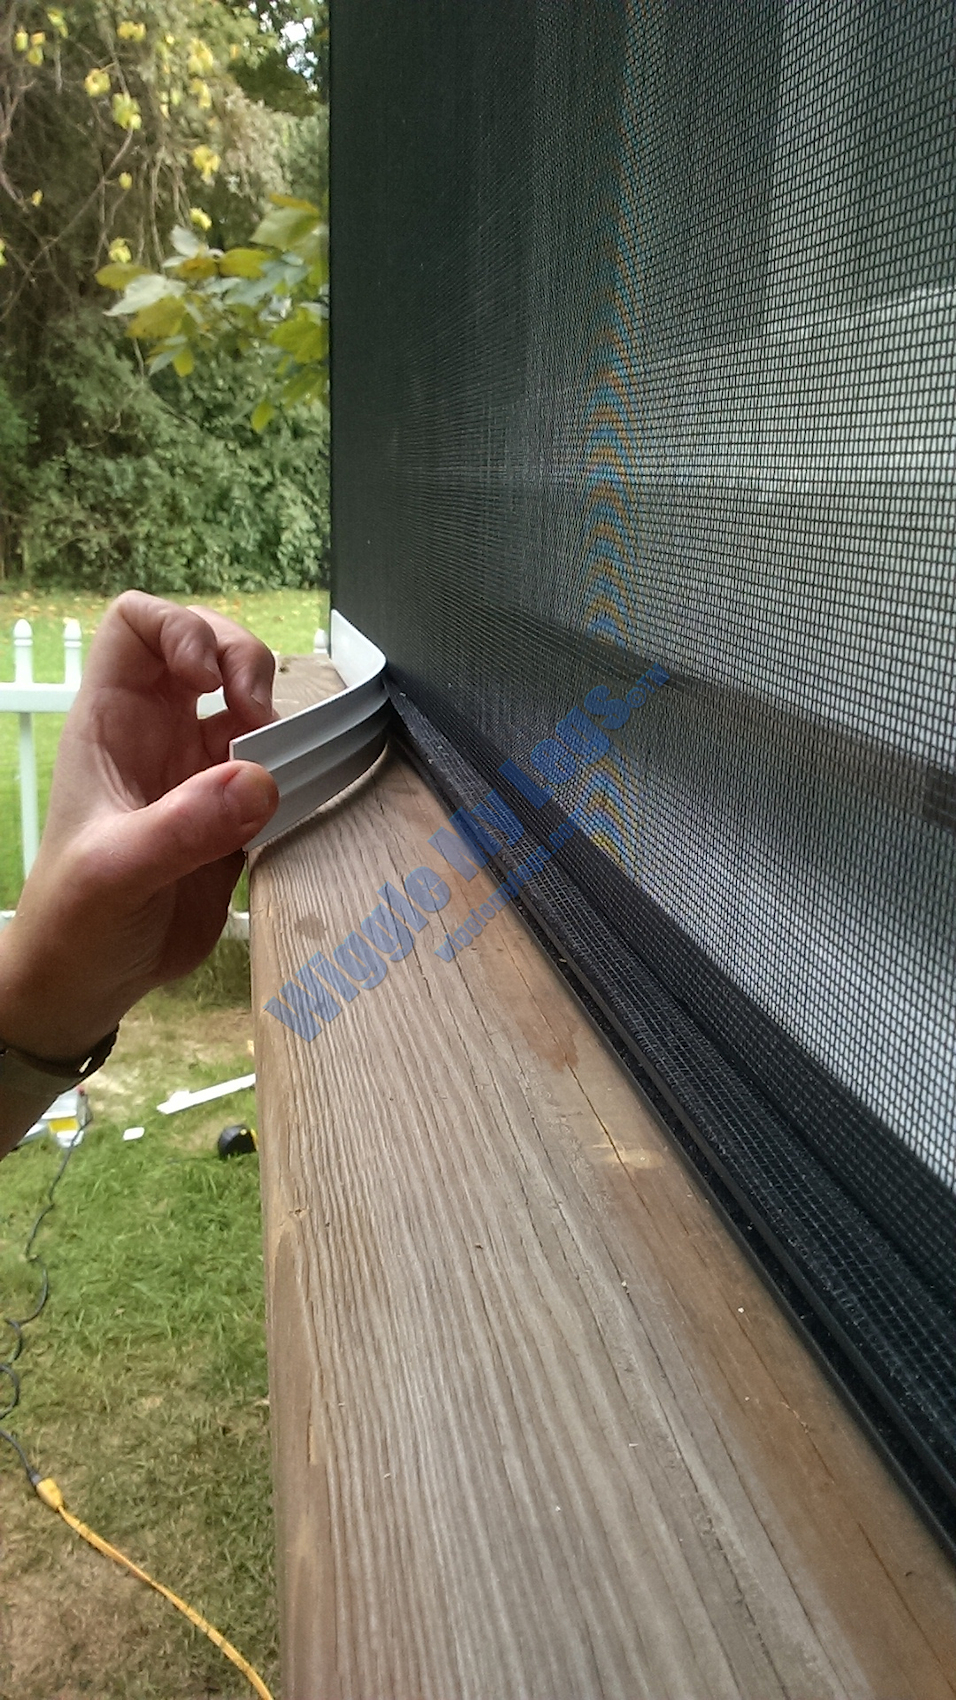
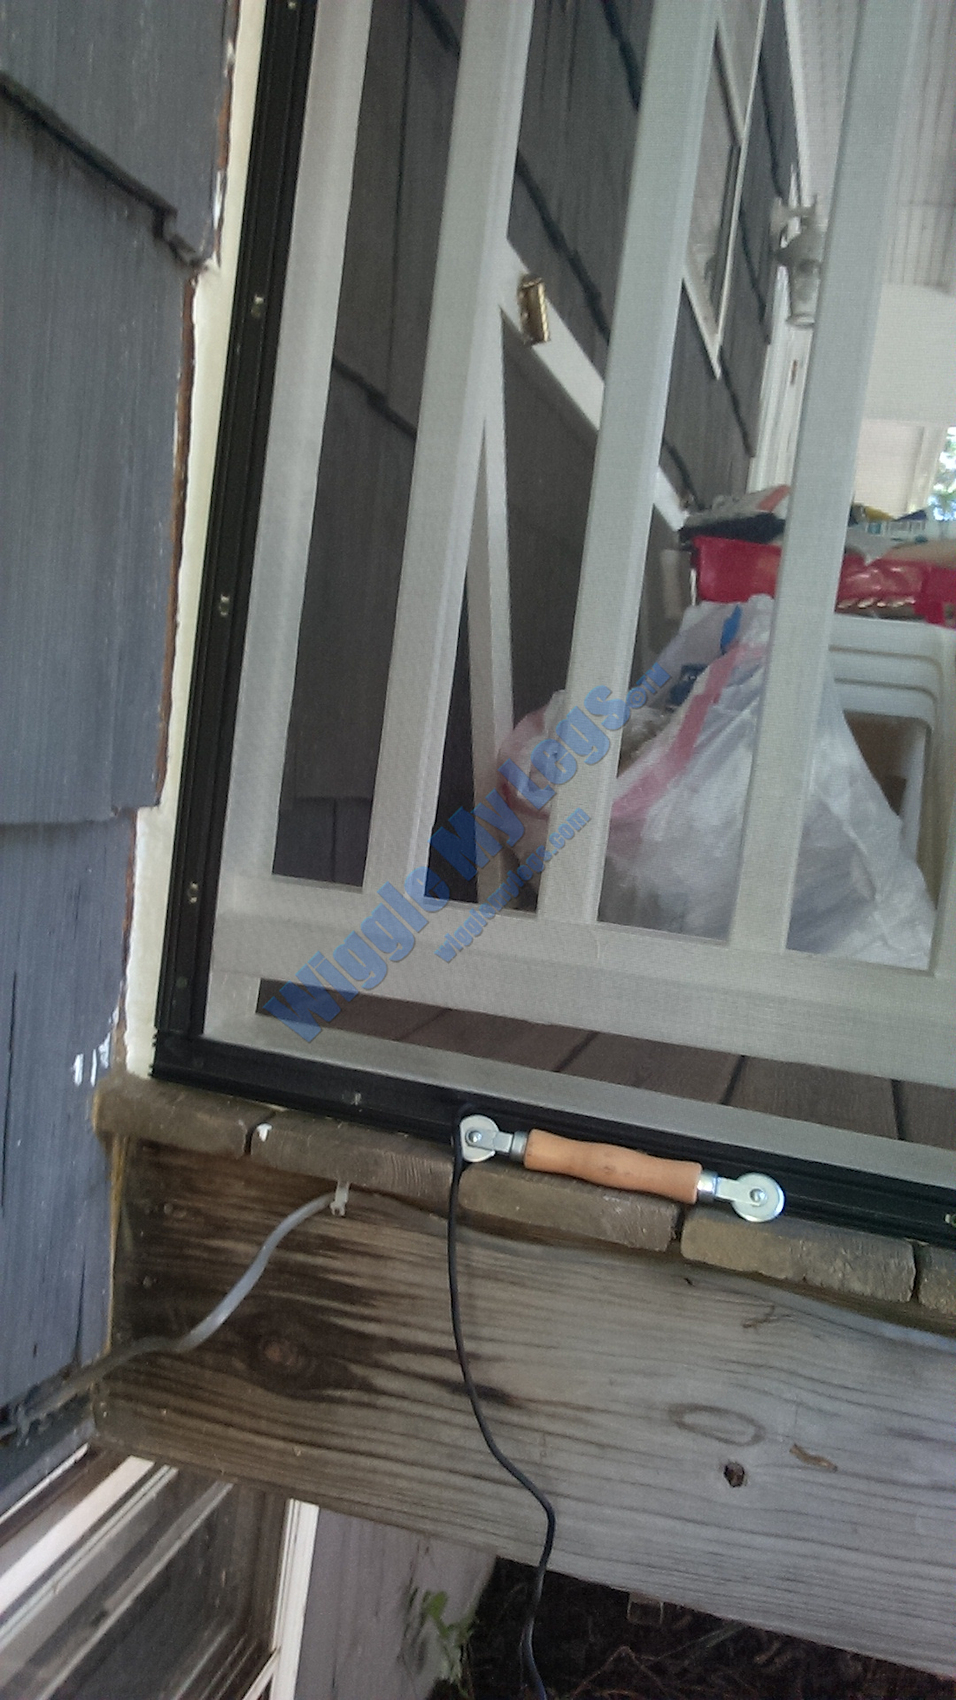
The Phifer spline roller with partially installed spline cord hanging, to show how roller would roll it into the slot in track.
The first of Phifer fiberglass screen is installed.
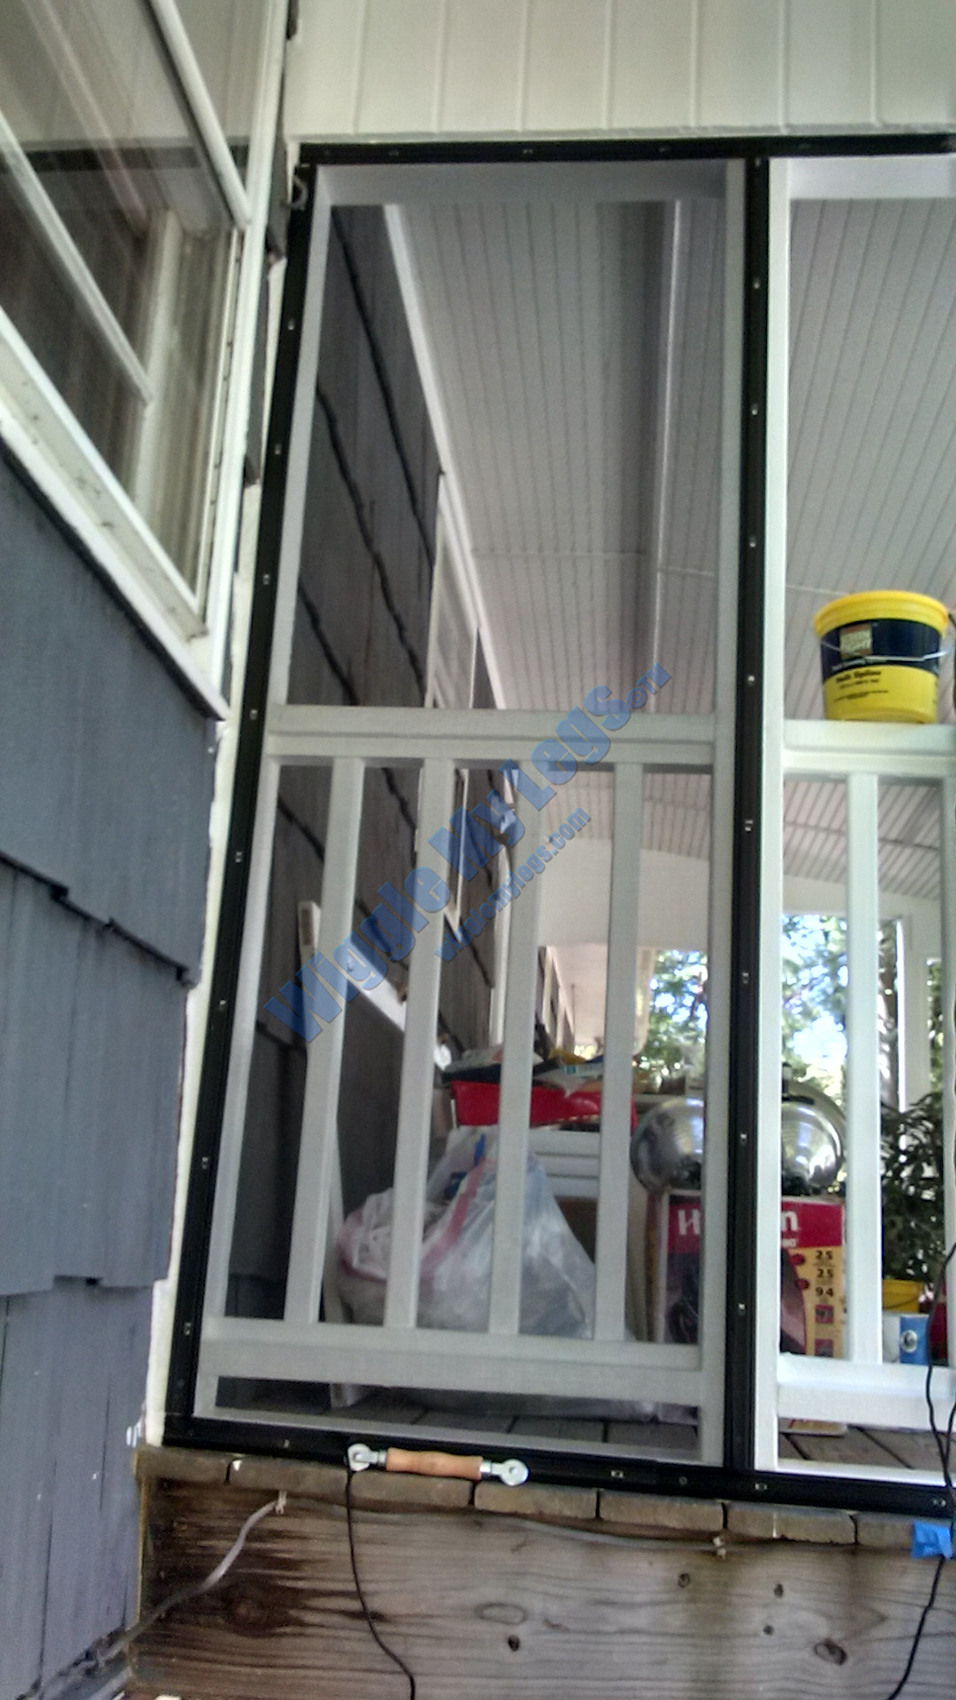
The first three Phifer fiberglass screens are installed, with leftover blue tape showing from measuring.
Close up showing excess 1/4 to 1/2 inch of Phifer fiberglass screen after installing splines into slots to grip.
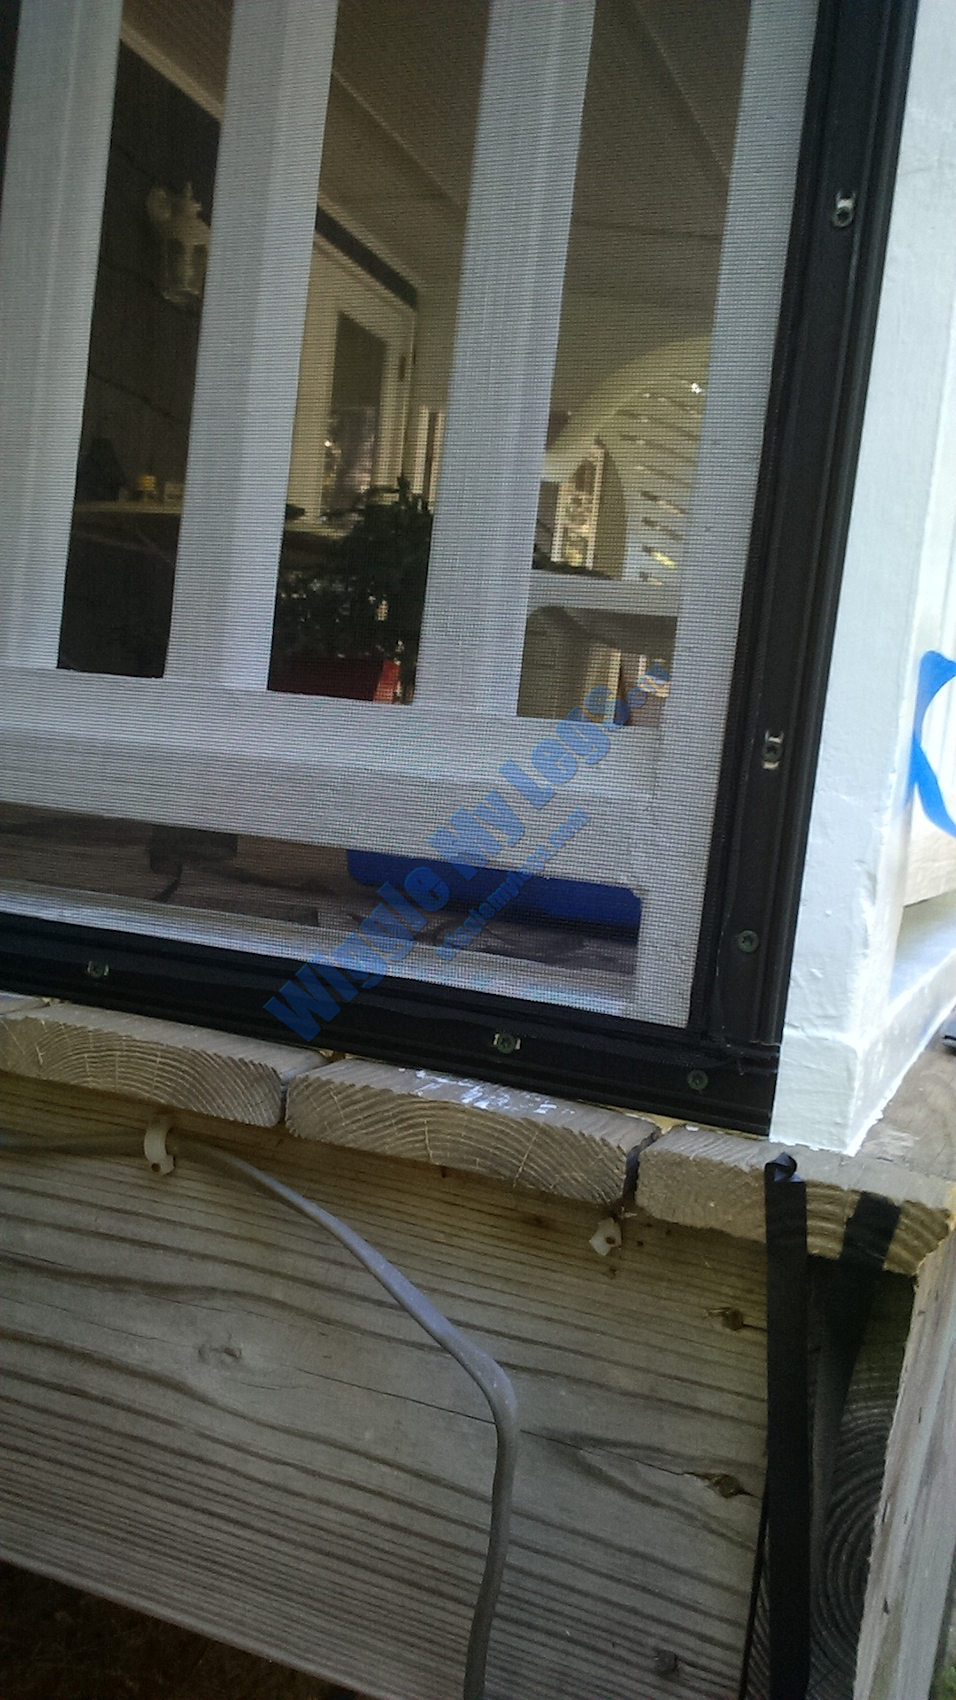
Showing installation complete with snap-on white trim covering (cap) and protecting splines and excess screen edges.
Vertical black plastic tracks for splines almost complete across long side of deck.
Wood plug installed, filled, and sanded for look of continuity under black plastic spline tracks that will mount here.
Wood plug installed again lower, filled, and sanded for continuity under black plastic spline tracks that will mount here.
Another wood plug for installing black spline tracks from Screen Tight.
Another wood plug lower for black plastic spline tracks.
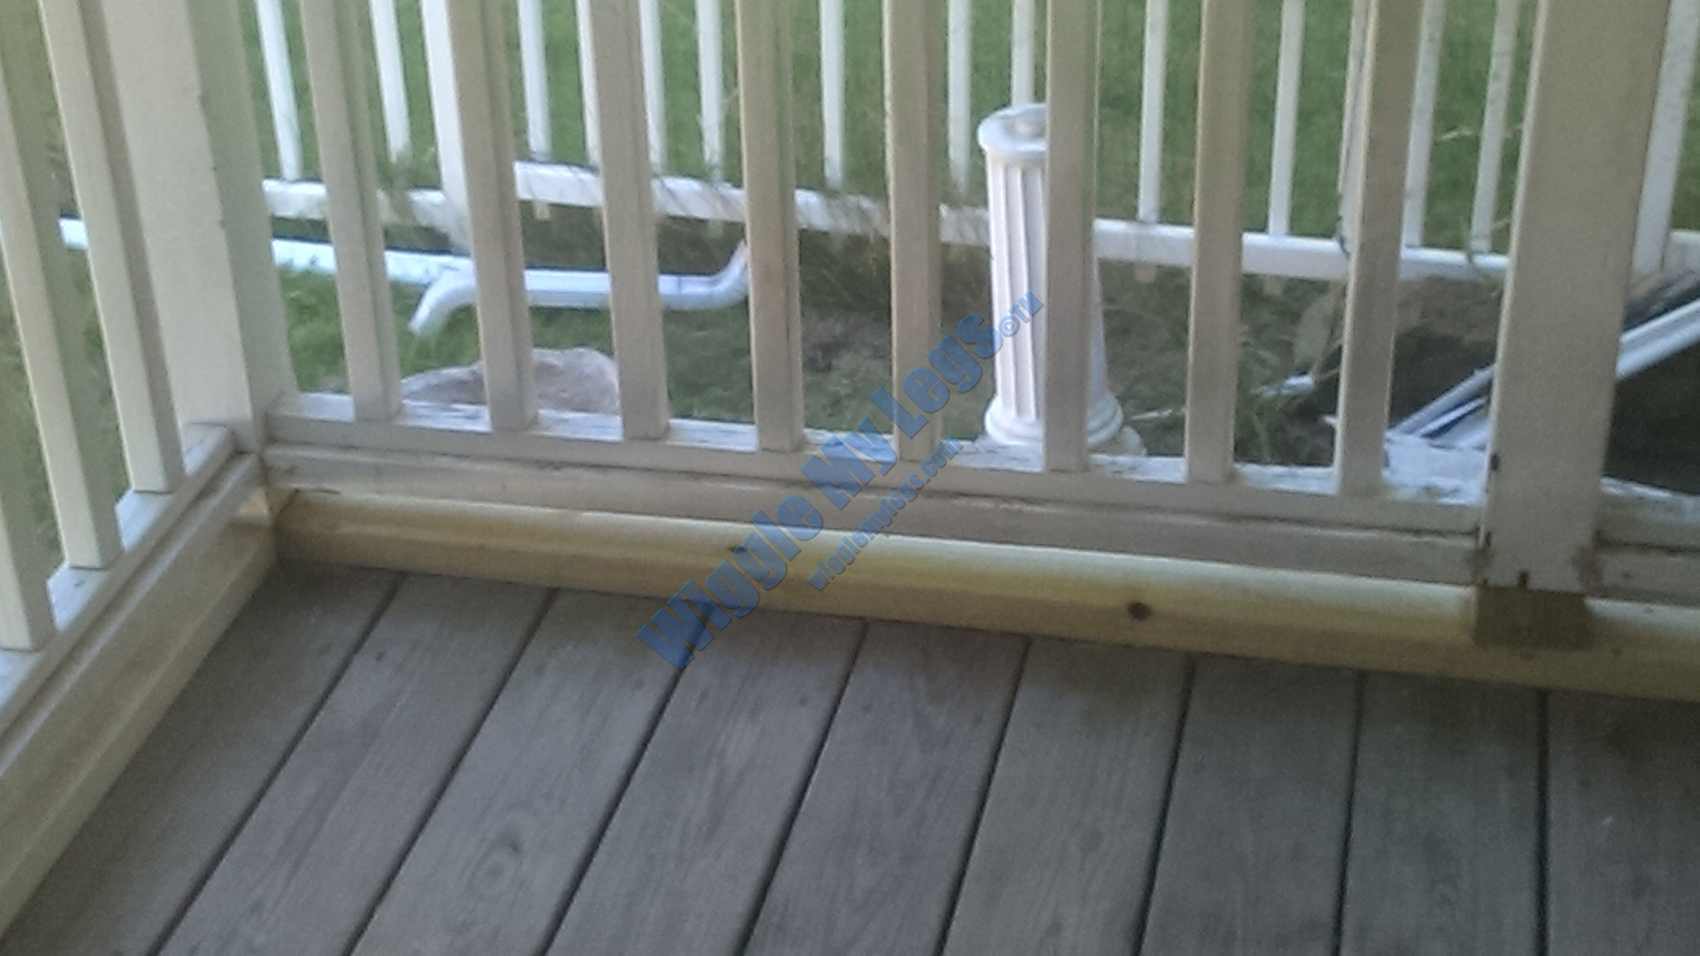
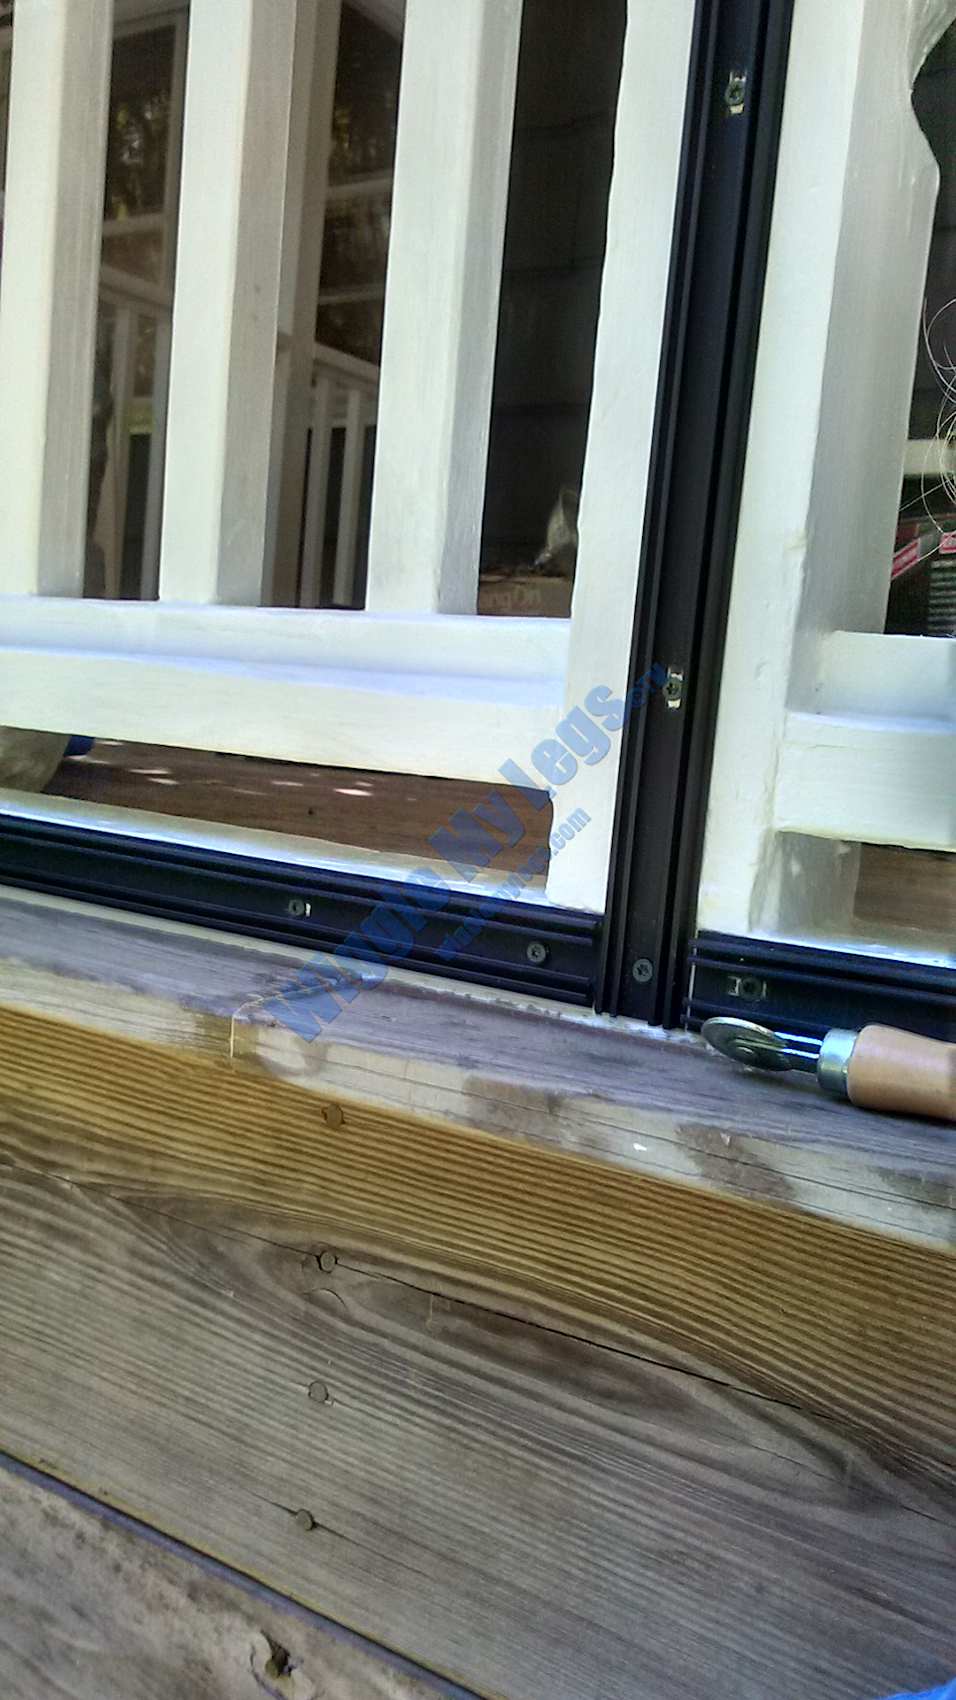
Wood plug to fill gap between baseboard (sill) and bottom rail, for look of continuity under black plastic spline track.
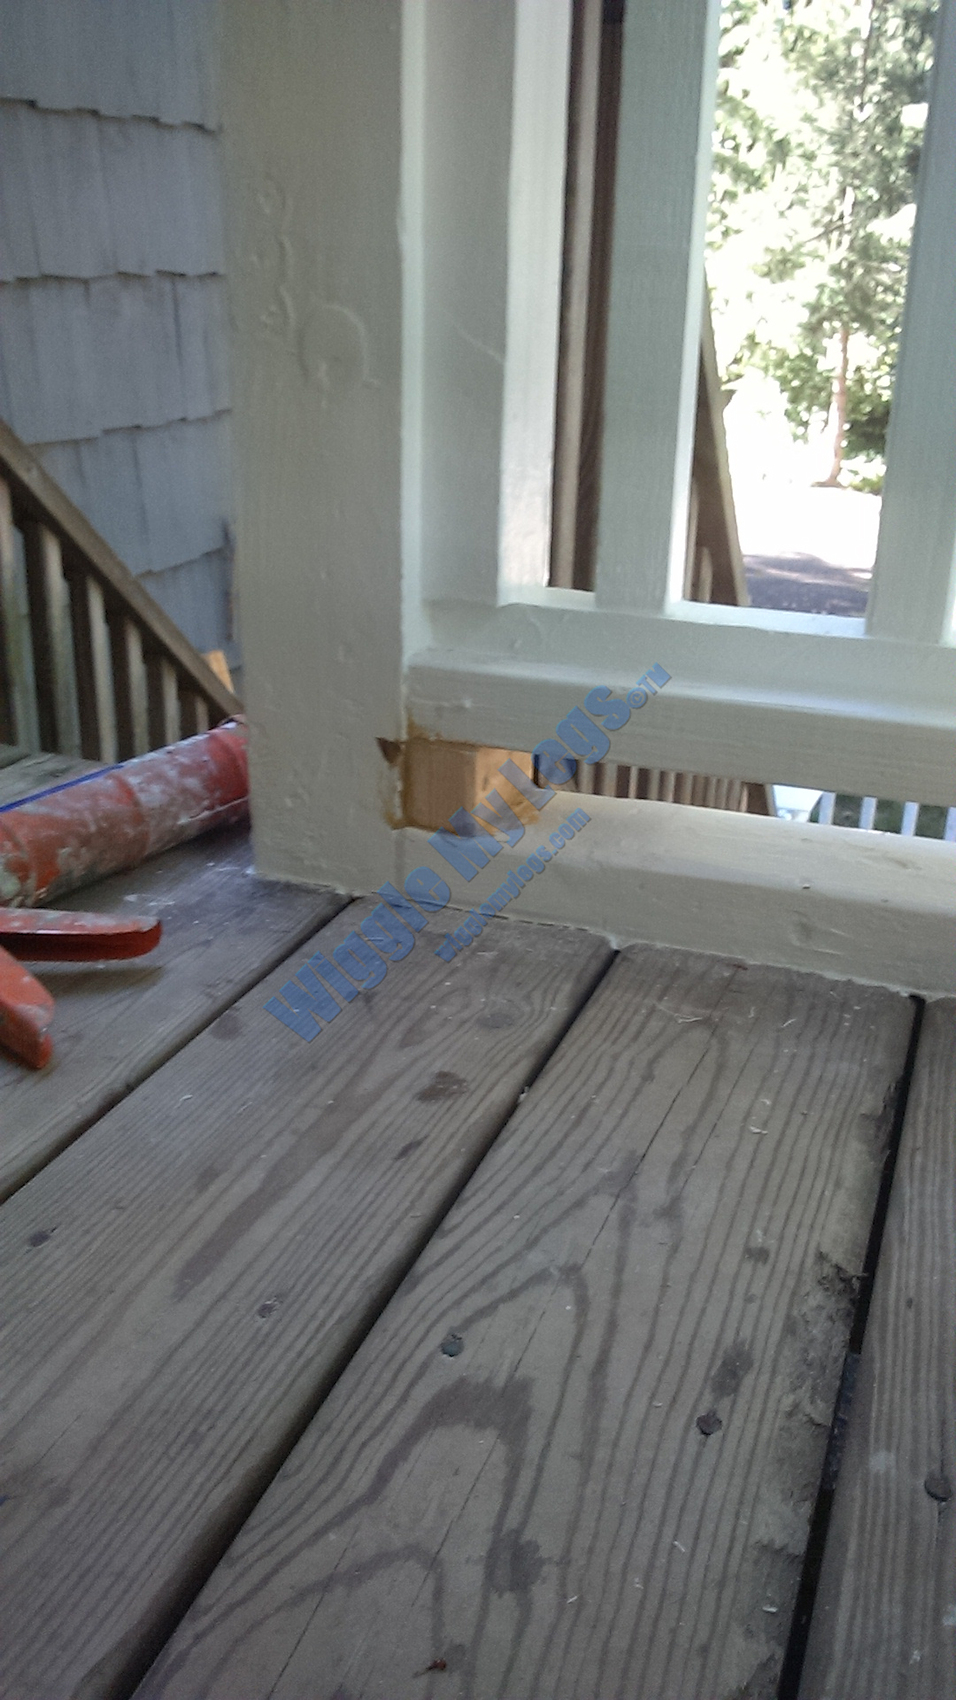
Showing that plug, nailed, glued, and to be caulked.
A wood plug spacer filled and painted.
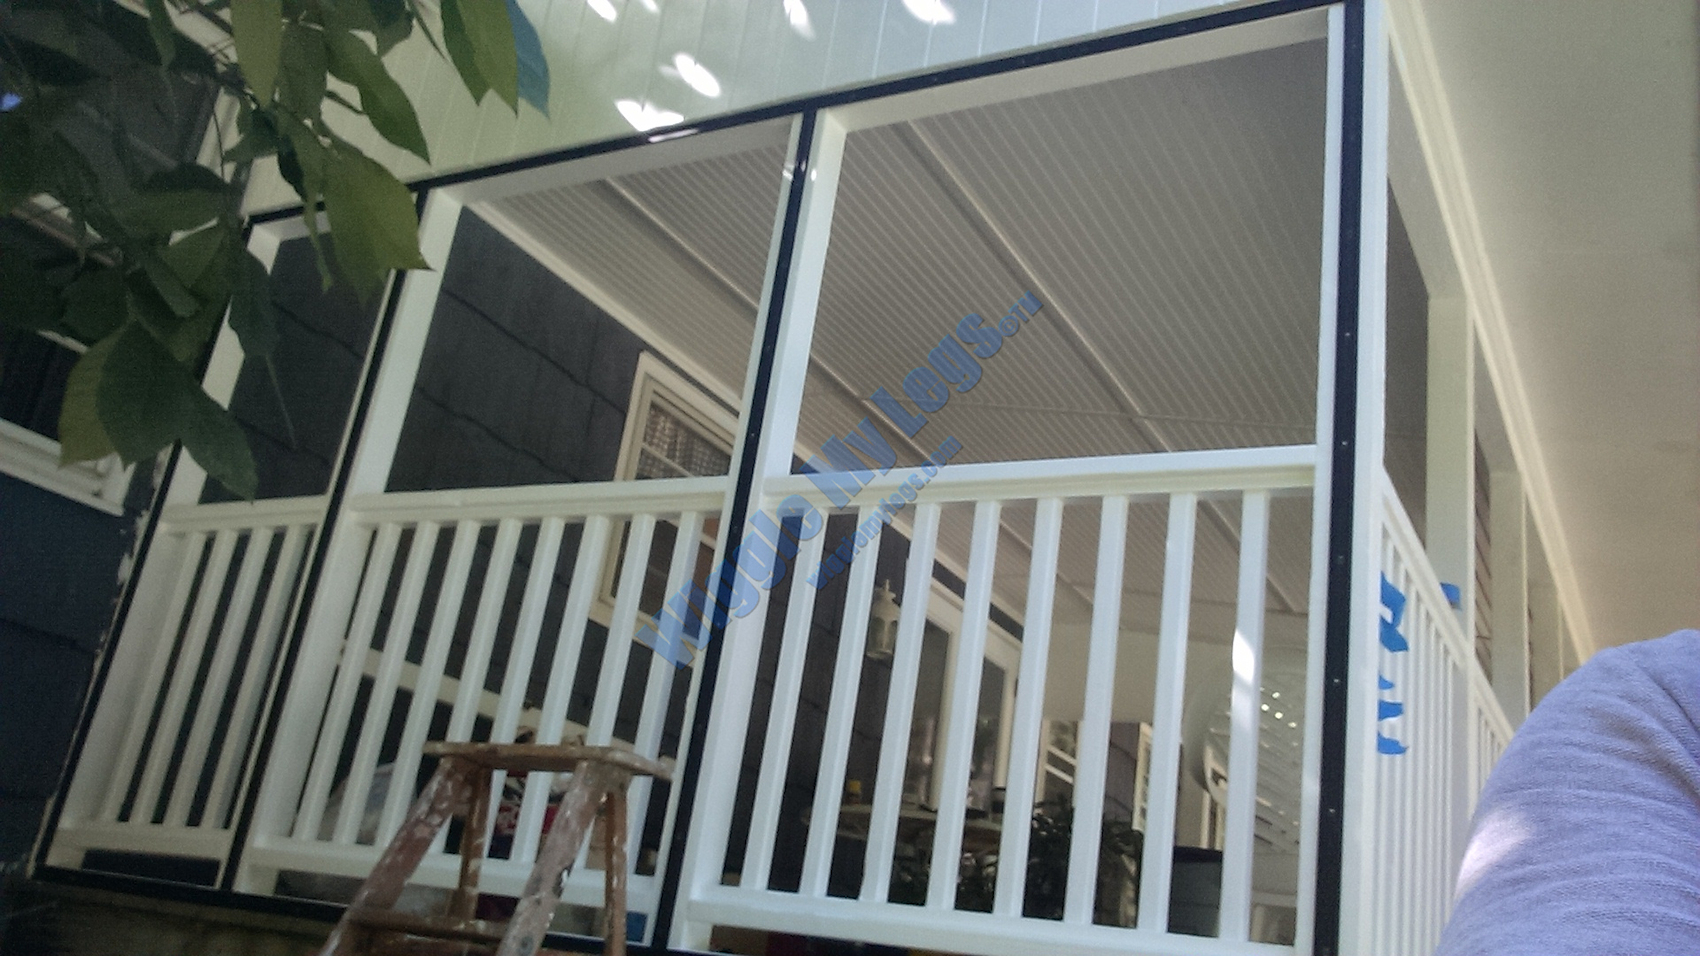
Interior view of the first three Phifer fiberglass screens installed up to corner post off my shoulder.
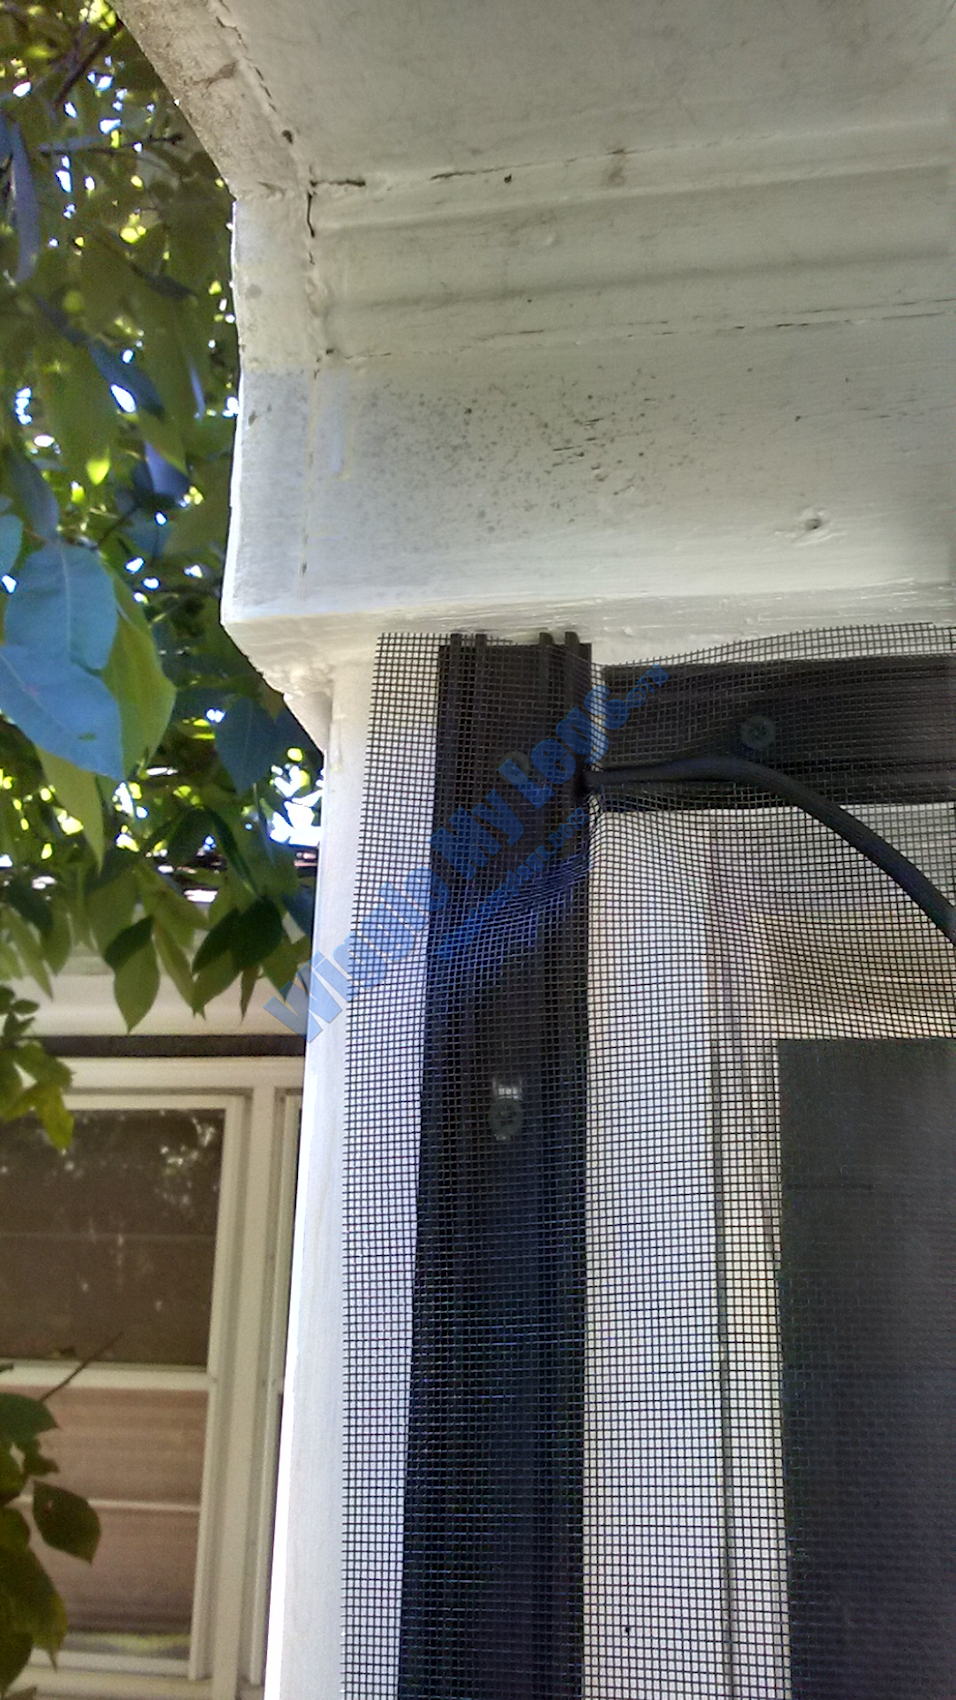
T-intersection of 3 black plastic spline tracks before screens installed, showing expansion gap and the how they have a spline track on both edges.
Start of installing a spline at a corner.
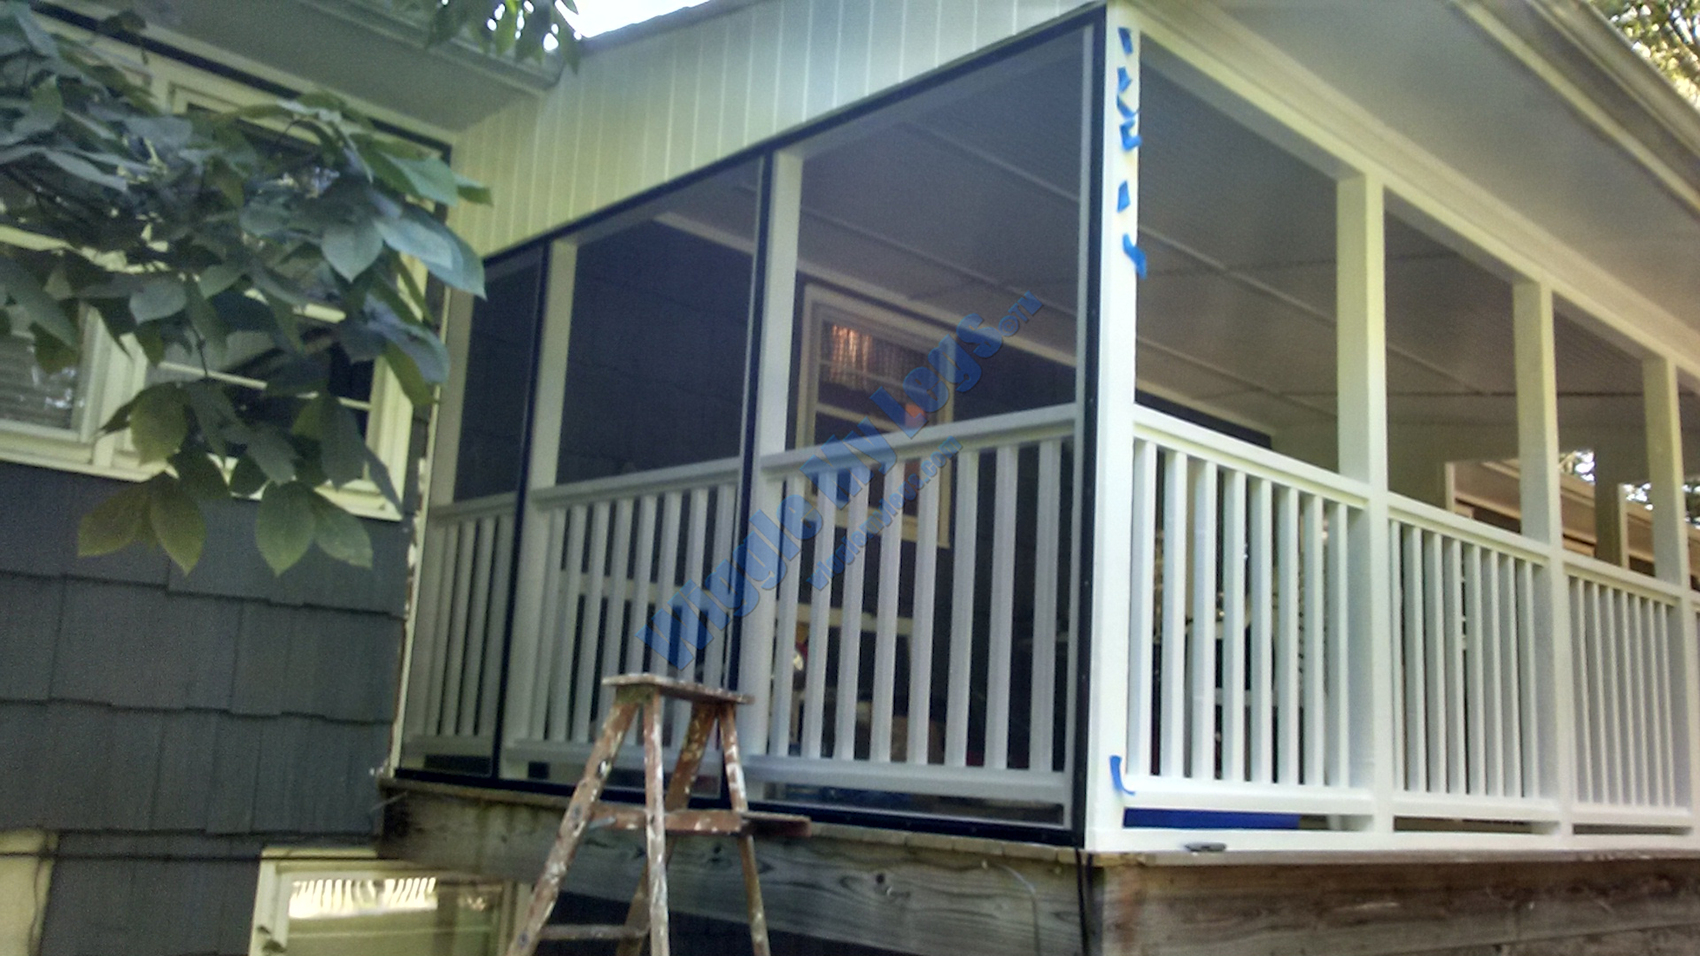
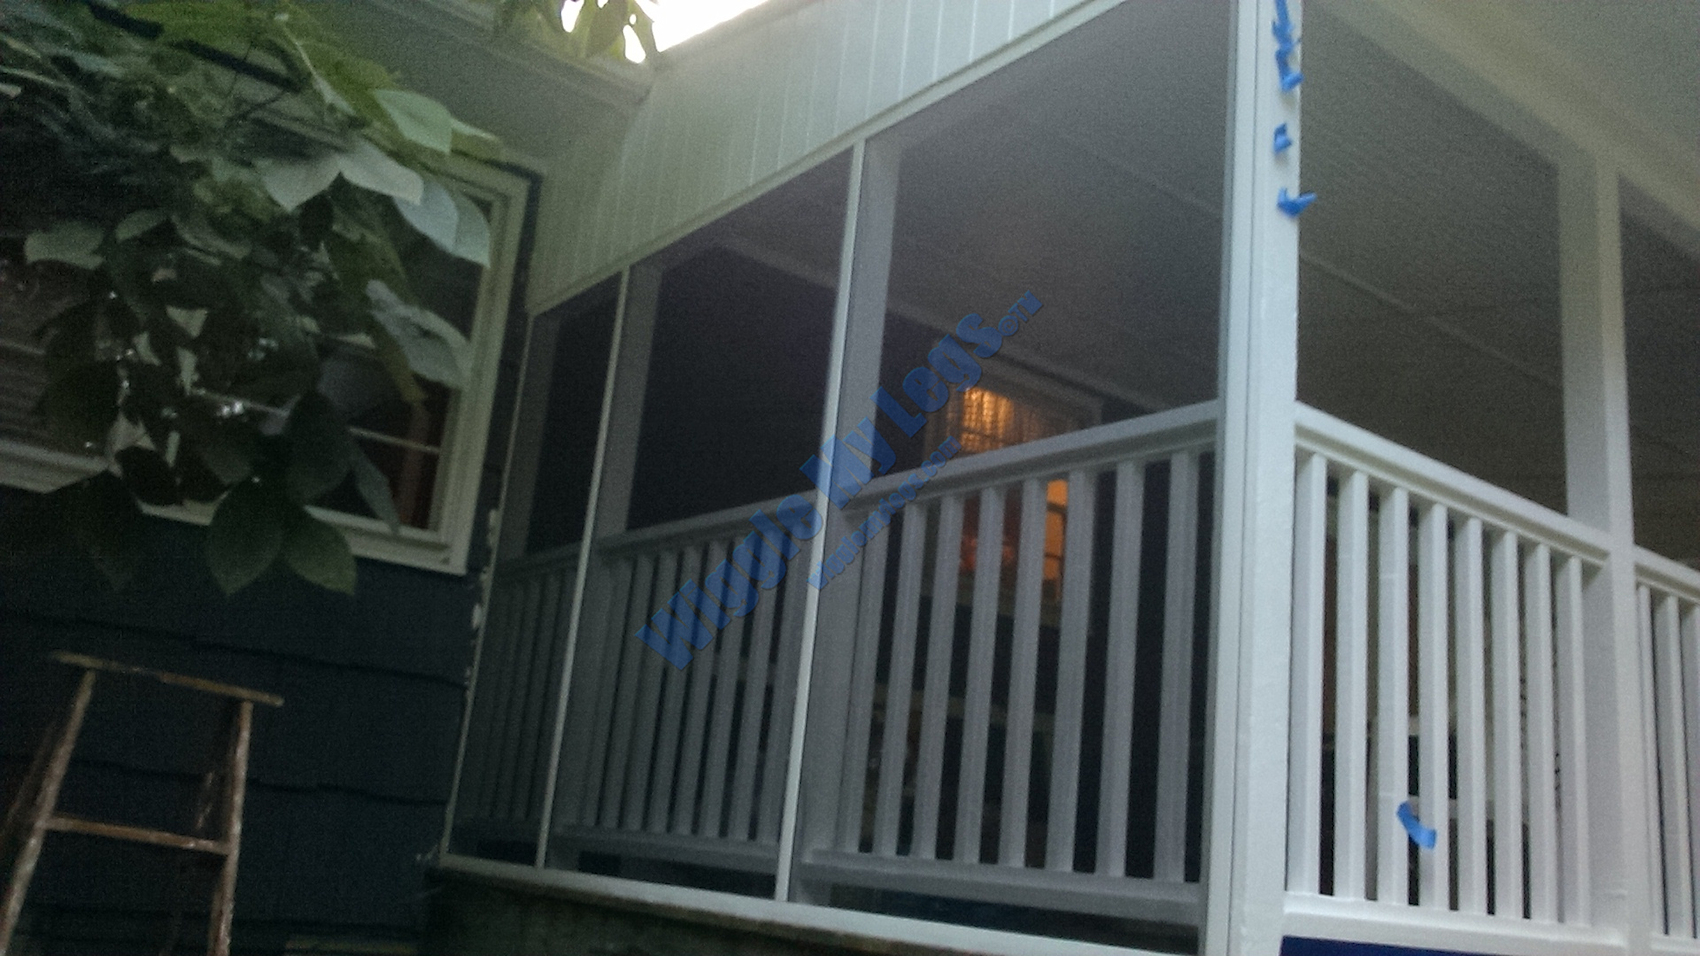
View from yard with all Phifer fiberglass screens installed, and some awaiting white snap-on trim strips to cover spline work areas.

View of installing one of the last white trim snap-on pieces (caps) from the Screen Tight - Porch Screening System