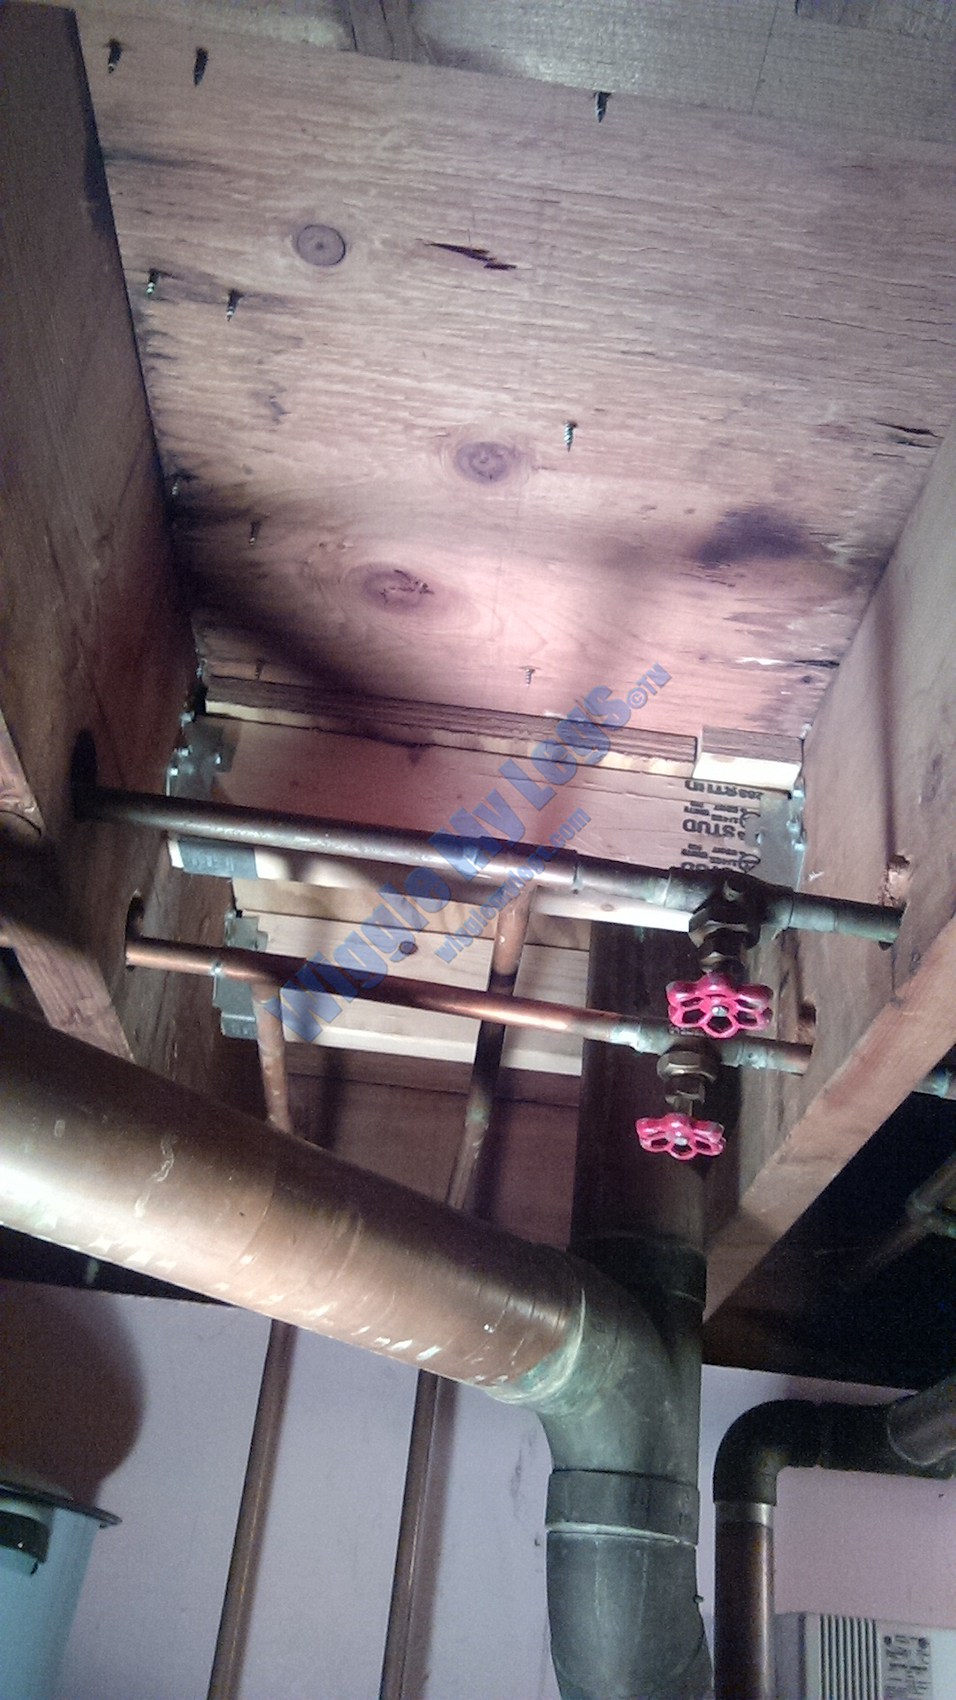
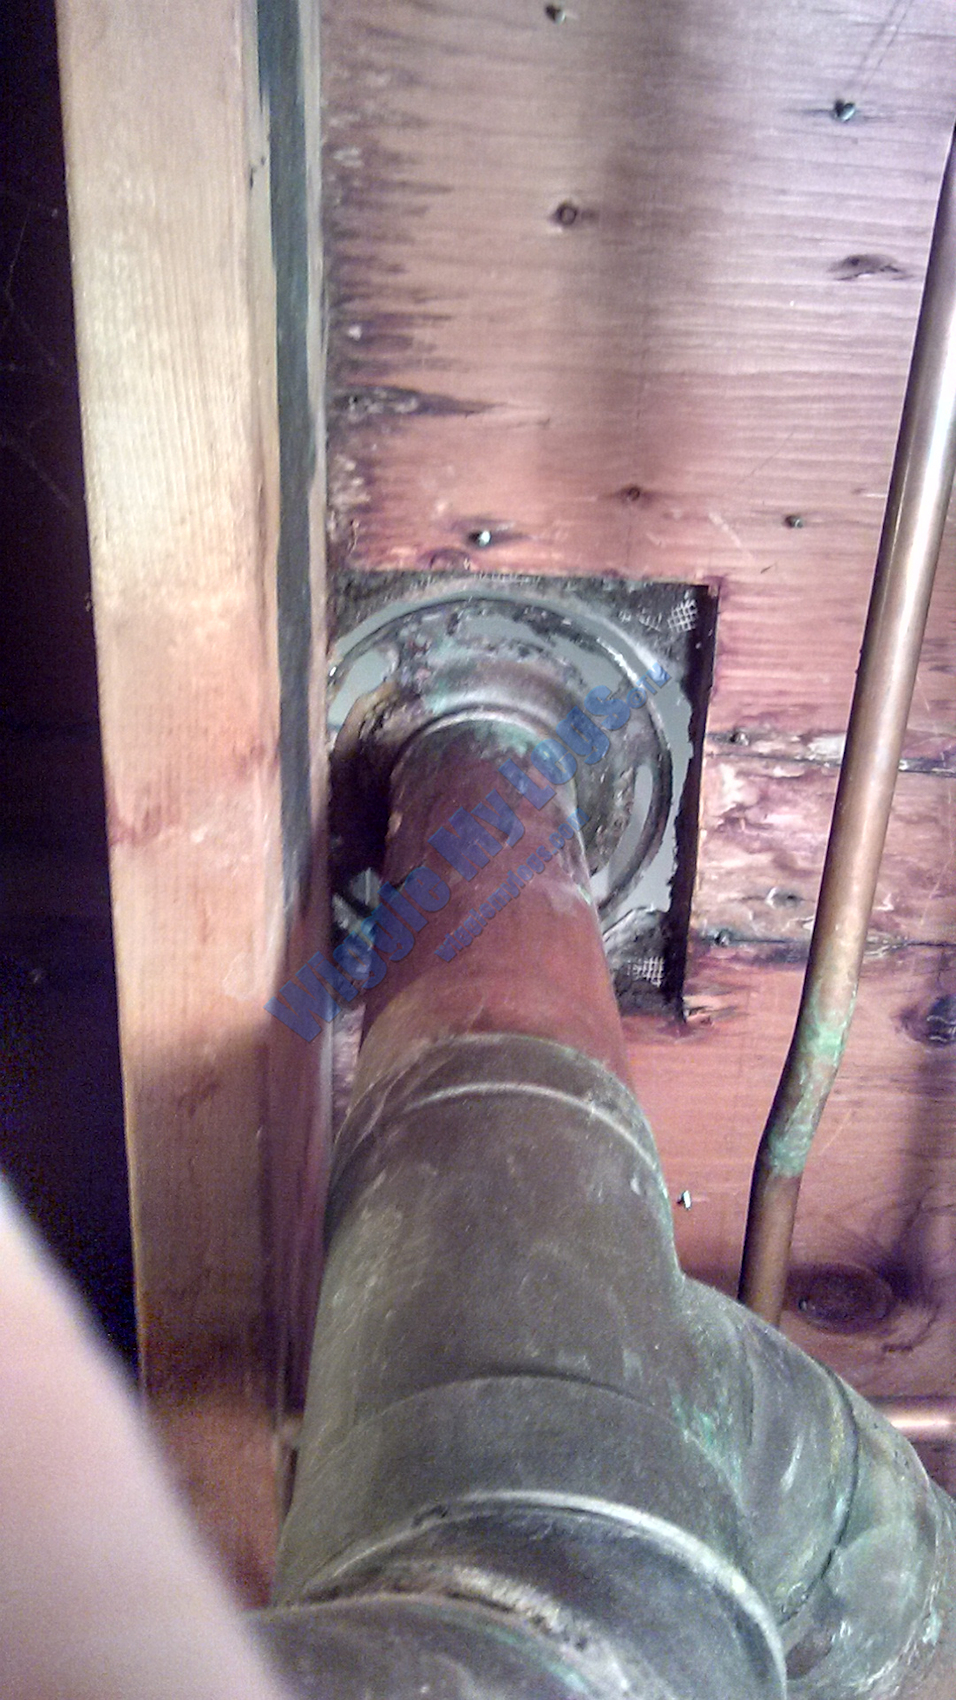
This picture below is looking up at the basement ceiling where the upstairs toilet had leaked. The photo was taken after I cut out the rotted wood in the square shape you see. The toilet had leaked for such a long time there was no wood left to support the pipe flange. The toilet was sitting on a wax ring on the pipe with some support from the tile floor. A trip to Home Depot was in order for some Minwax epoxy wood fill, Loctite construction glue, and plywood.
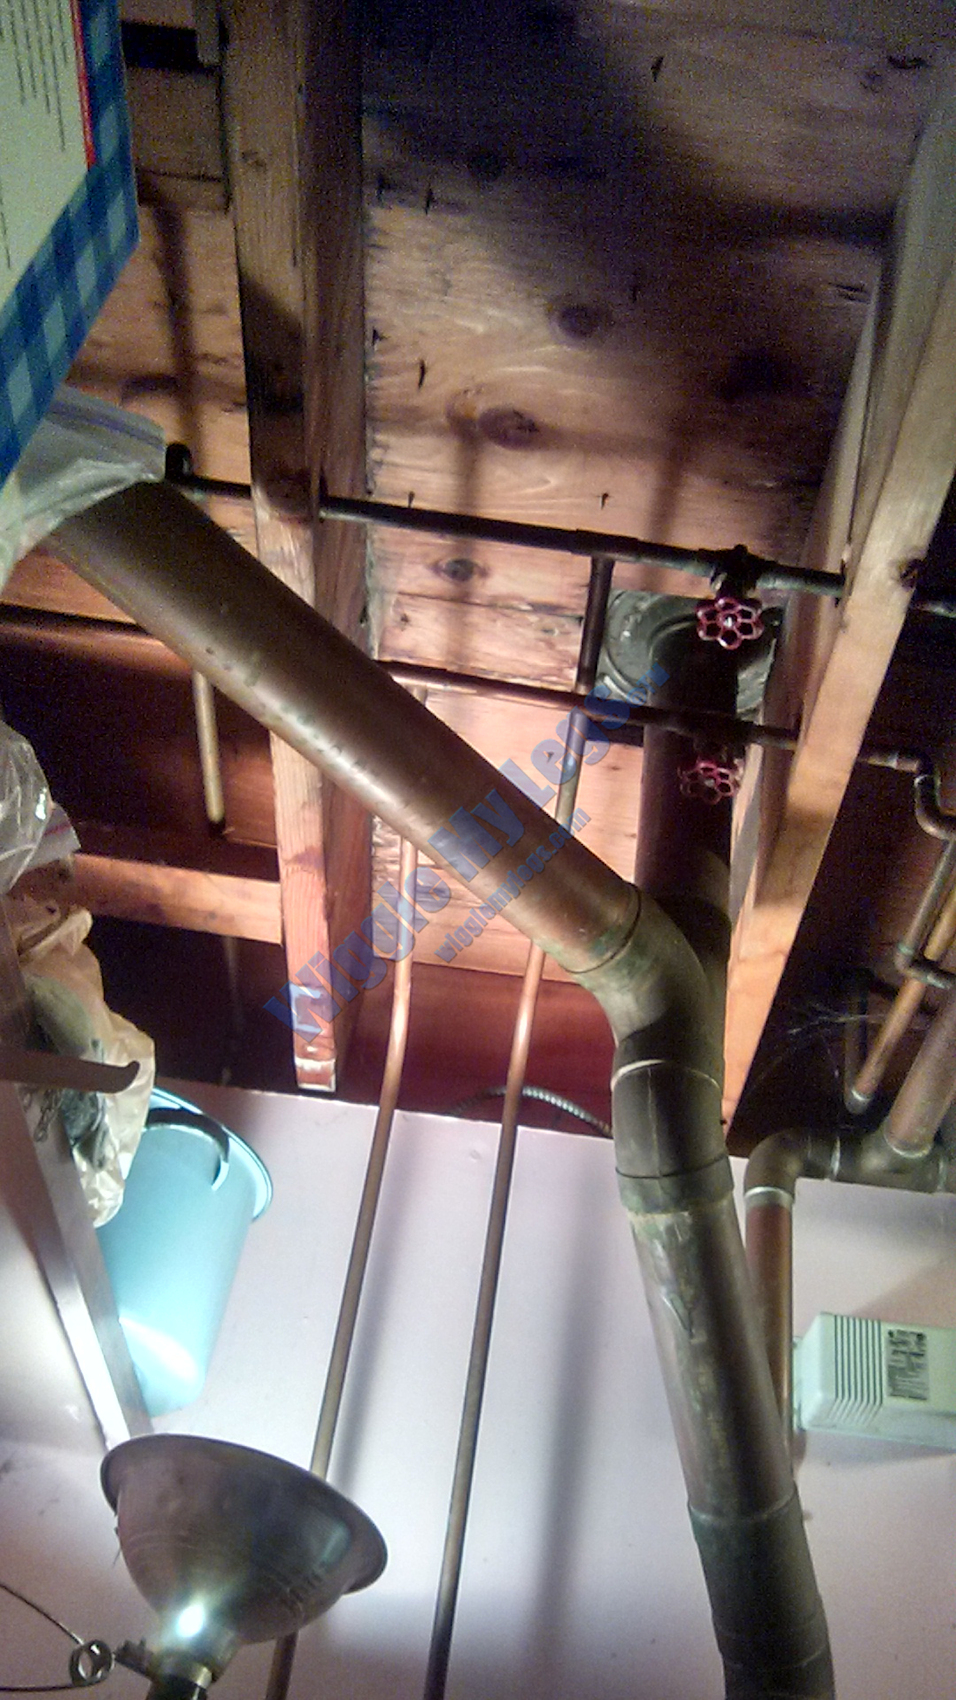
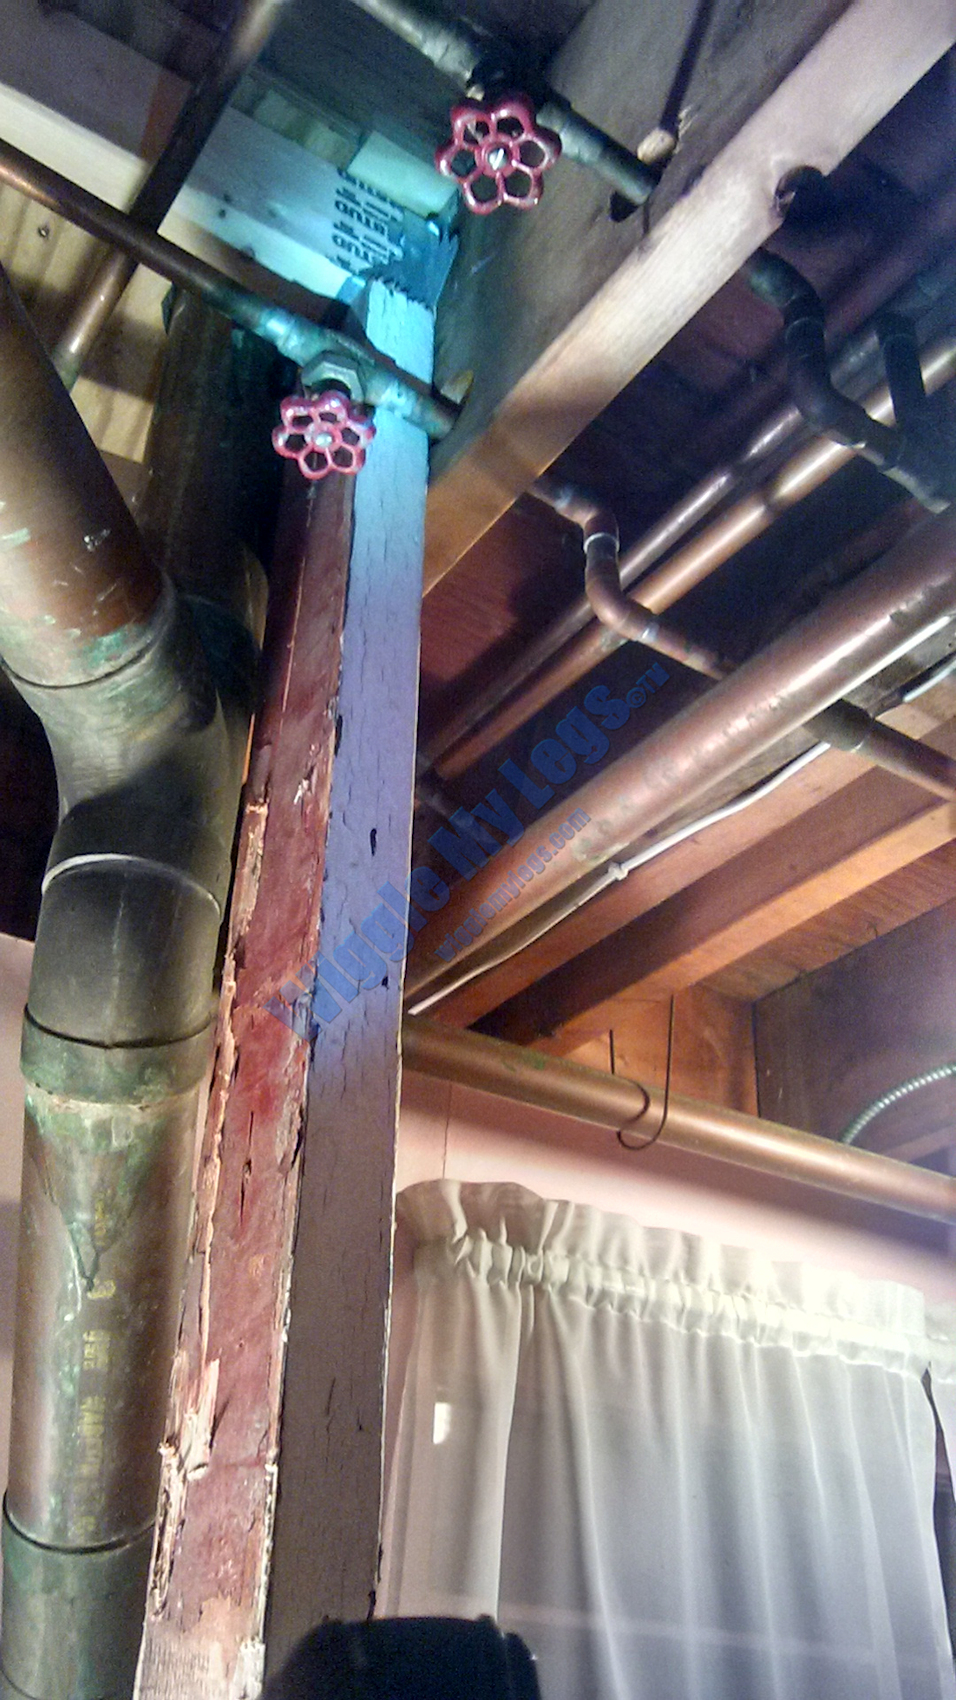
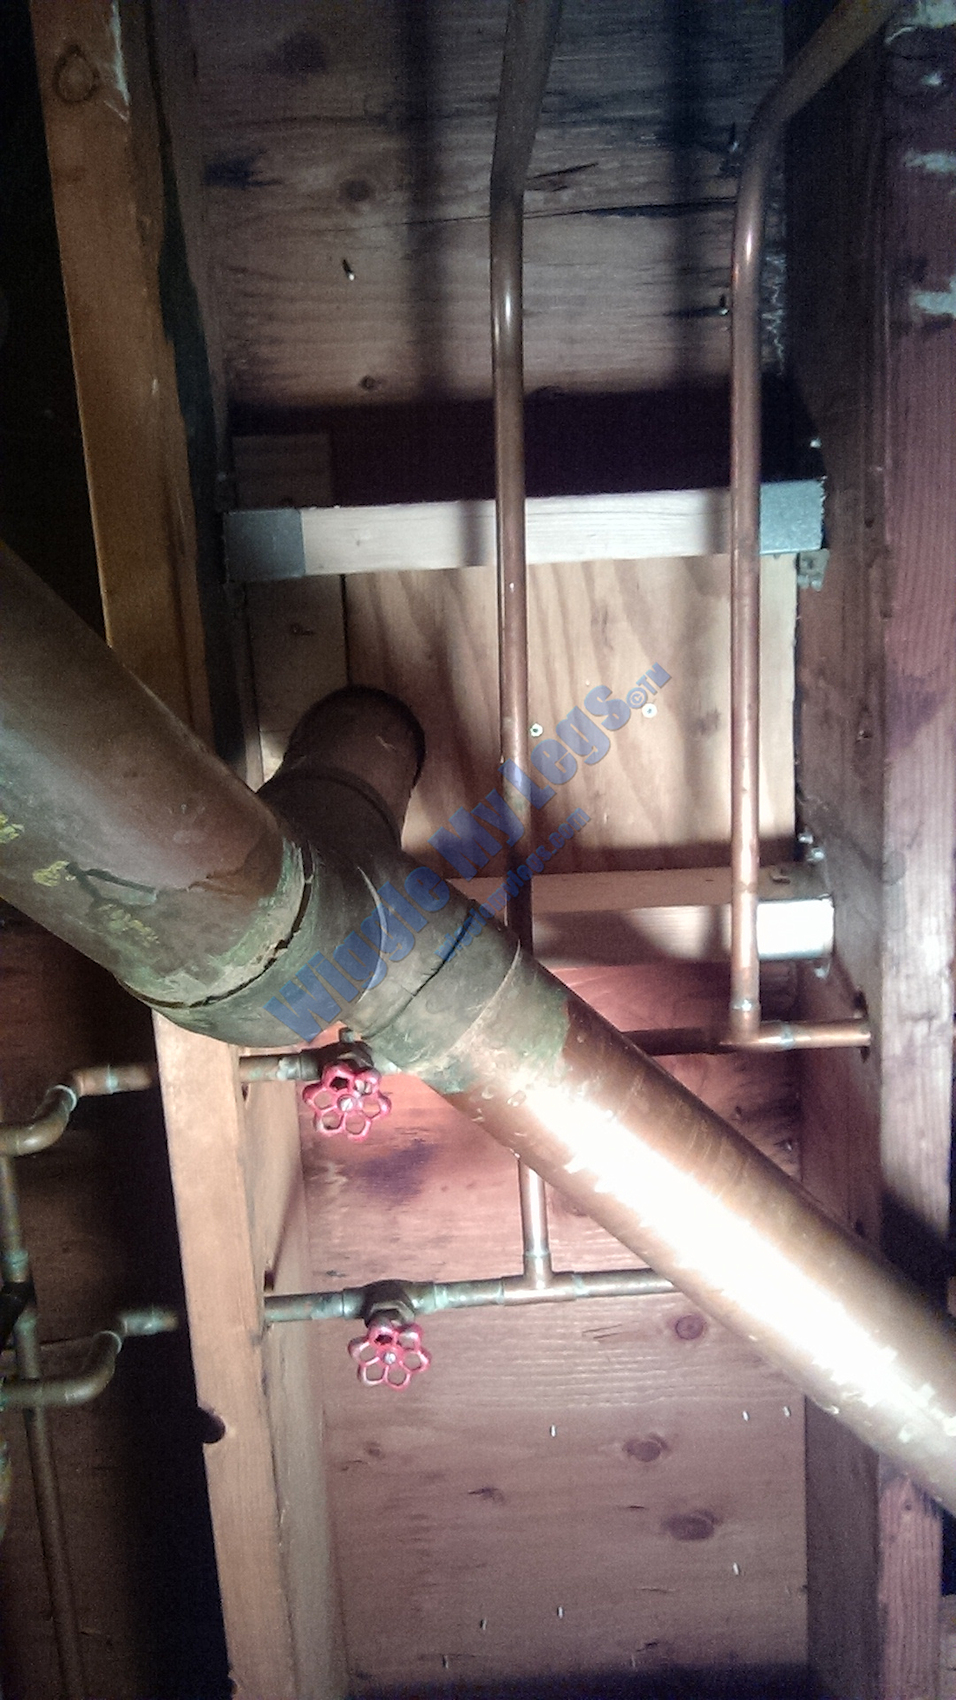
Backed off view of basement plumbing.
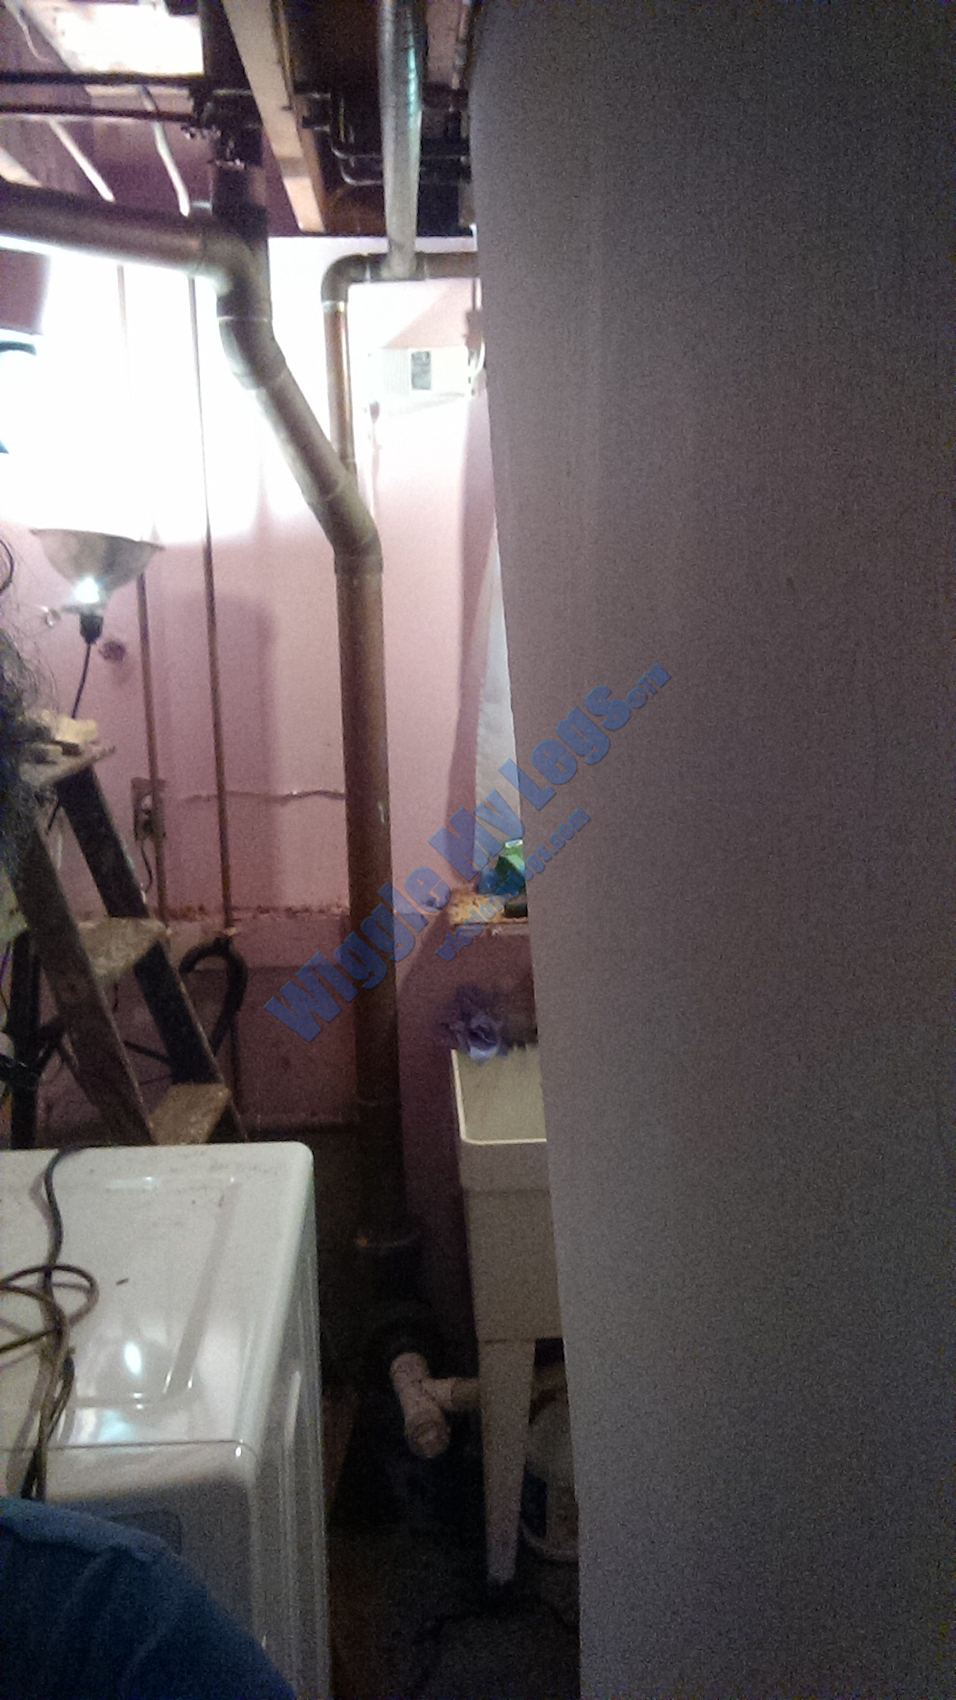
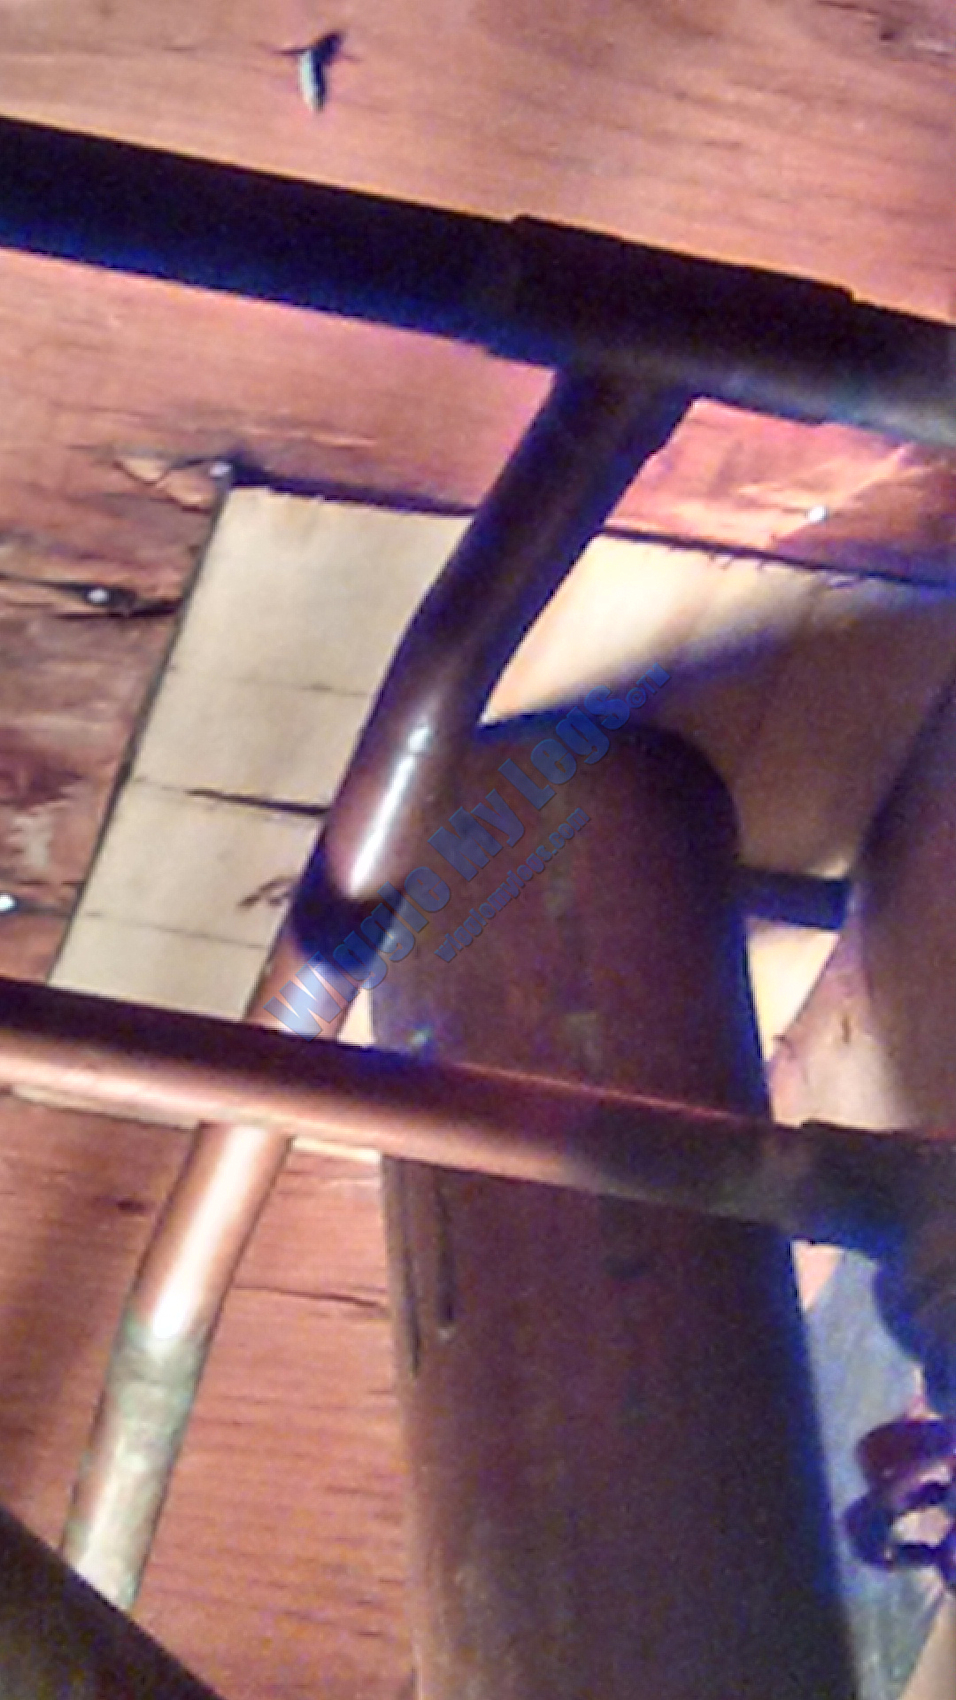
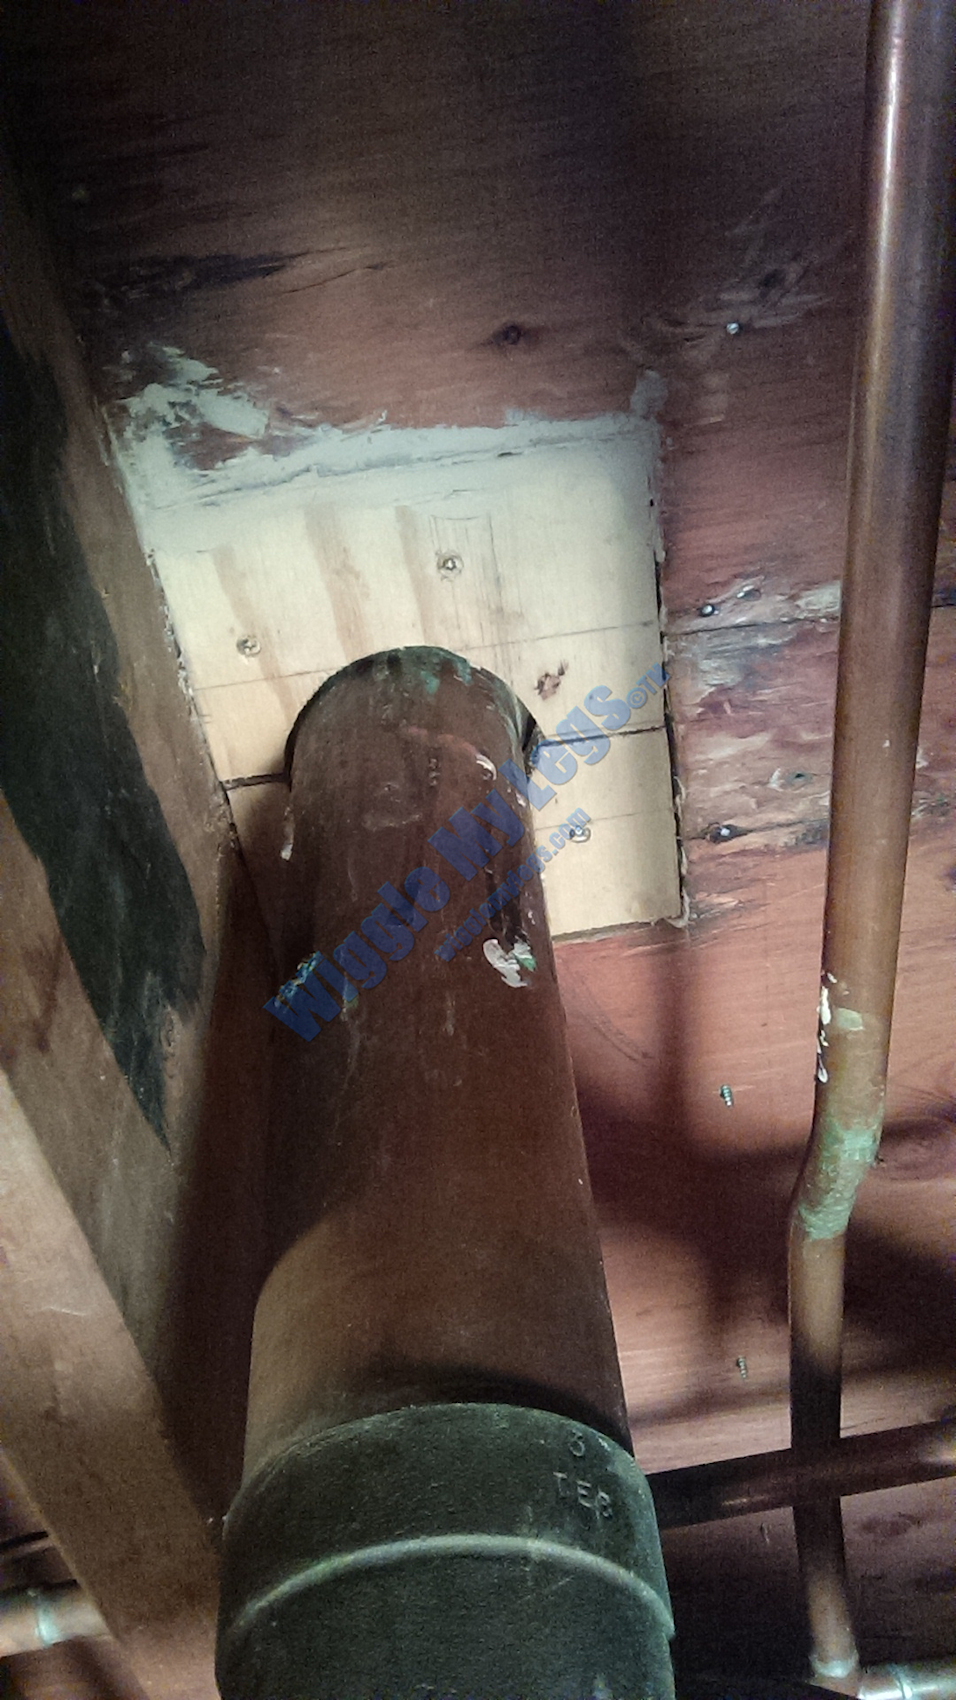
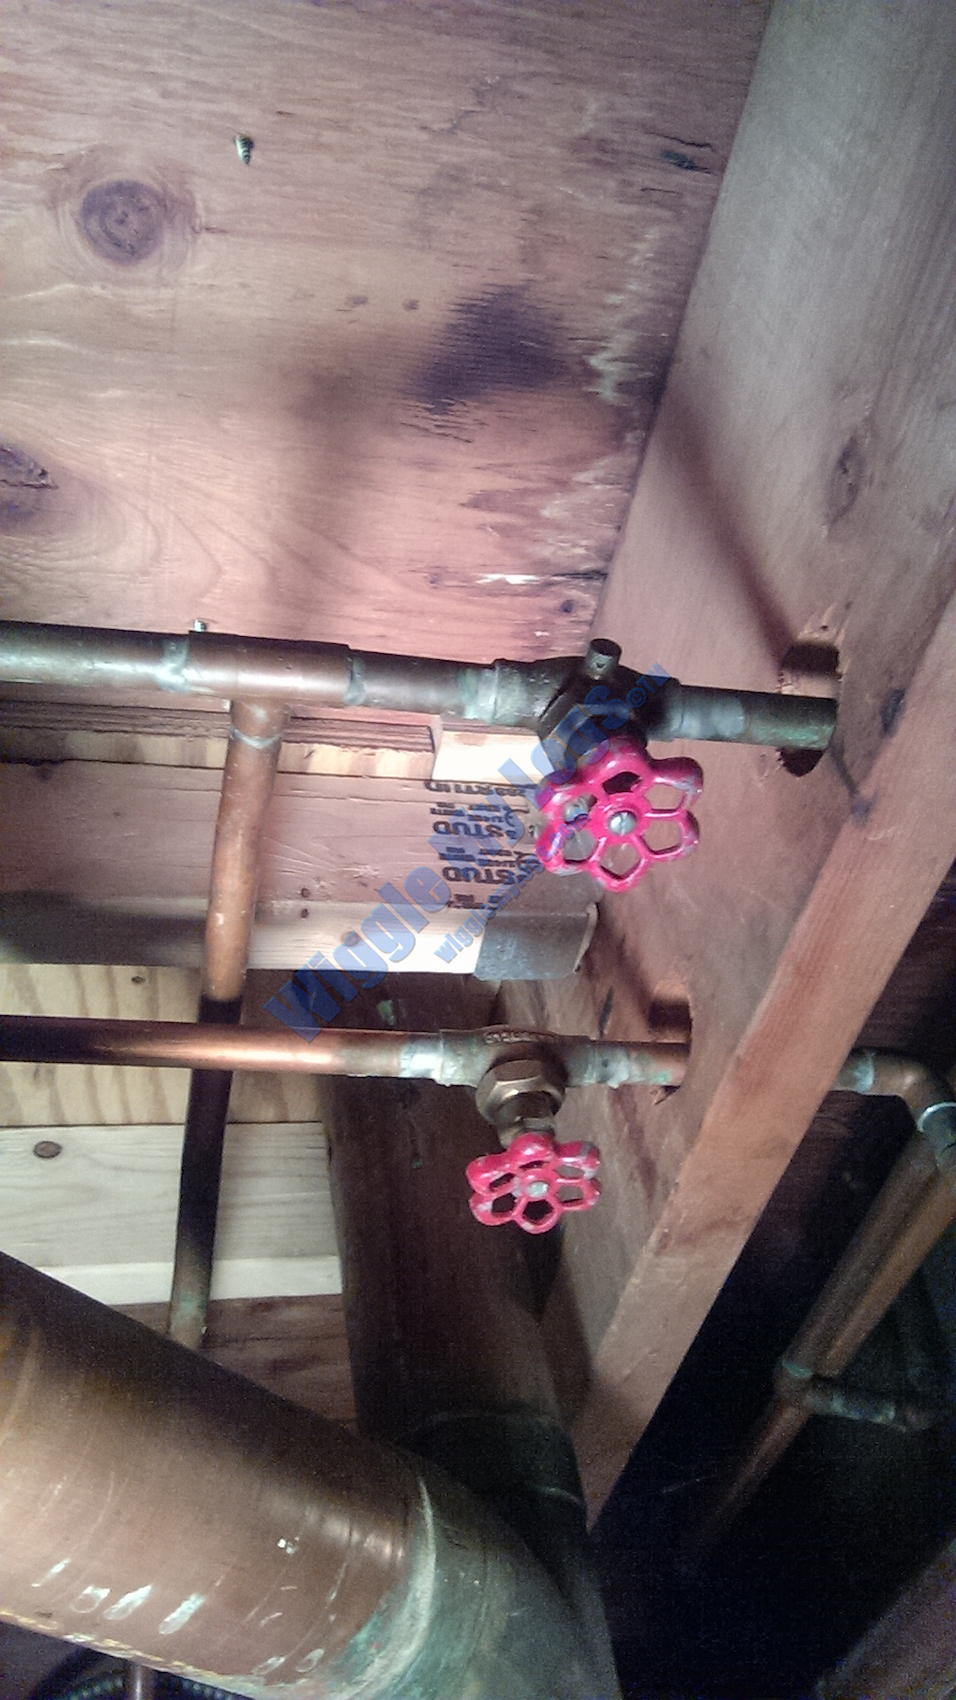
View work area from basement floor to ceiling.
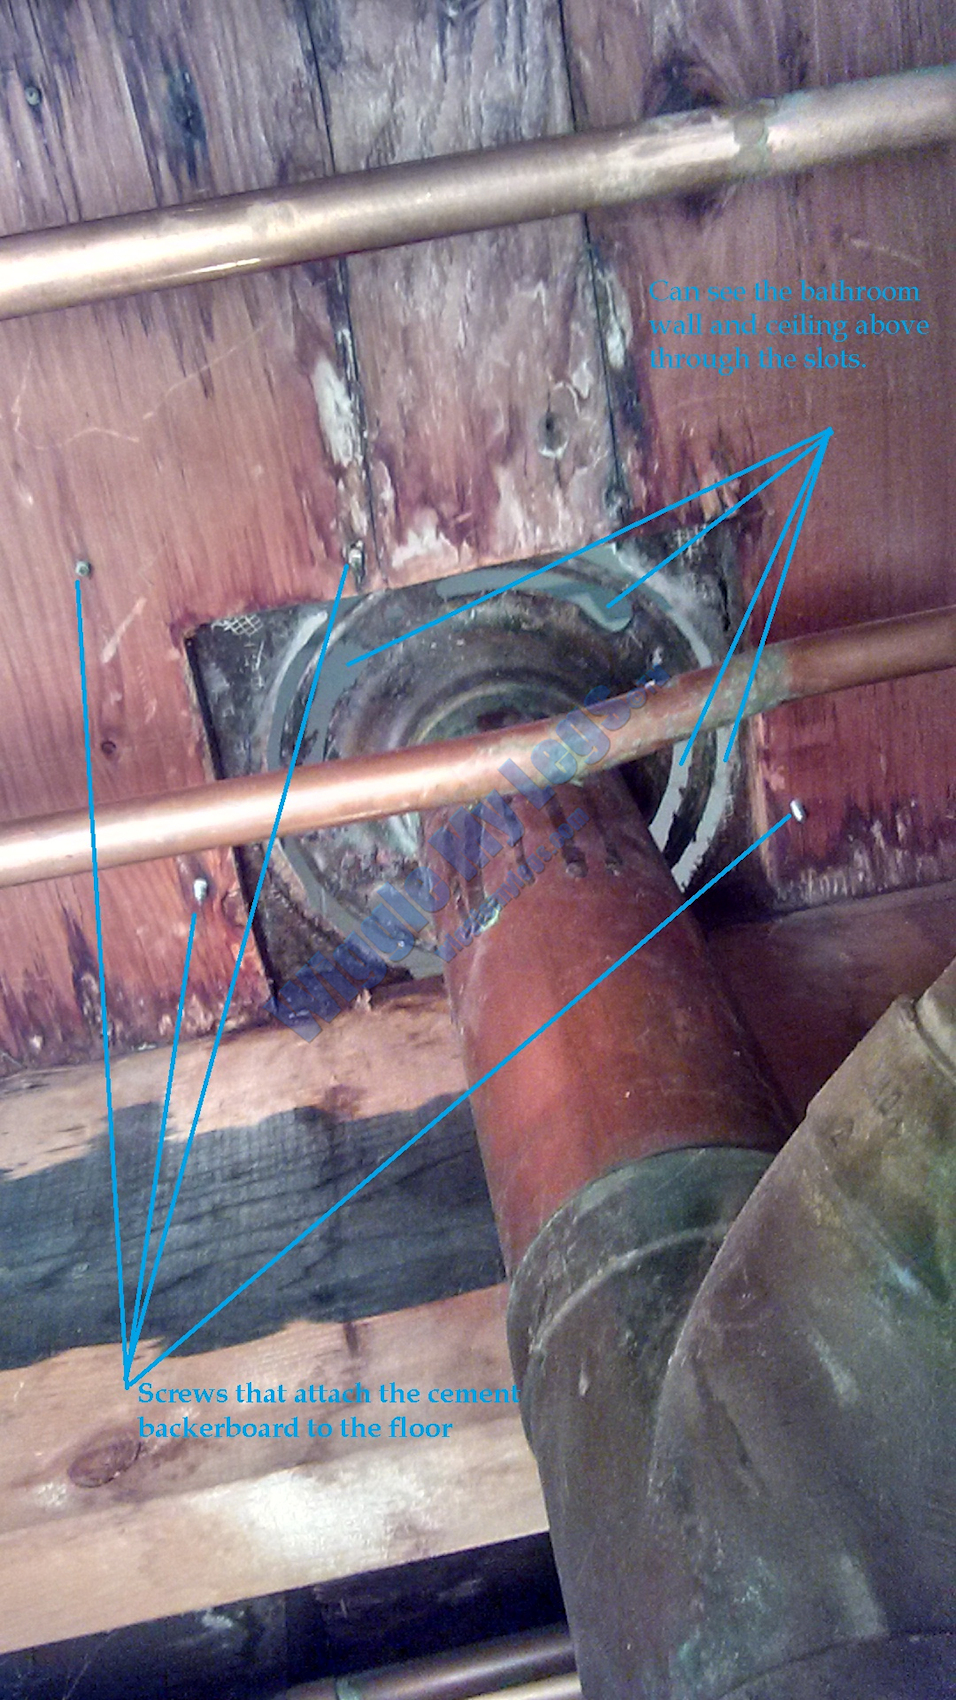
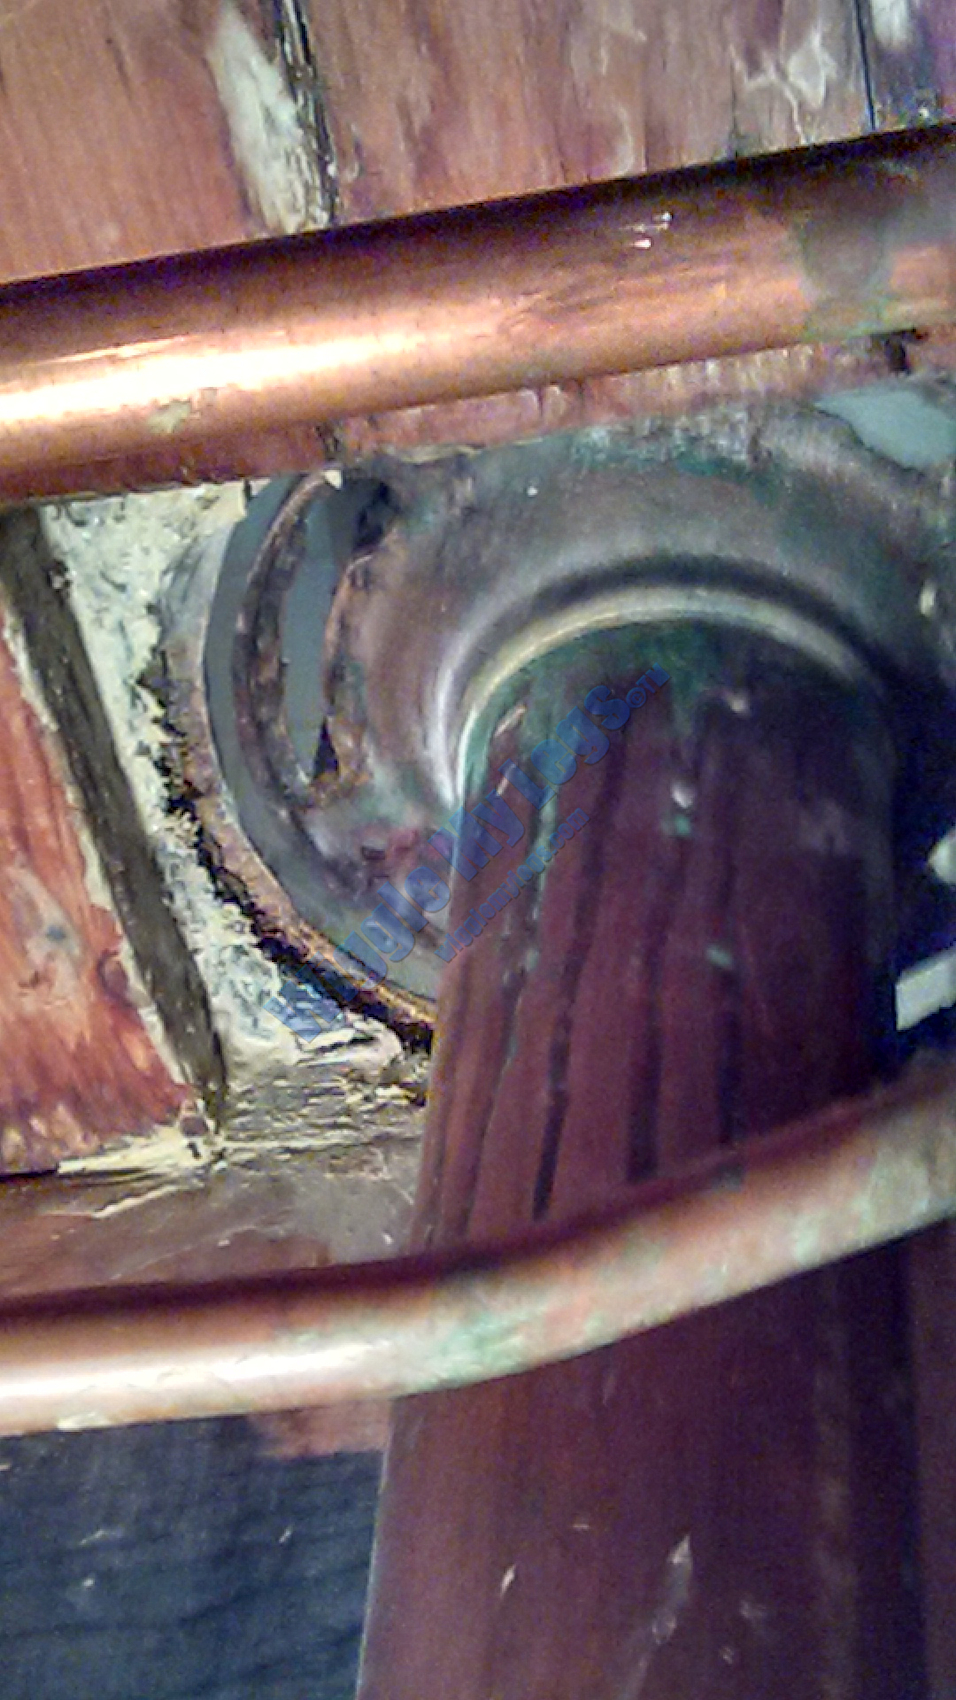
Revealing tile backerboard from underneath and unsupported pipe.
Oscillating saw cutting off the ends of screws sticking out from installing tile floor backerboard in the upstairs bath. Once the screw tips are cut off flush with the basement ceiling the area will be prepped for the larger plywood second layer of support.

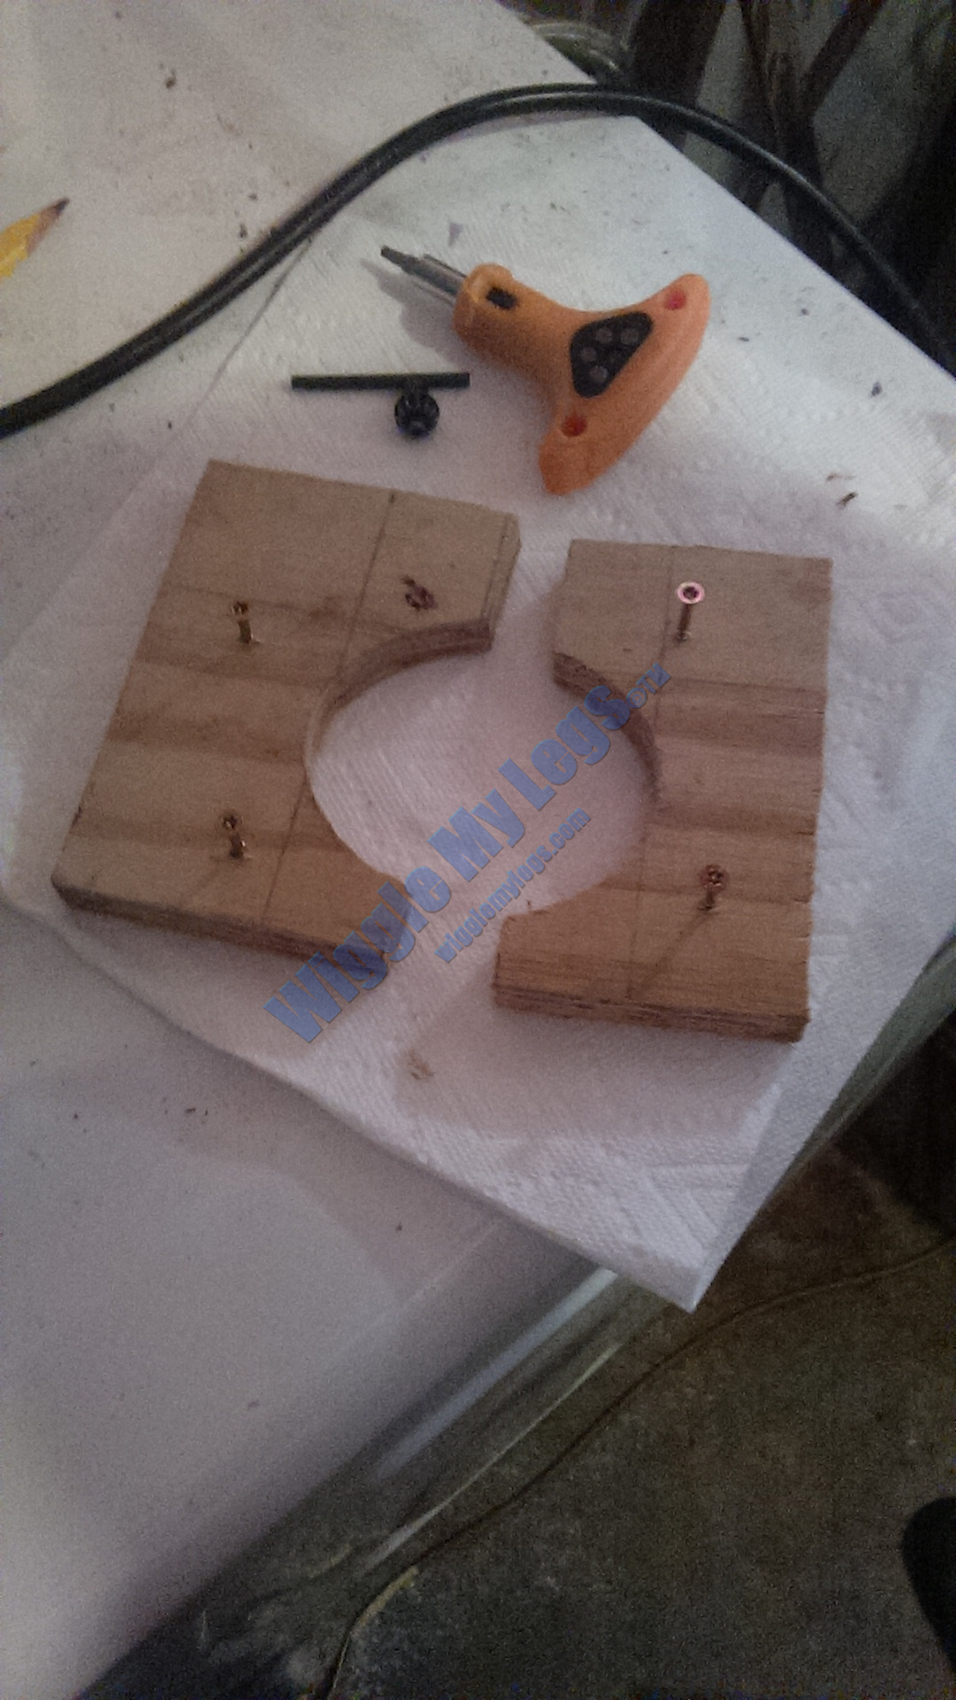
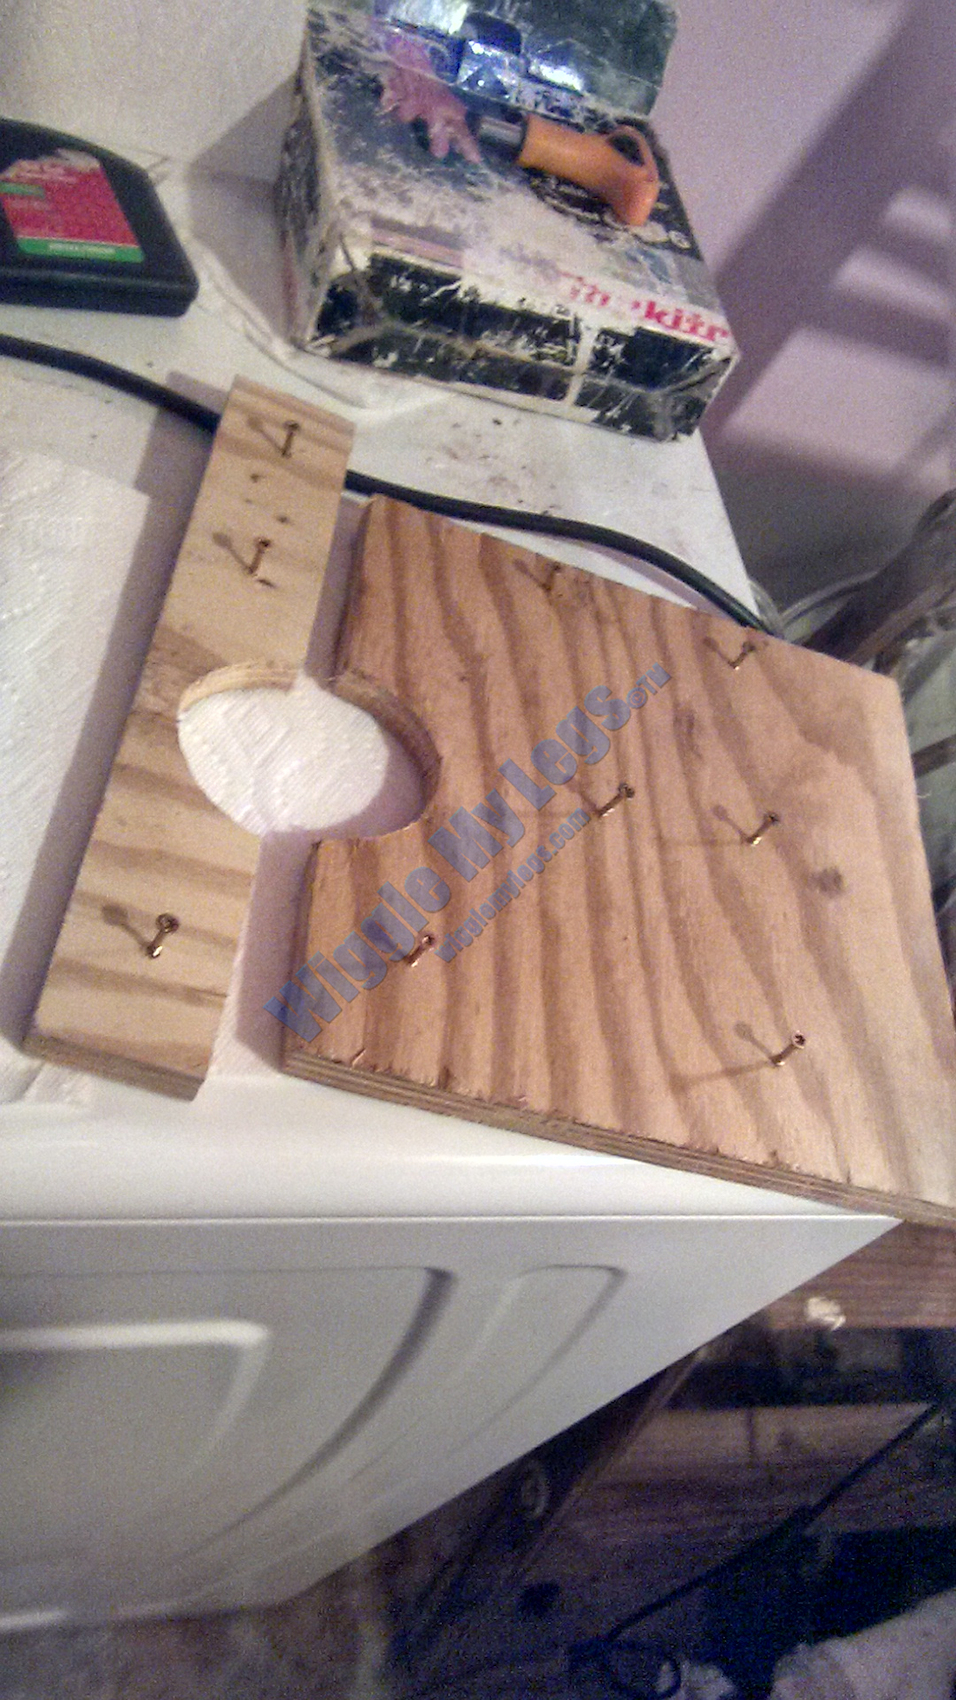
Test fitting plywood layer that is cut in half to get around pipe, that will fit subfloor hole. Note the cut is perpendicular to the joist.
Prep plywood layer halves with screws.
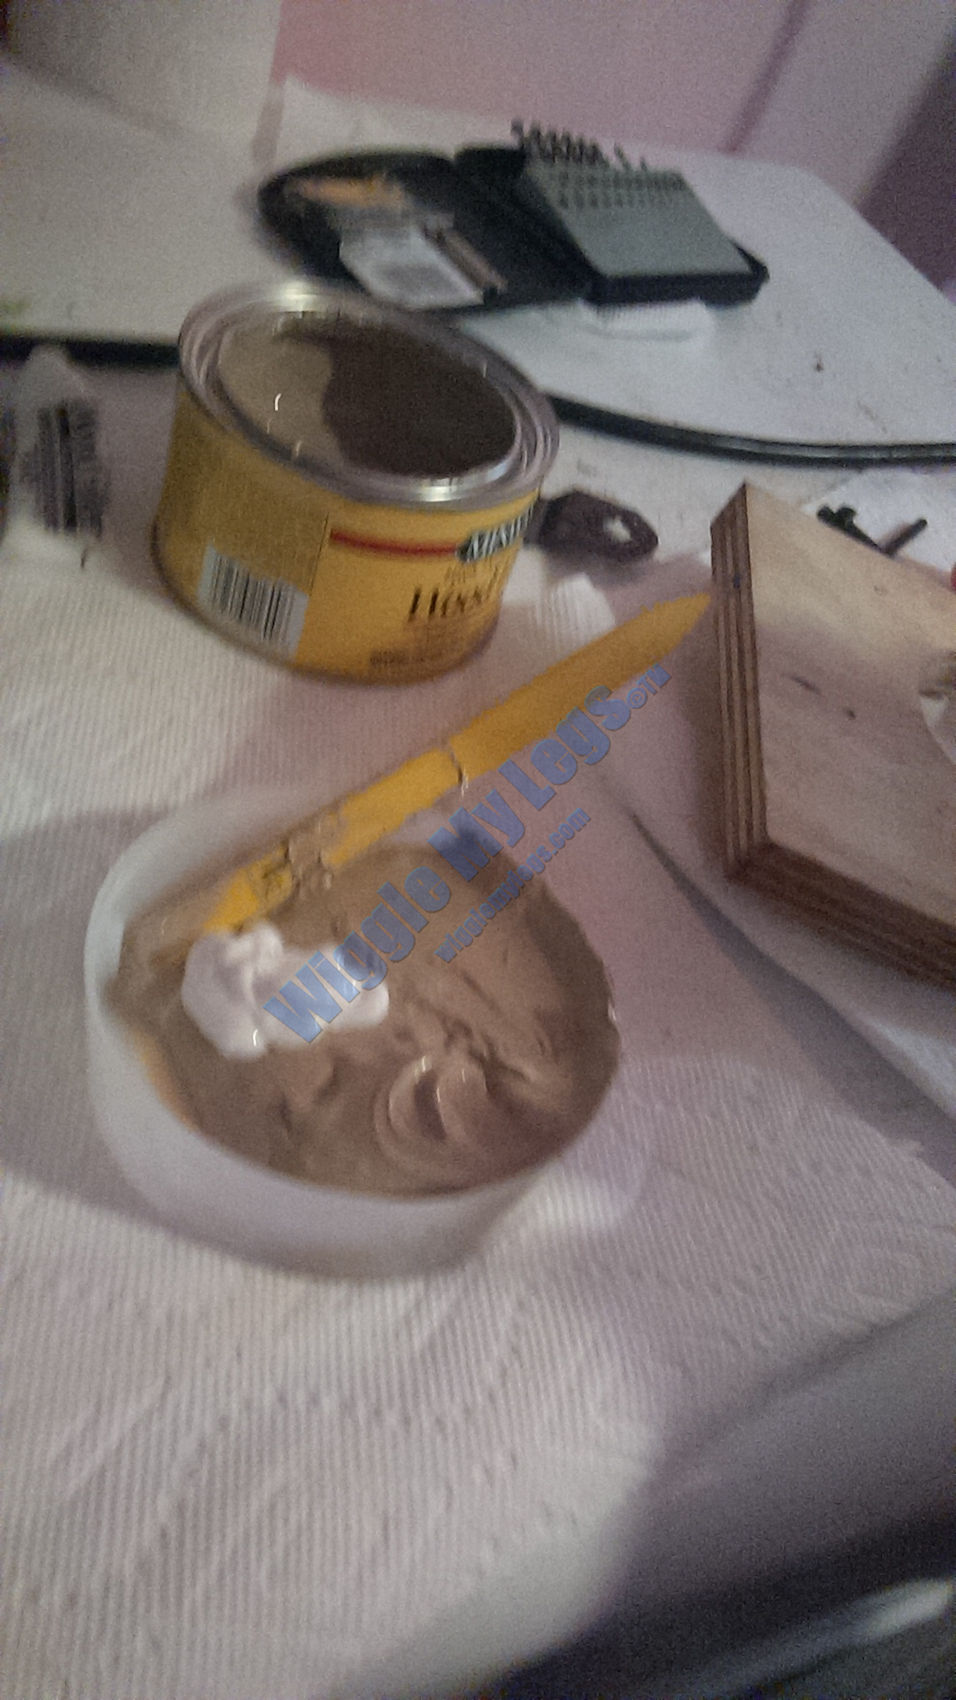
A good amount of Minwax Epoxy Woodfill in the lid.
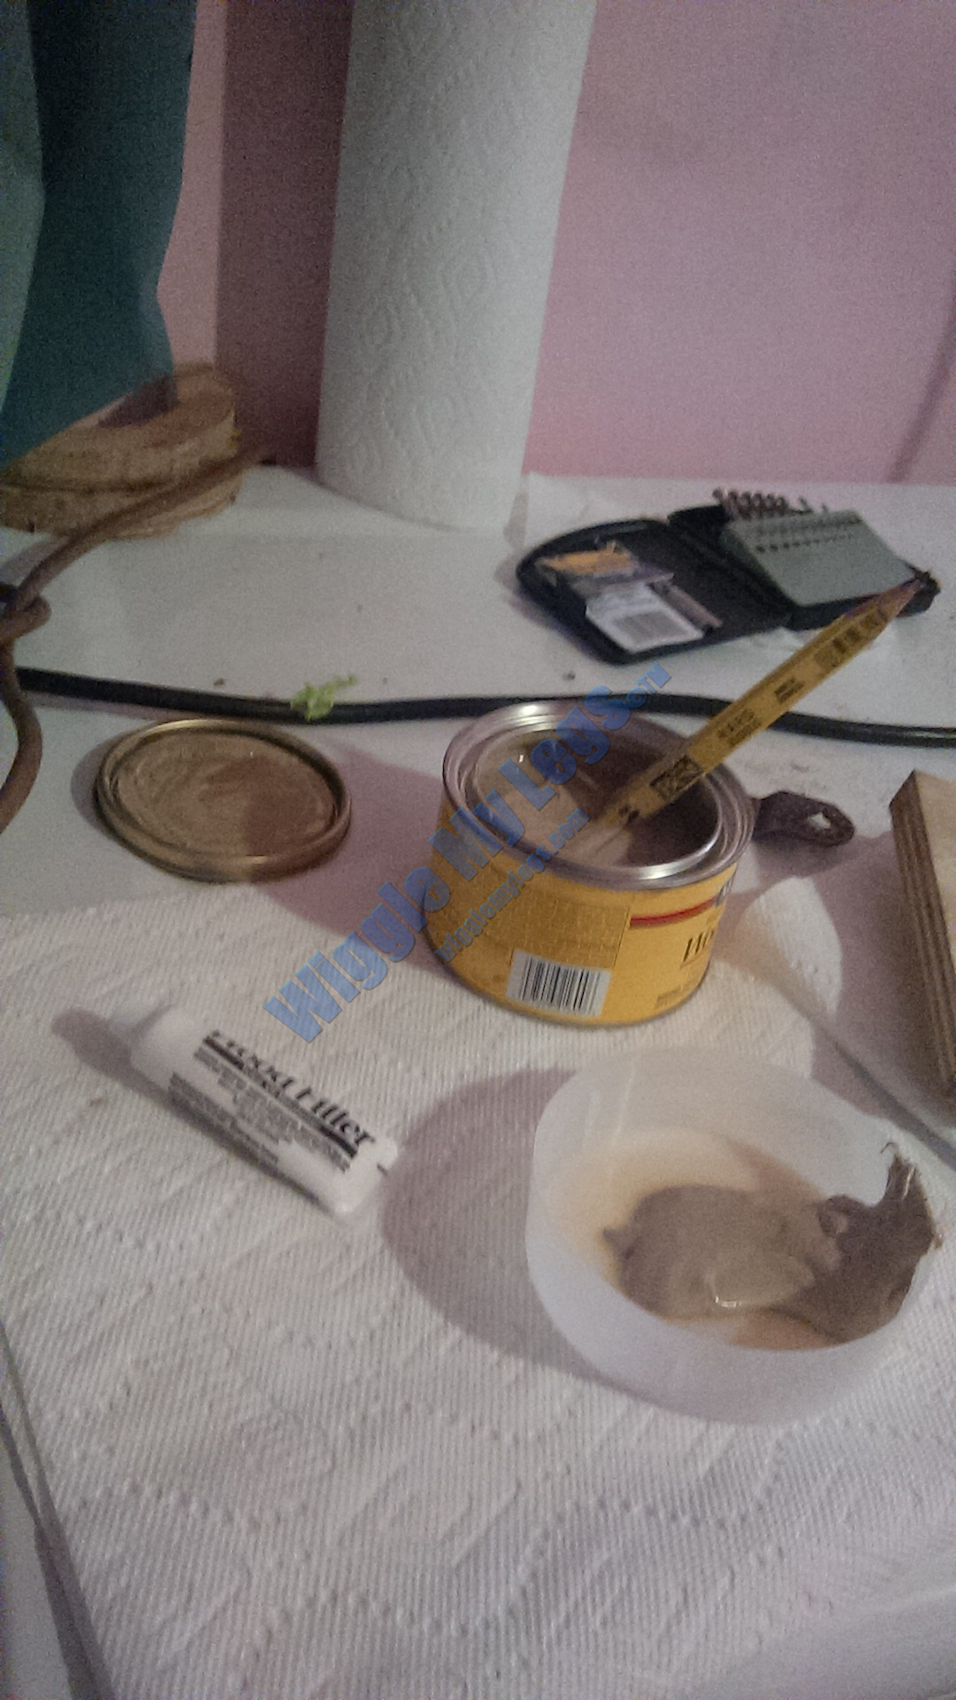
Add about 1/16 that amount of Minwax Hardener.
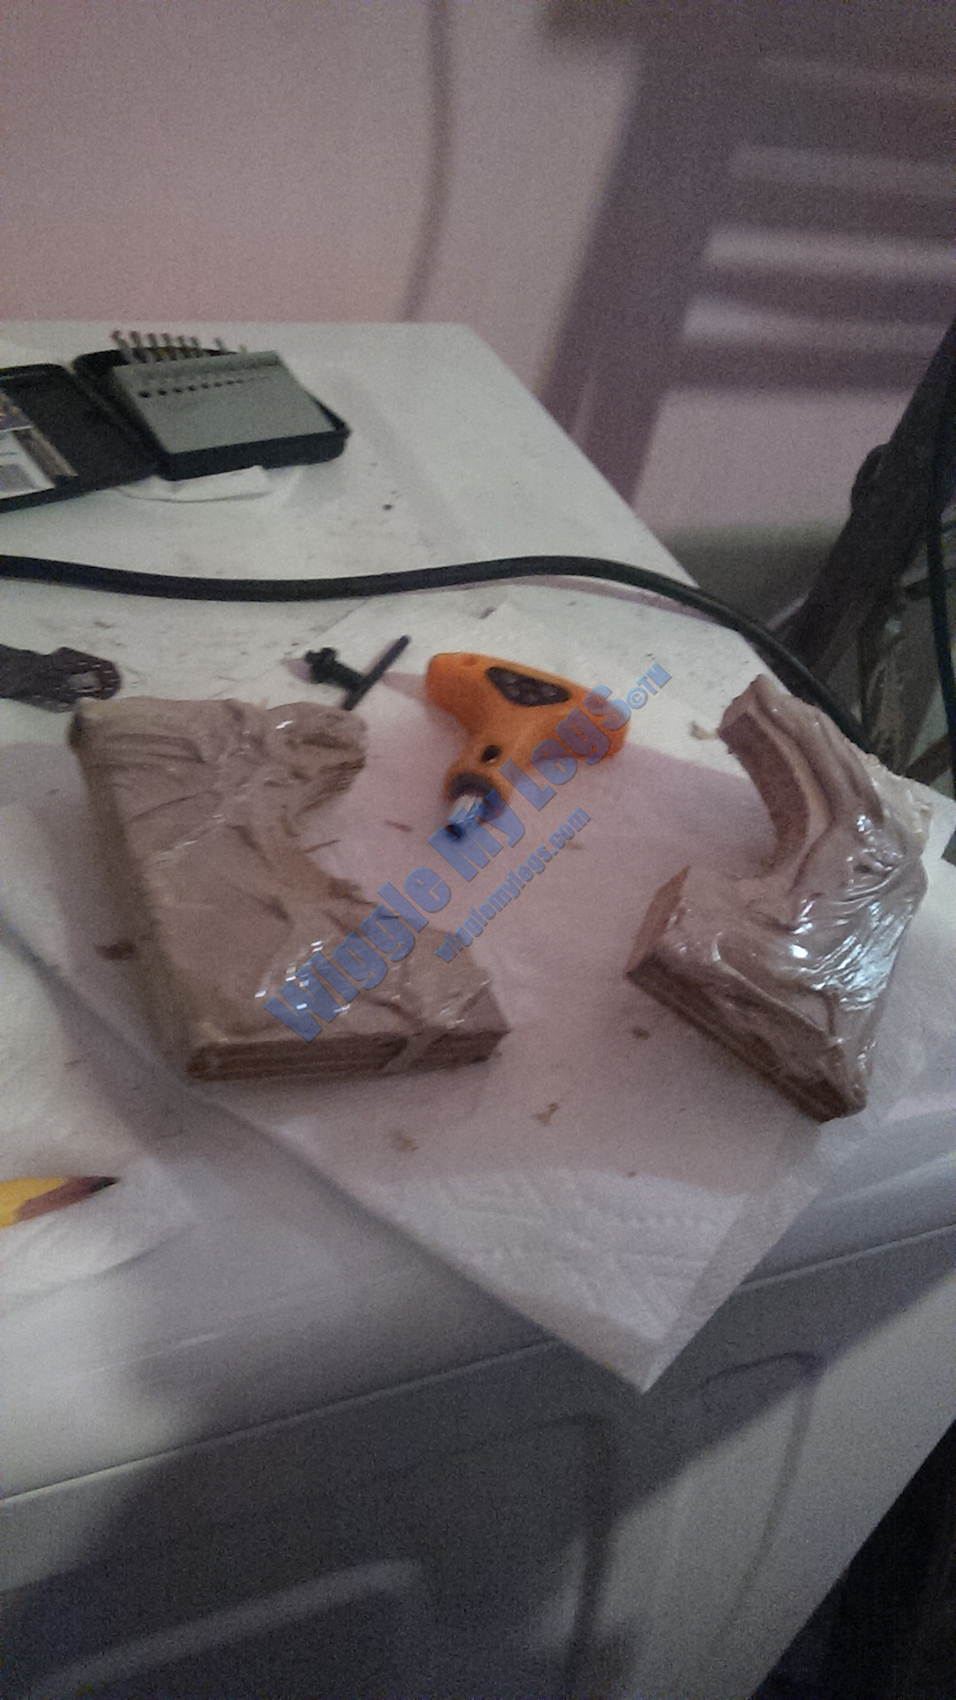
Spread top of plywood support layer with Minwax Epoxy.
Close up showing epoxy spread into edges of plywood subfloor cuts.
Installed plywood halves with Minwax epoxy and screws to now be flush with main subfloor. Note the cut between halves is perpendicular to joist and will be perpendicular with cut on next plywood layer.
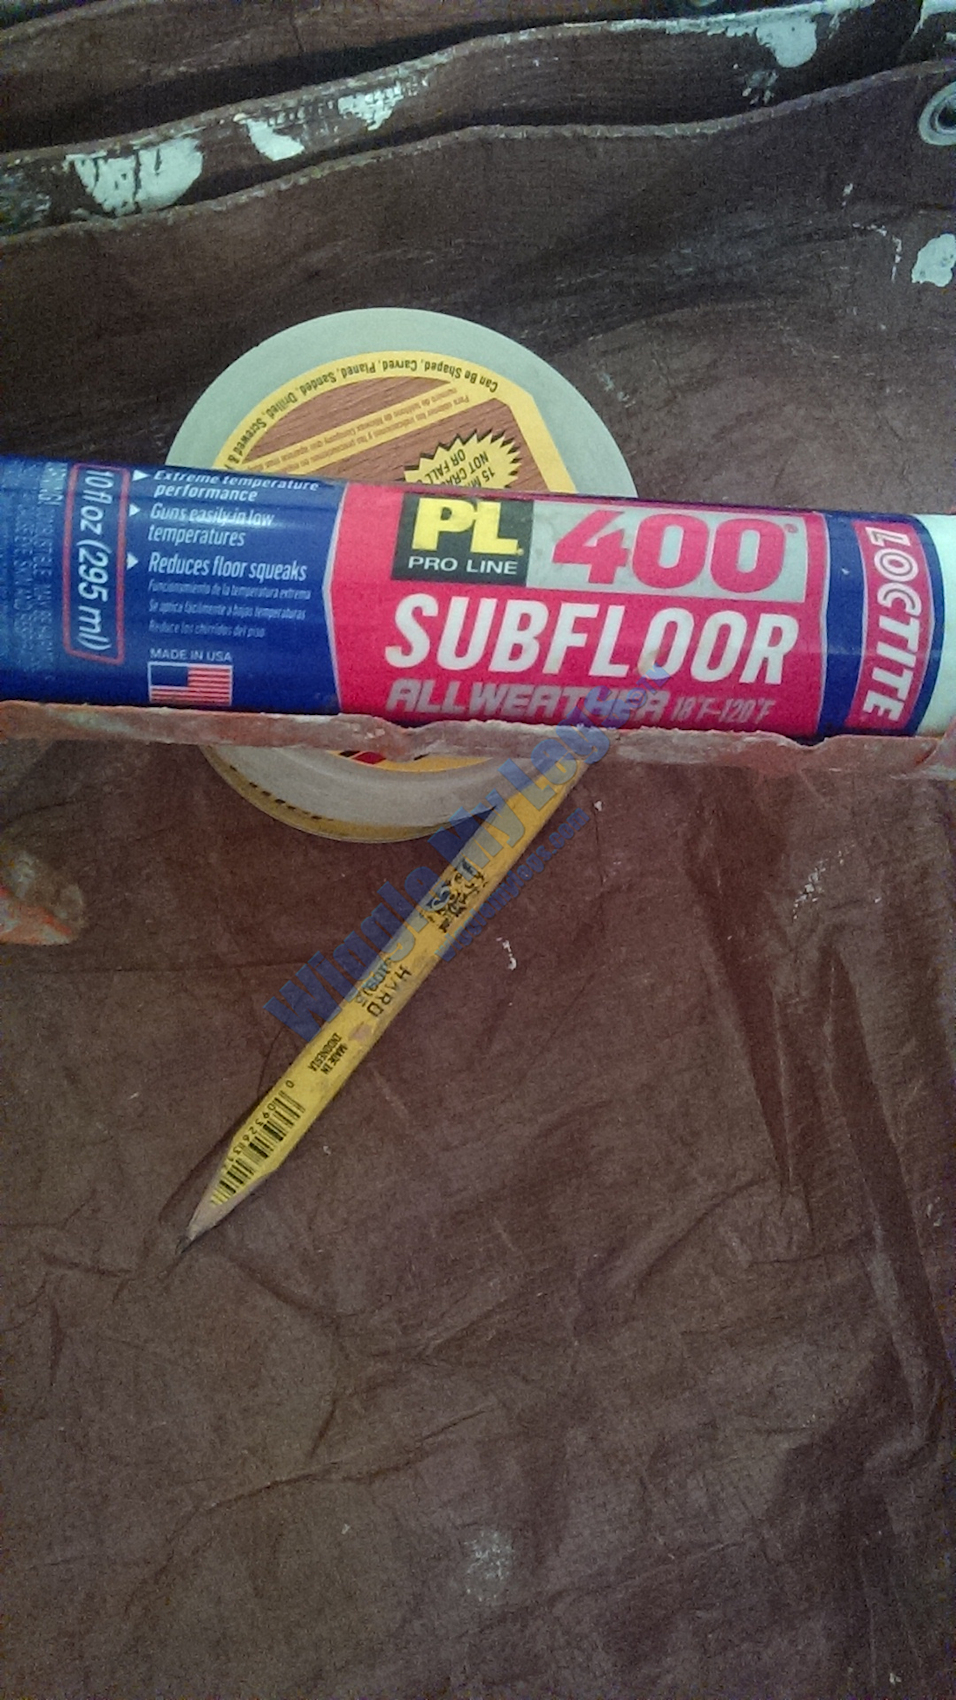
The Loctite Pro Line 400 Allweather glue to reduce potential squeaks on second and final plywood support layer.
Prep final layer of plywood that will attach to main subfloor.
Narrow piece of second layer plywood installed and sizing other piece.

Car lift on blocks to push up a seven foot 2 by 4 which will press up the Simpson hanger for slightly negative play prior to nailing hanger in place.
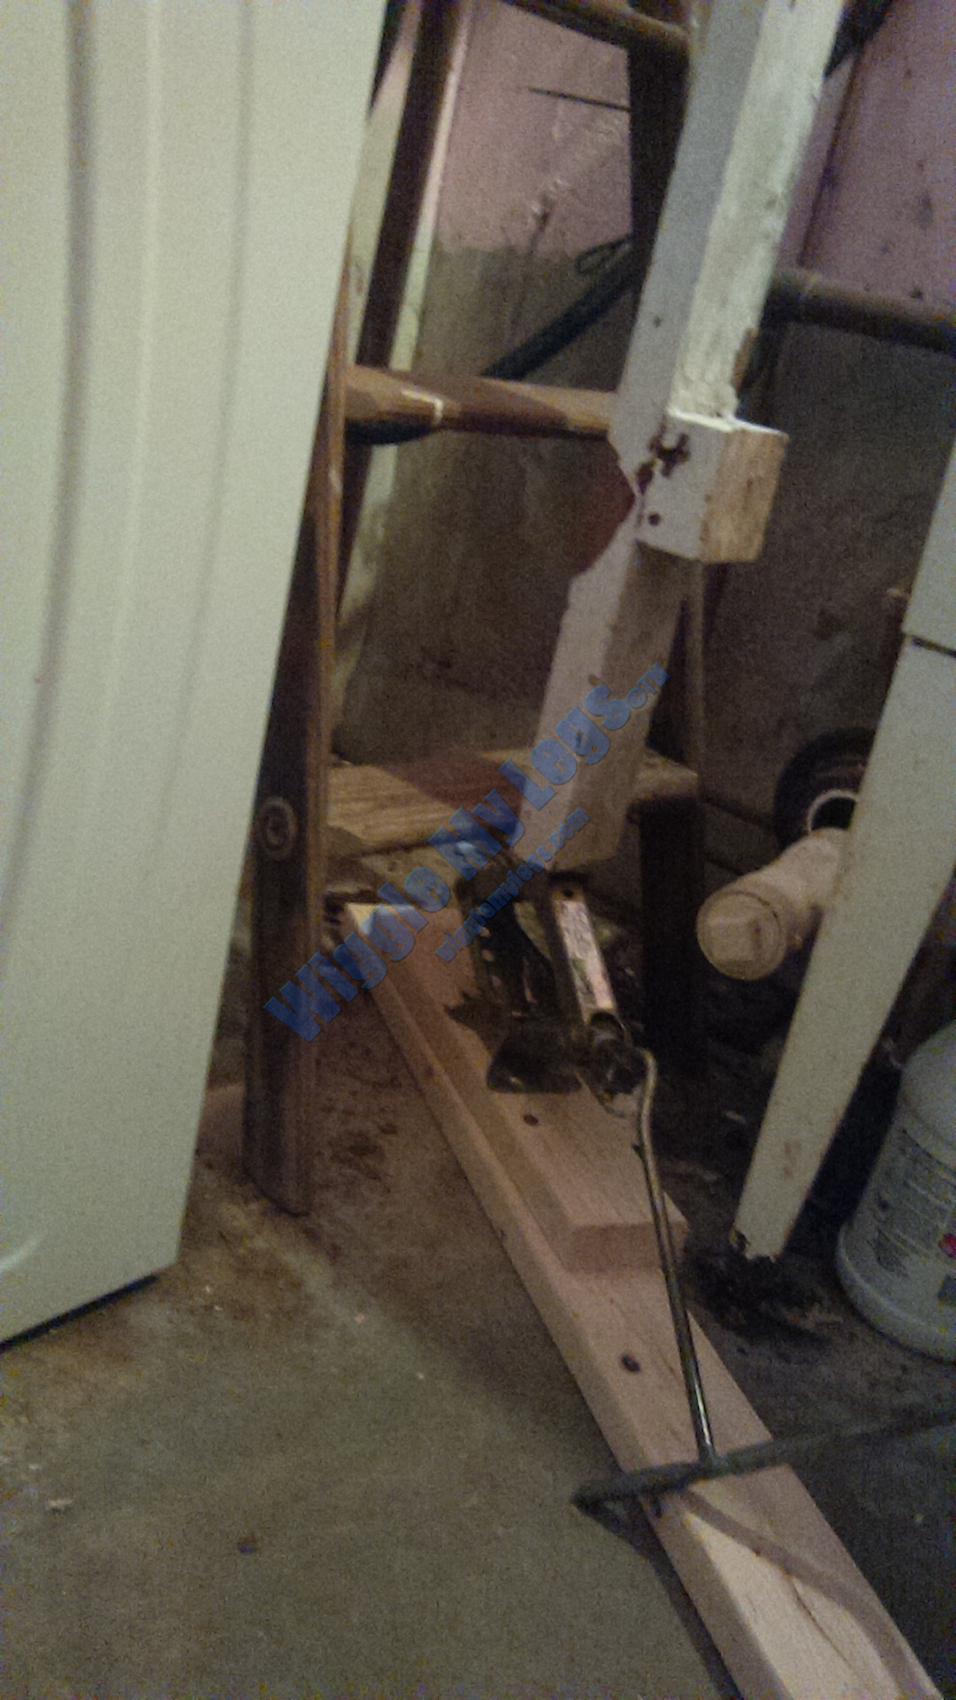
This is a view of the top of seven foot 2 by 4 pressing upward on Simpson hanger and our supporting wood.
First Simpson hanger installed.
Completed view with two braces installed with Simpson hangers.
Another view of completed job further away.