
Here are some still images from repairing leaky skylights and a 21 minute video summary of repairing the leak at the second skylight farther from house. The video of the second skylight starts after having repaired the skylight closer to the house. The caulk or sealer used in 1996 or so, to seal the glass surface to the flashing had given way with age by the time of this repair in 2016. This was due to water puddling up along the lip of the flashing across the lower end of the glass. With the sun's heat in the summer and freezing temperatures in the winter it can't last forever. It was somewhat difficult to diagnose as contractors had arrived to investigate in good weather. The home owners had the porch roof resurfaced at some expense and when the leaking was not stopped they had the roof replaced at greater expense and still it leaked. It was simply leaking due to the caulk at the glass surface.
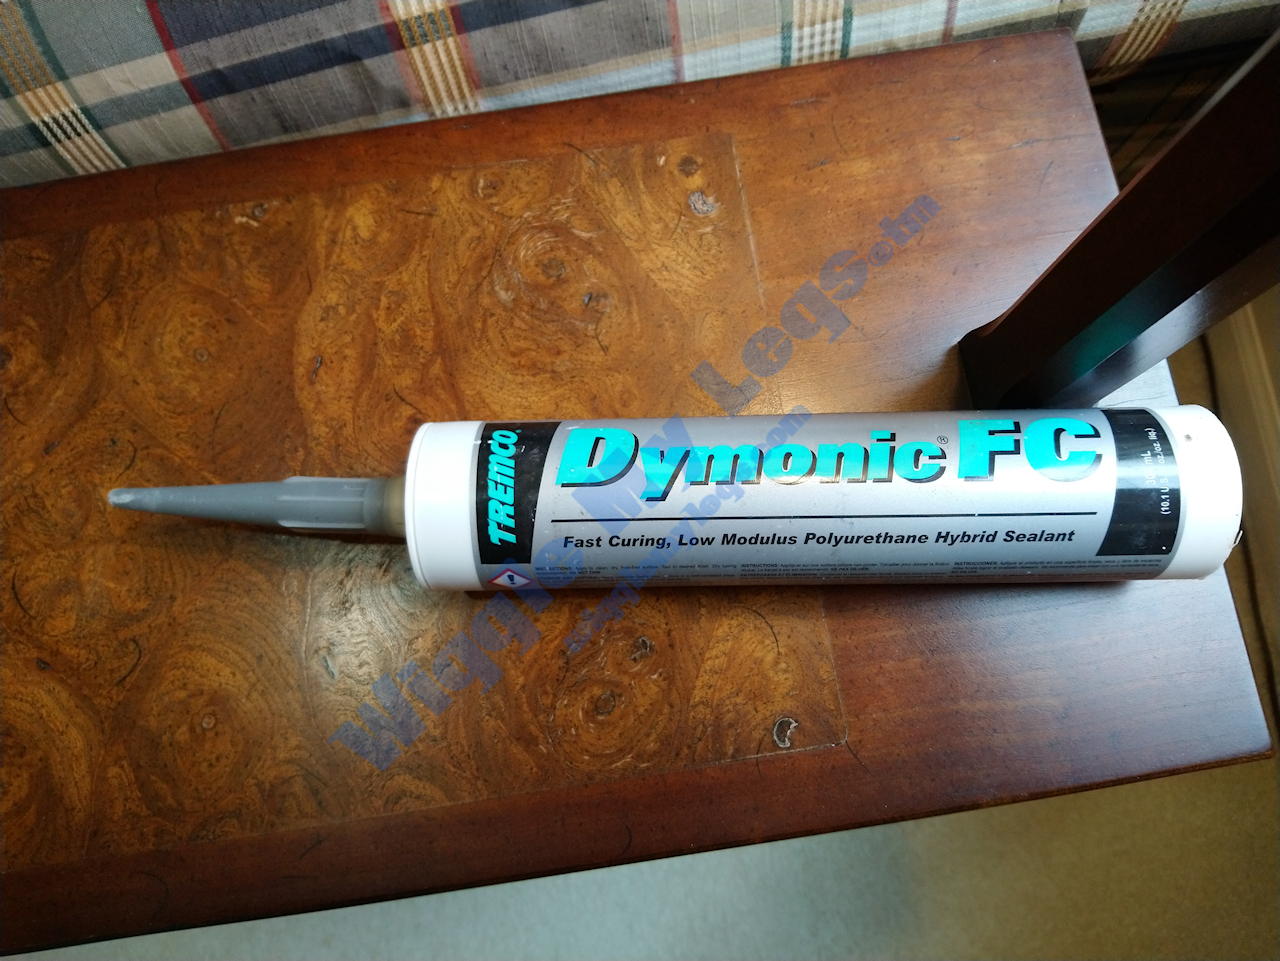
Below is the caulk that stopped the leak. It is Dymonic FC from Tremco, which is a fast curing, low modulus, Polyurethane hybrid. As you can see in the video at the end here, I did a lot of other work, but the caulk was the real answer.
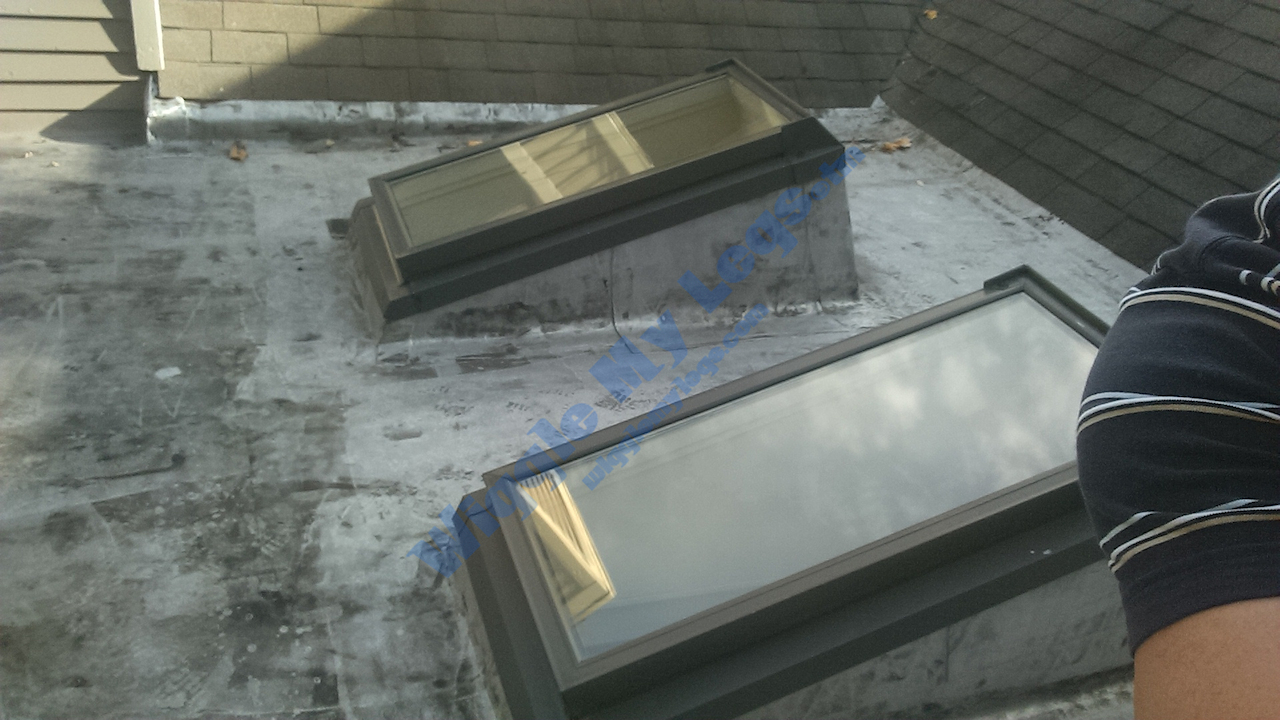
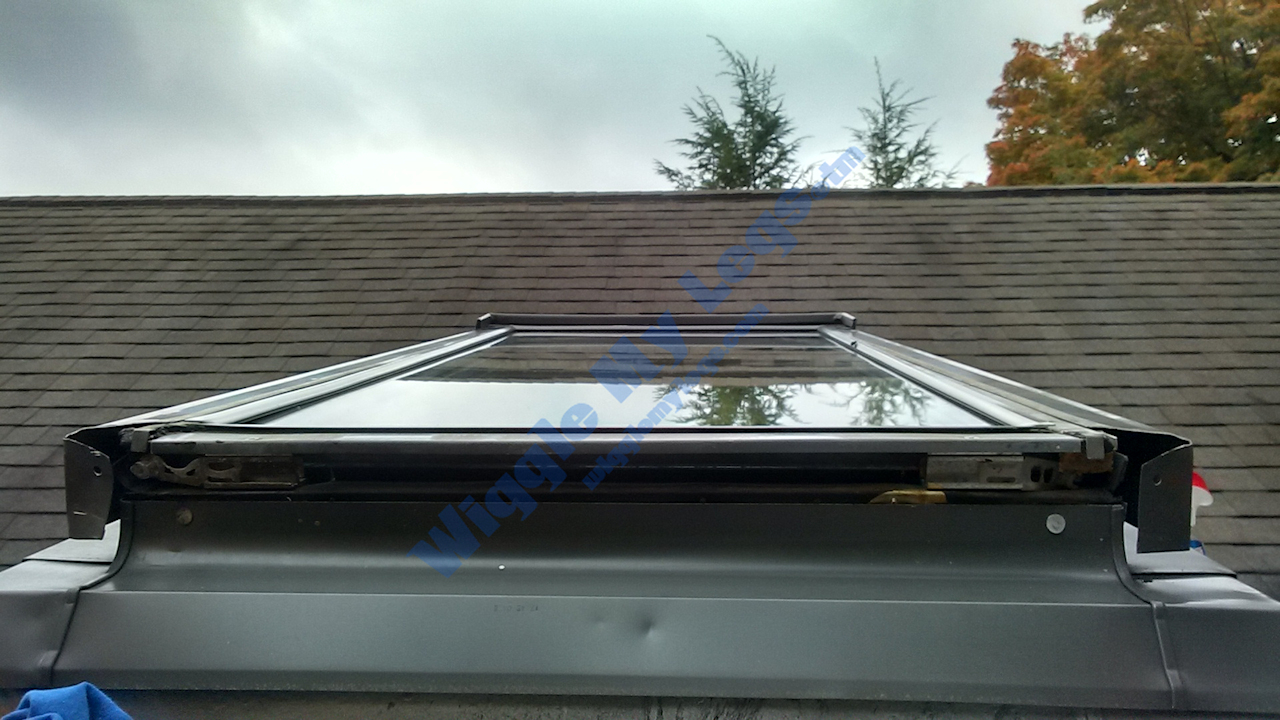
The two skylights that leaked onto the porch below them.
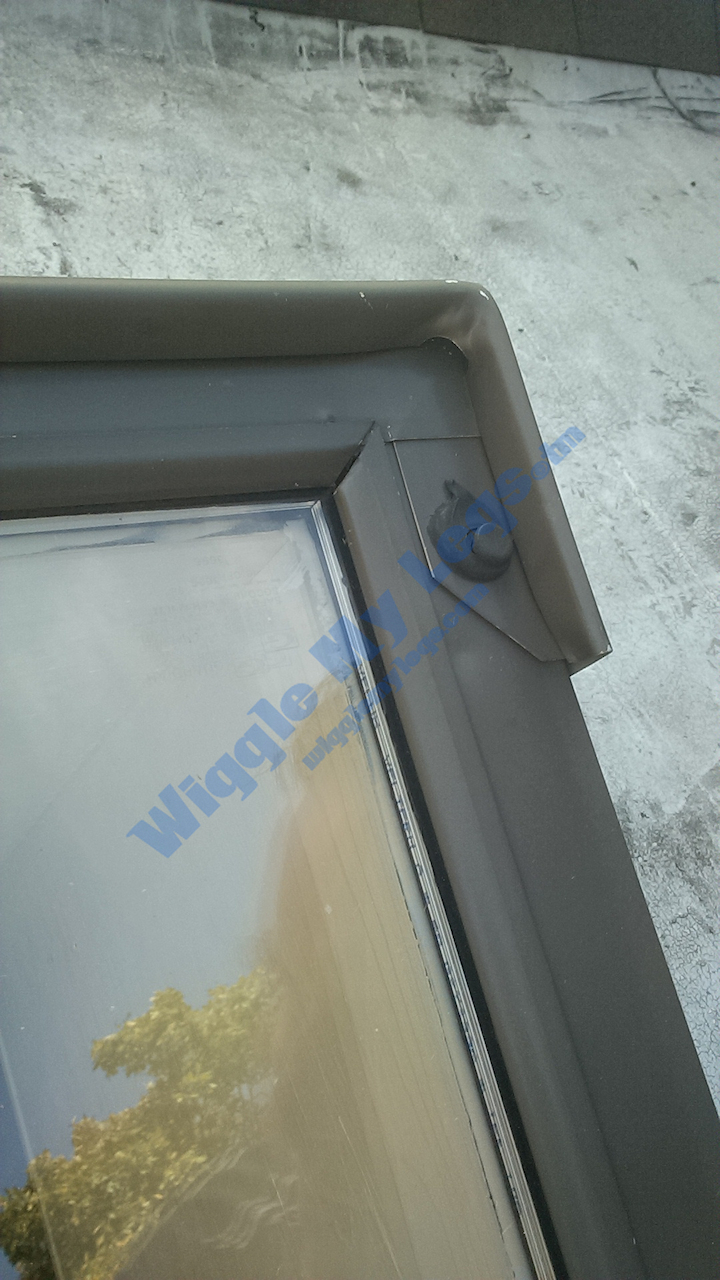
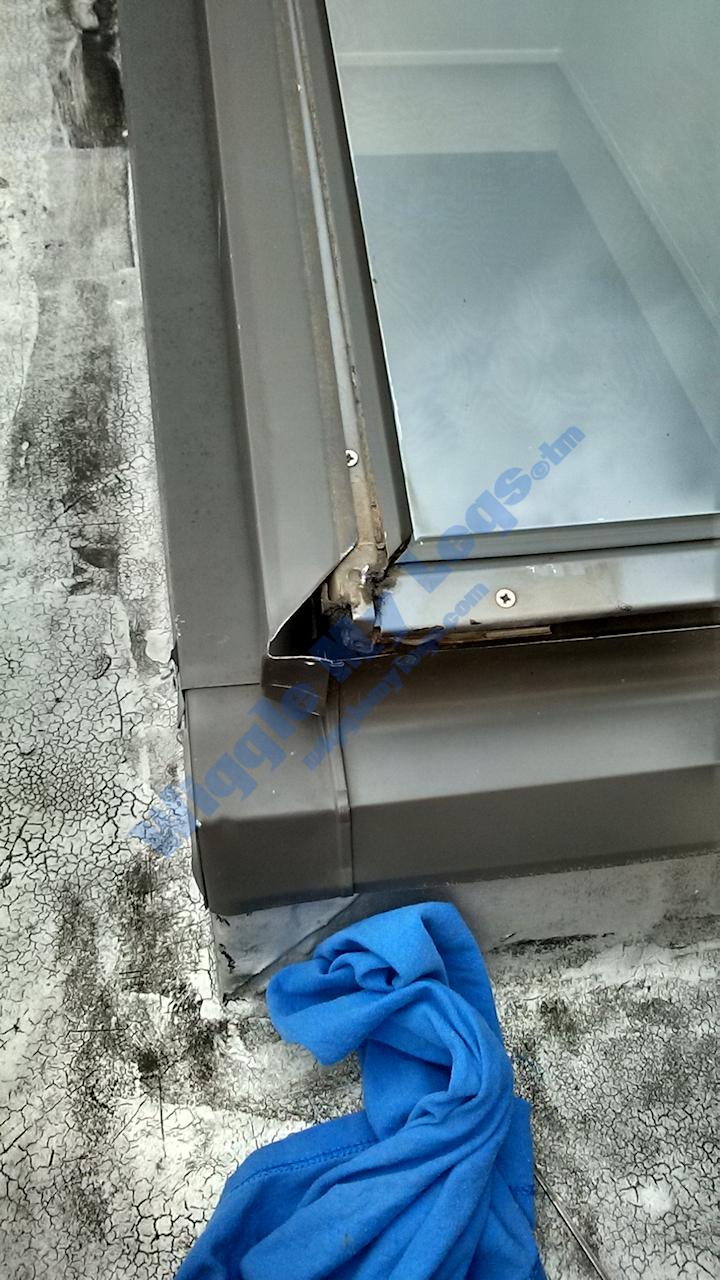
The upper shroud has nails buried in tary sealer which are being pulled out. When I reassemble, I will seal with the Tremco window caulk.
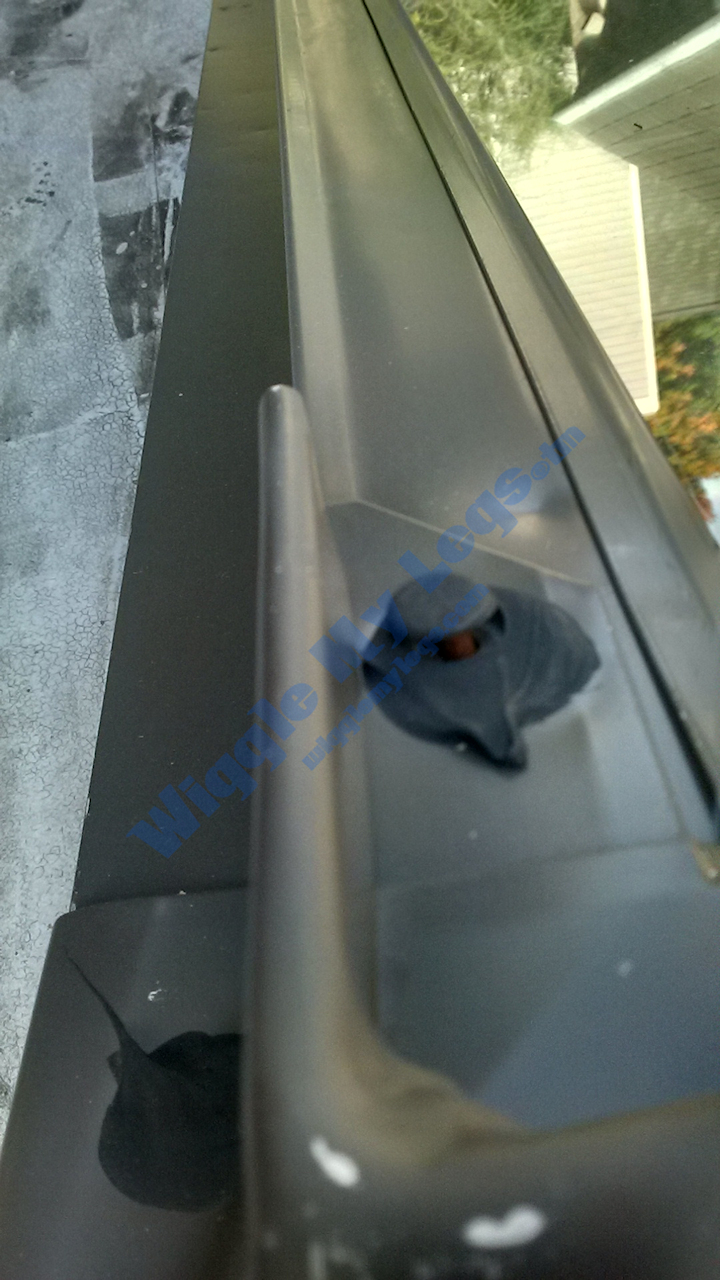
A close up different view of the nail.
Taking off the upper shroud reveals the manufacturer as Velux-America, Inc.

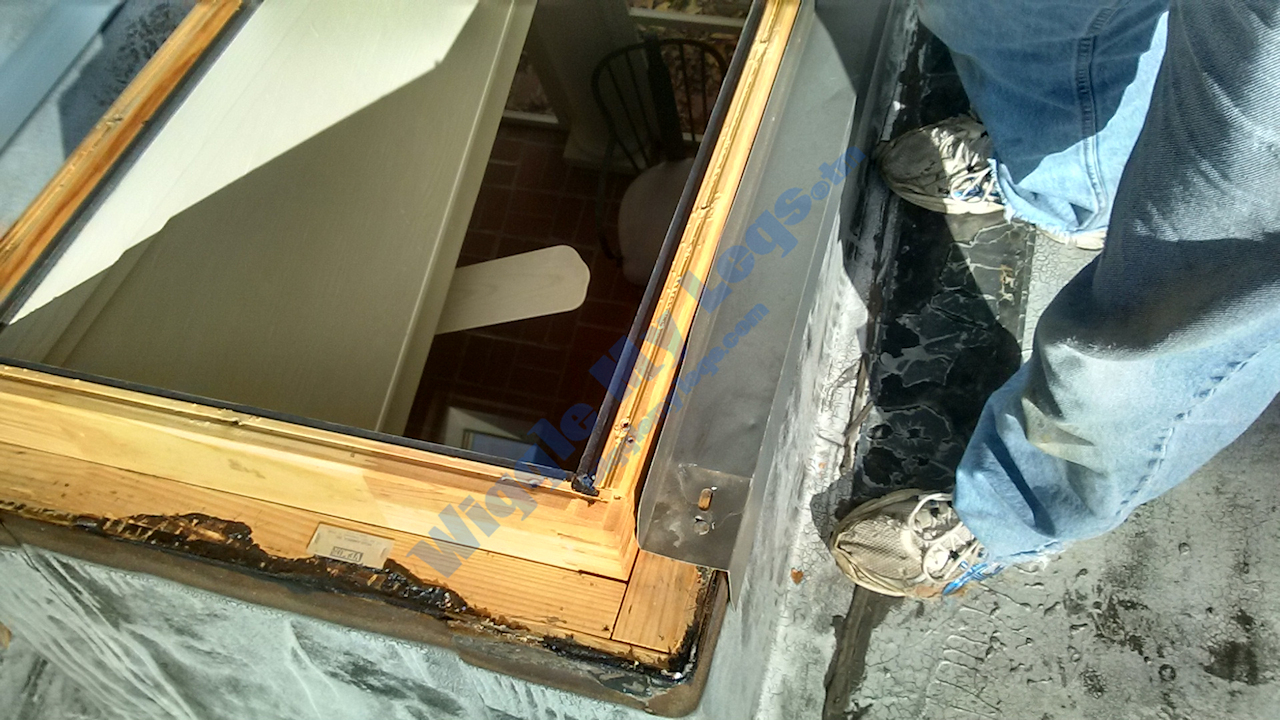
The left side flashing being removed at the lower end of the first skylight closer to the house.
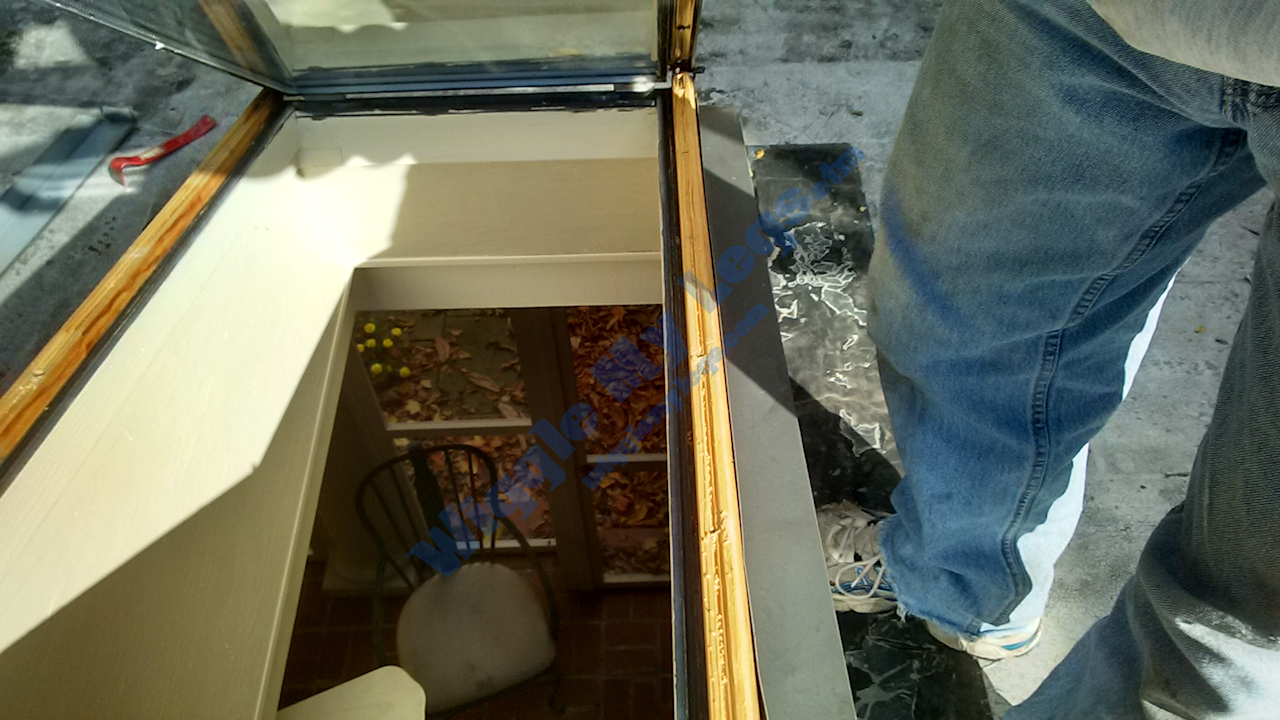
View from down low looking up at the first skylight flashing being removed.
The glass off the high end of the first skylight closer to the house revealing good wood and no leak evidence up there.
Lifting the glass off the high end of first skylight closer to the house.
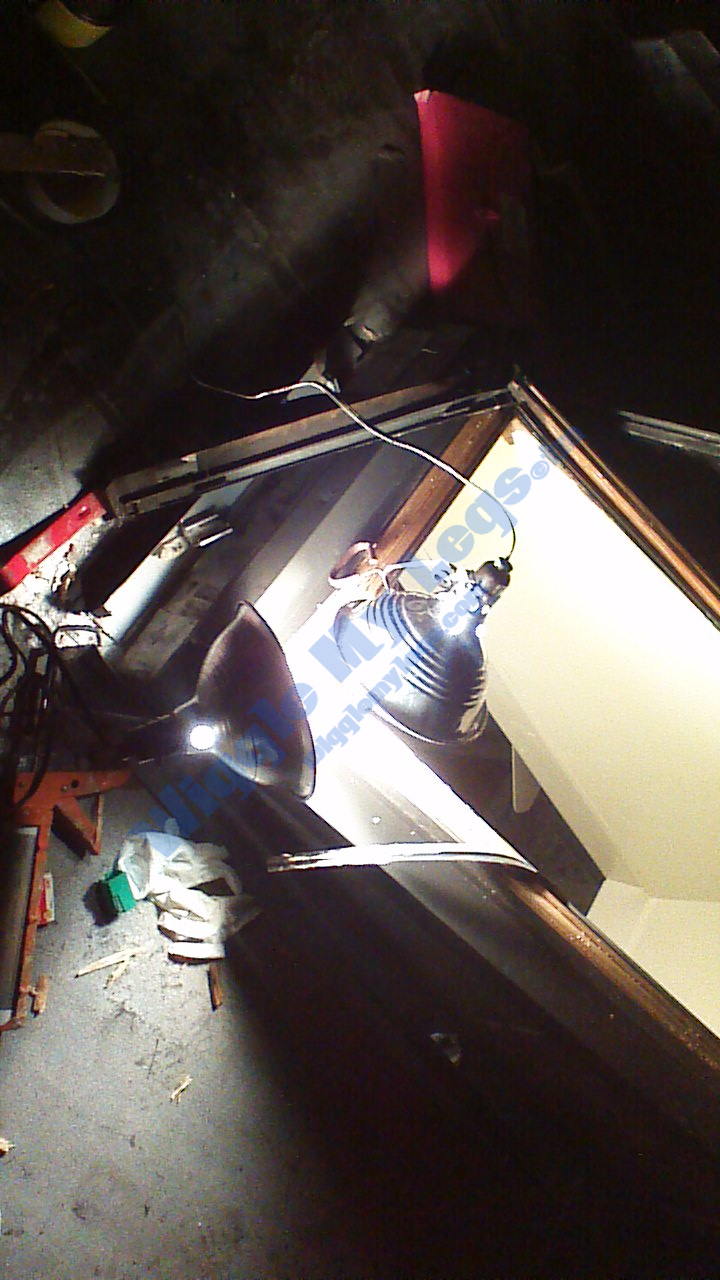
A view of using my two work lights as heat to speed the drying of the Minwax Epoxy wood filler on the second skylight. This is also seen in the video below.
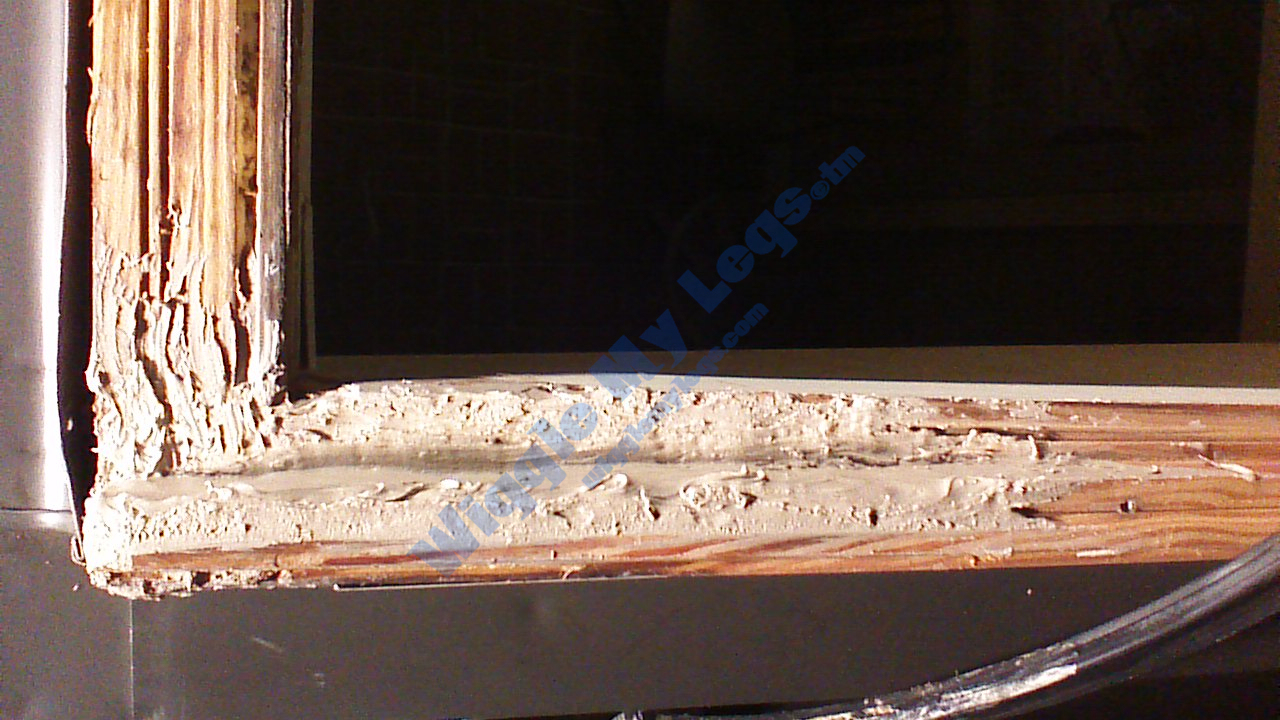
A close up of the second skylight having had its first coat of Minwax Epoxy wood filler.
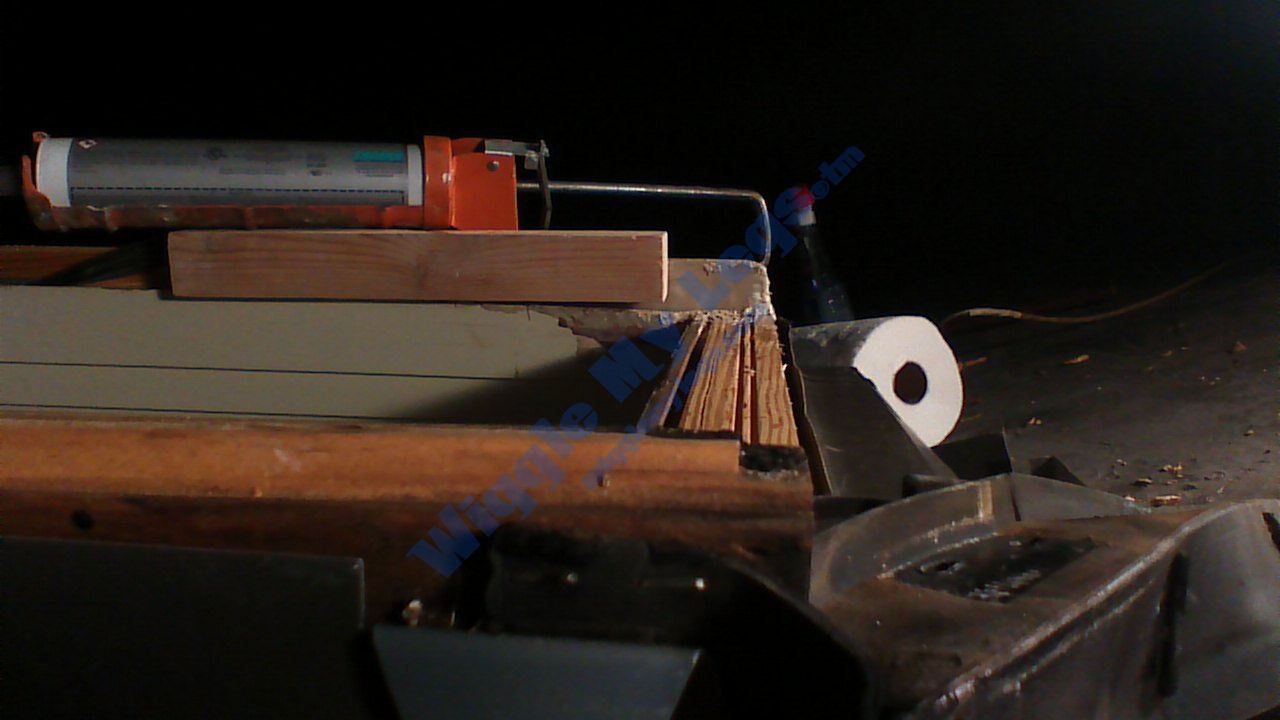
A view showing the gap still needed to fill to bring the missing window frame up high enough to seal against the glass. The 1x2 wood piece is level with the good part of the frame being held by the weight of my caulking gun, revealing the gap between the bottom of the 1x2's right end and the window frame's new wood fill.
21 minute video of skylight repair, mostly of second skylight.